Loading ...
Loading ...
Loading ...
179
Contents Before Using Getting Started Design Center Layout & Editing
Programmable
Stitch Creator
Quick Reference Alphabetic Index
1 Click Image, then Input, then from Clipboard. (This can only be done when there is image data on
the clipboard.)
2 Your Design Page will display the image.
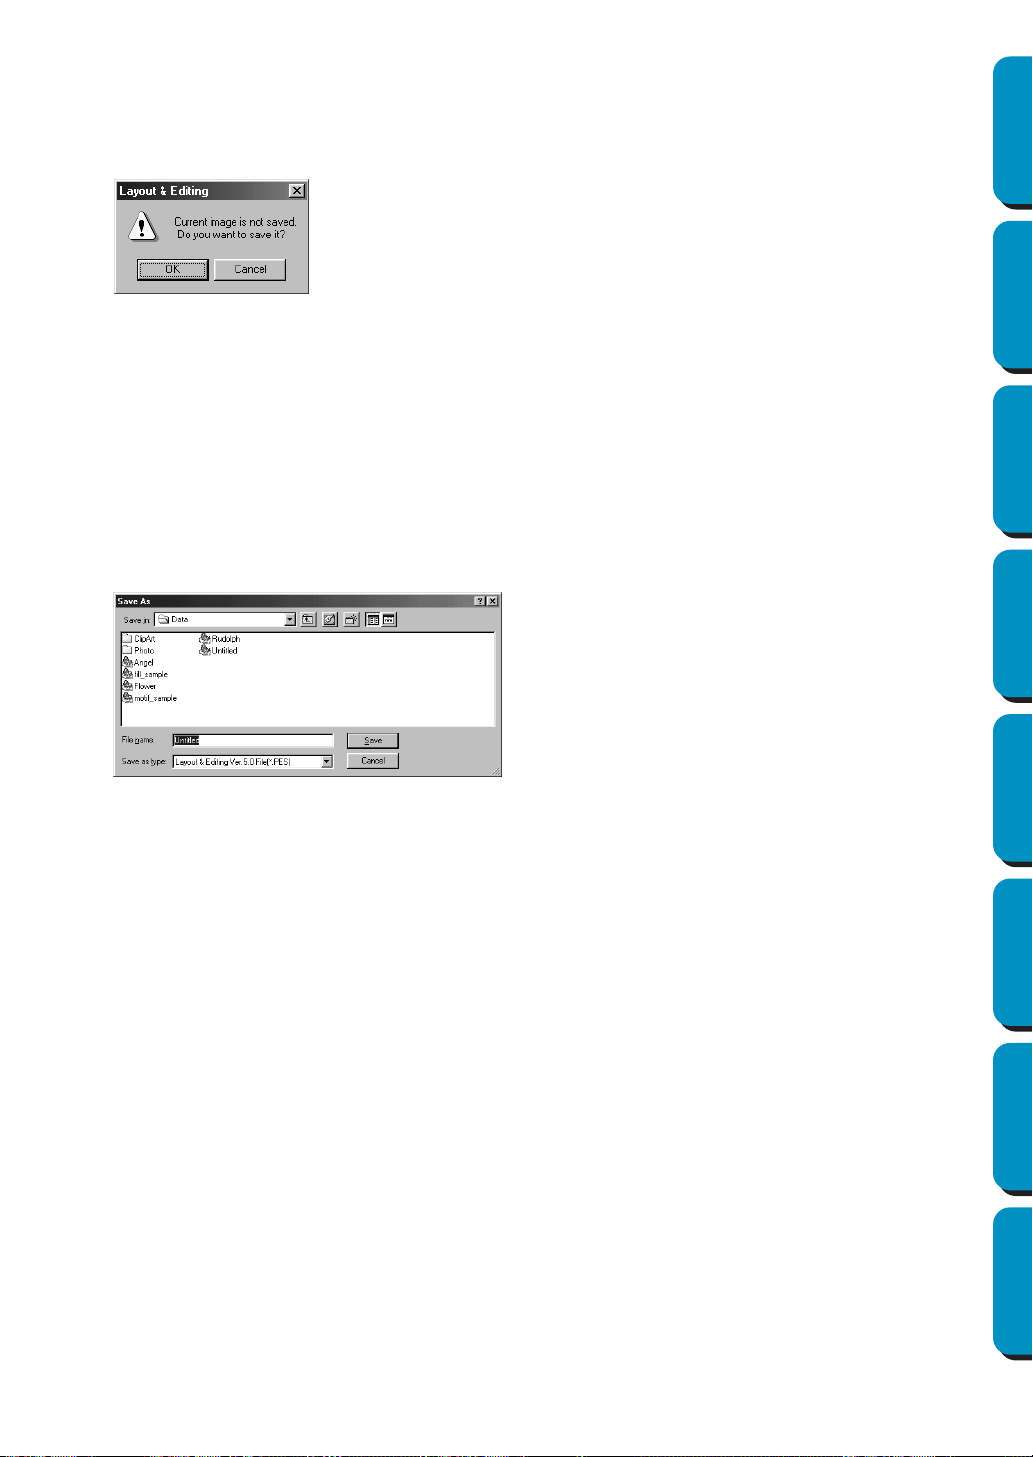
If the current image is not saved, you will be asked whether you want to save it.
■ Output – to File
Purpose: Saves the image data as a file.
Shortcut key: No shortcut key for this function
Toolbar: No button for this function
Operation:
1 Click Image, then Output, then to File.
A dialog similar to the one shown below appears.
■ Output – to Clipboard
Purpose: Copies the image data onto the clipboard.
Shortcut key: No shortcut key for this function
Toolbar: No button for this function
Operation:
1 Click Image, then Output, then to Clipboard.
The image data in the Design Page is copied onto the clipboard.
■ Select TWAIN device
Purpose: Selects which TWAIN device installed in the computer to use.
Shortcut key: No shortcut key for this function
Toolbar: No button for this function
◆ Click OK to save the image.
◆ Click Cancel to finish without saving the image.
◆ Select the drive, the folder and the format
in which you wish to save the image data.
◆ Type the file name.
• The correct extension is automatically
set.
• The image data can be saved in any of
the following formats: Windows BMP
(*.bmp), Exif (*.jpg).
◆ Click Save to save the data.
◆ Click Cancel to exit the function.
Loading ...
Loading ...
Loading ...