Loading ...
Loading ...
Loading ...
120
Contents Before Using Getting Started Design Center Layout & Editing
Programmable
Stitch Creator
Quick Reference Alphabetic Index
Point Edit Mode
The point edit mode is used to:
◆ move a point of a broken line, a curve, an arc, fan shape and arc & string or of a manual punching pat-
tern;
◆ reorient the tangent to a point of a curve;
◆ insert a new point in a broken line, curve or manual punching pattern;
◆ delete a point in a broken line, curve or manual punching pattern;
◆ realign the part of a broken line or a curve on both sides of a point;
◆ select and set a character in a text pattern.
◆ move, insert or delete stitch data of a stitch object
◆ edit the entry points and exit points of stitching for a shape object
■ Moving points
1
Click on the Tool Box.
Three buttons appear: .
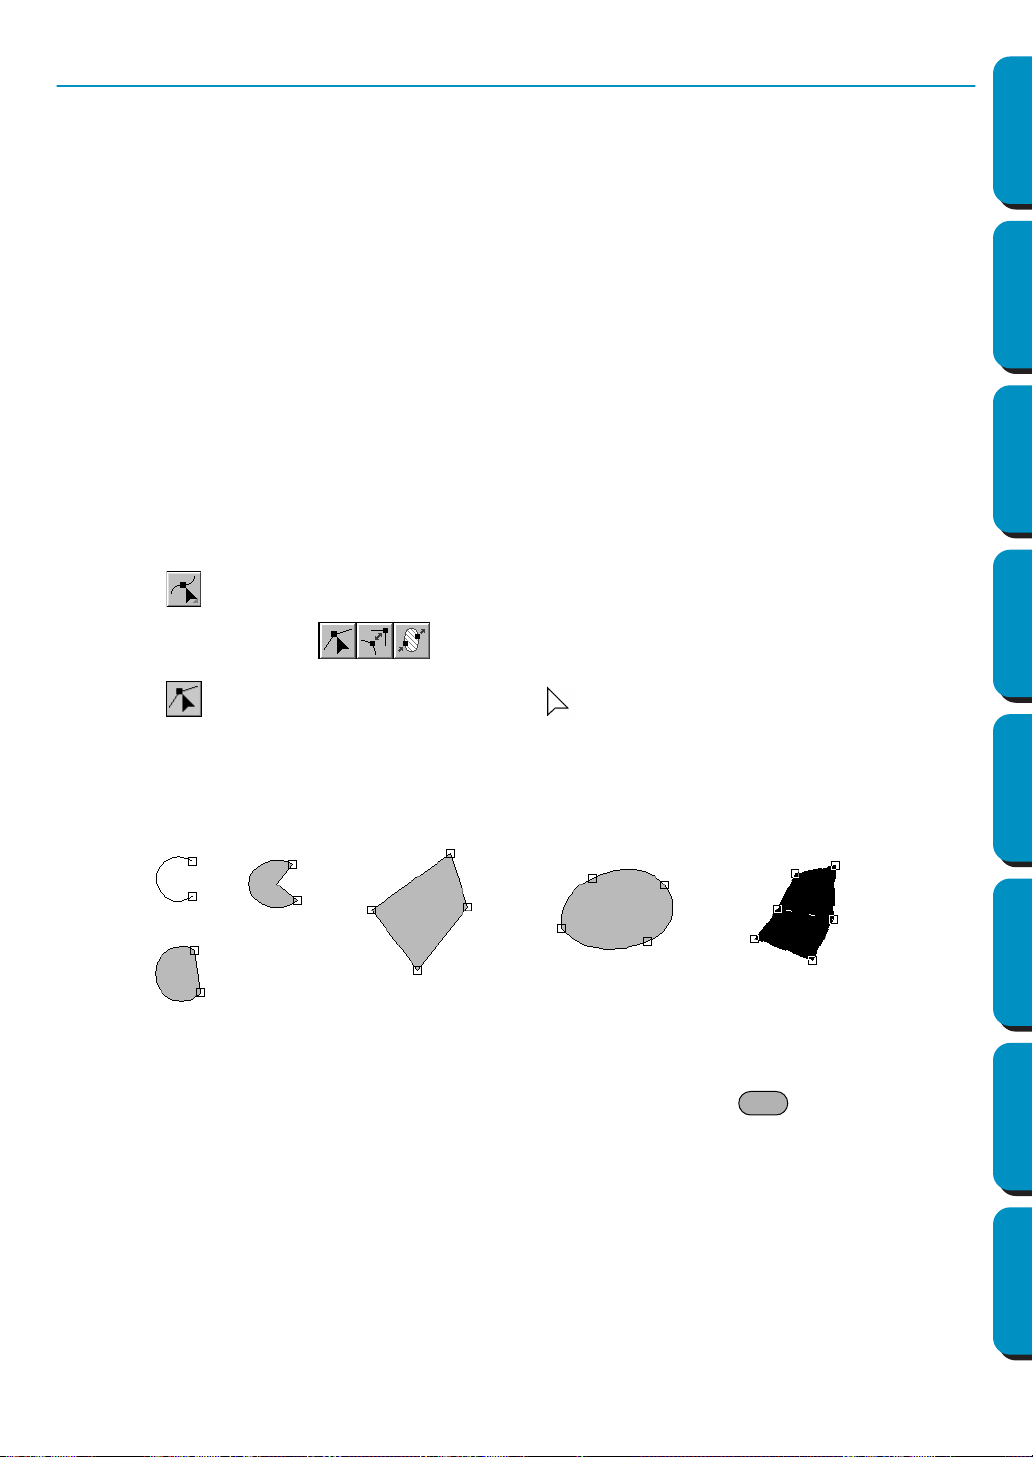
2 Click . The shape of the cursor changes to .
3 Click the pattern that you want to edit.
The pattern can be a broken line, a curve, an arc, a fan shape, an arc & string or a manual punch-
ing pattern.
The existing points of the pattern are marked with small empty squares
4 Click the point that you want to move.
The selected point is marked with a small black square.
You can select more than one point by clicking them while holding the key down, or by
dragging the mouse across the area.
NOTE:
If you click on the line of the pattern instead of a square, a new point is inserted.
5 Drag the point to a new position.
All the selected points move in the same direction if more than one is selected.
The point remains selected, so that you can drag it again.
Ctrl
Loading ...
Loading ...
Loading ...