Loading ...
Loading ...
Loading ...
196
Set exposure compensation if the exposure (without flash) does not come out
as desired. This feature can be used in Creative Zone modes (except <
a
>).
You can set the exposure compensation up to ±5 stops* in 1/3-stop increments.
If the <
a
> mode and ISO Auto are both set, see page 192 to set the exposure
compensation.
* In Live View shooting/movie shooting, or when [s: Shooting screen] is set to
[Guided], exposure compensation can be set up to ±3 stops.
1
Check the exposure level indicator.
Press the shutter button halfway
(0) and check the exposure level
indicator in the viewfinder or on the
LCD monitor.
2
Set the compensation amount.
If the exposure is too dark, turn the
<
6
> dial clockwise while holding
down the <
g
> button (for increased
exposure).
If the exposure is too bright, turn the
<
6
> dial counterclockwise while
holding down the <
g
> button (for
decreased exposure).
3
Take the picture.
To cancel the exposure
compensation, set the compensation
amount back to <E>.
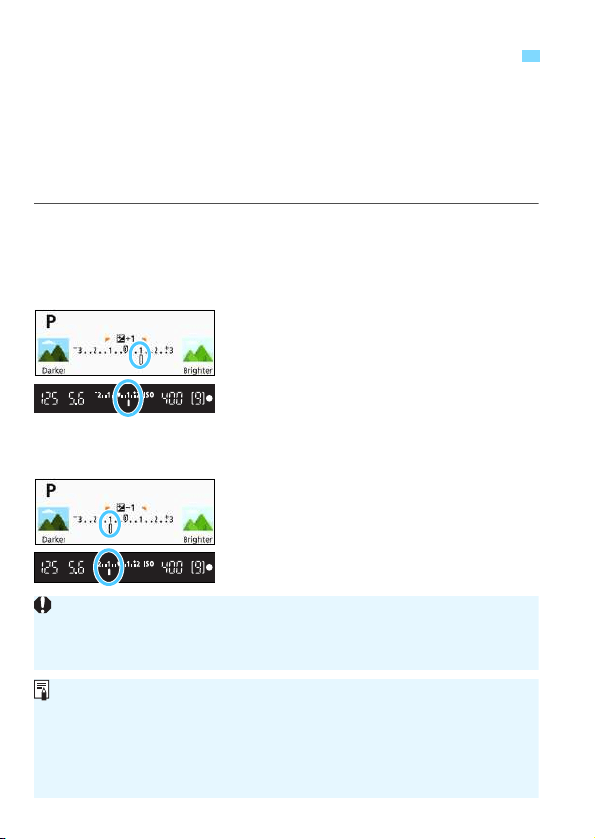
Setting the Desired Exposure Compensation
N
Increased exposure
for a brighter image
Decreased exposure
for a darker image
If [z2: Auto Lighting Optimizer] (p.169) is set to any setting other than
[Disable], the image may still look bright even if a decreased exposure
compensation for a darker image is set.
The set exposure compensation level will not be applied to movie shooting.
When you set the power switch to <2>, the exposure compensation
setting will be canceled.
The exposure compensation amount displayed in the viewfinder goes up
to only ±2 stops. If the exposure compensation amount exceeds ±2
stops, the end of the exposure level indicator will display <I> or <J >.
If you want to set exposure compensation exceeding ±2 stops, setting it
with [z2: Expo.comp./AEB] (p.197) is recommended.
Loading ...
Loading ...
Loading ...