Loading ...
Loading ...
Loading ...
143
1
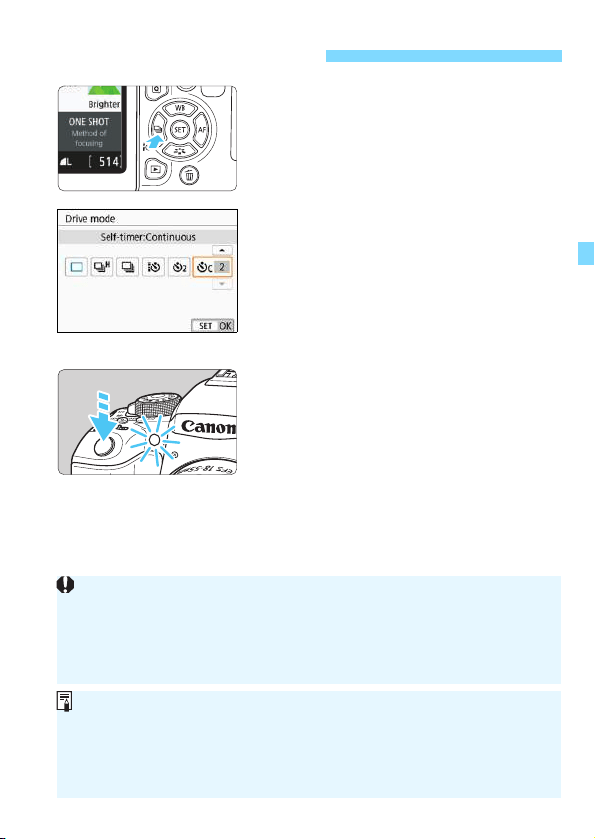
Press the <YQi> button.
[Drive mode] will appear.
2
Select the self-timer.
Press the <Y> <Z> keys to select
the self-timer, then press <0>.
Q: 10-sec. self-timer
The remote controller can also
be used (p.409).
l: 2-sec. self-timer (p.87)
q: 10-sec. self-timer plus
continuous shots
Press the <
W
> <
X
> keys to set
the number of multiple shots (2 to
10) to be taken with the self-timer.
3
Take the picture.
Look through the viewfinder, focus on
the subject, then press the shutter
button completely.
You can check the self-timer
operation with the self-timer lamp,
beeper, and countdown display (in
seconds) on the LCD monitor.
2 sec. before the picture is taken, the
self-timer lamp will light up and the
beeper will sound faster.
j Using the Self-timer
With <q>, the interval between the multiple shots may be prolonged
depending on the shooting functions settings such as the image-
recording quality or flash.
If you do not look through the viewfinder when you press the shutter
button, attach the eyepiece cover (p.413). If stray light enters the
viewfinder when the picture is taken, it may throw off the exposure.
After taking self-timer shots, playing back the image (p.115) to check
focus and exposure is recommended.
When using the self-timer to shoot yourself, use focus lock (p.81) on an
object at the same distance as where you will stand.
To cancel the self-timer after it starts, either tap on the LCD monitor or
press the <YQi> button.
Loading ...
Loading ...
Loading ...