Loading ...
Loading ...
Loading ...
10
PSR-A3000 Owner’s Manual 191
Connections
10
Connections
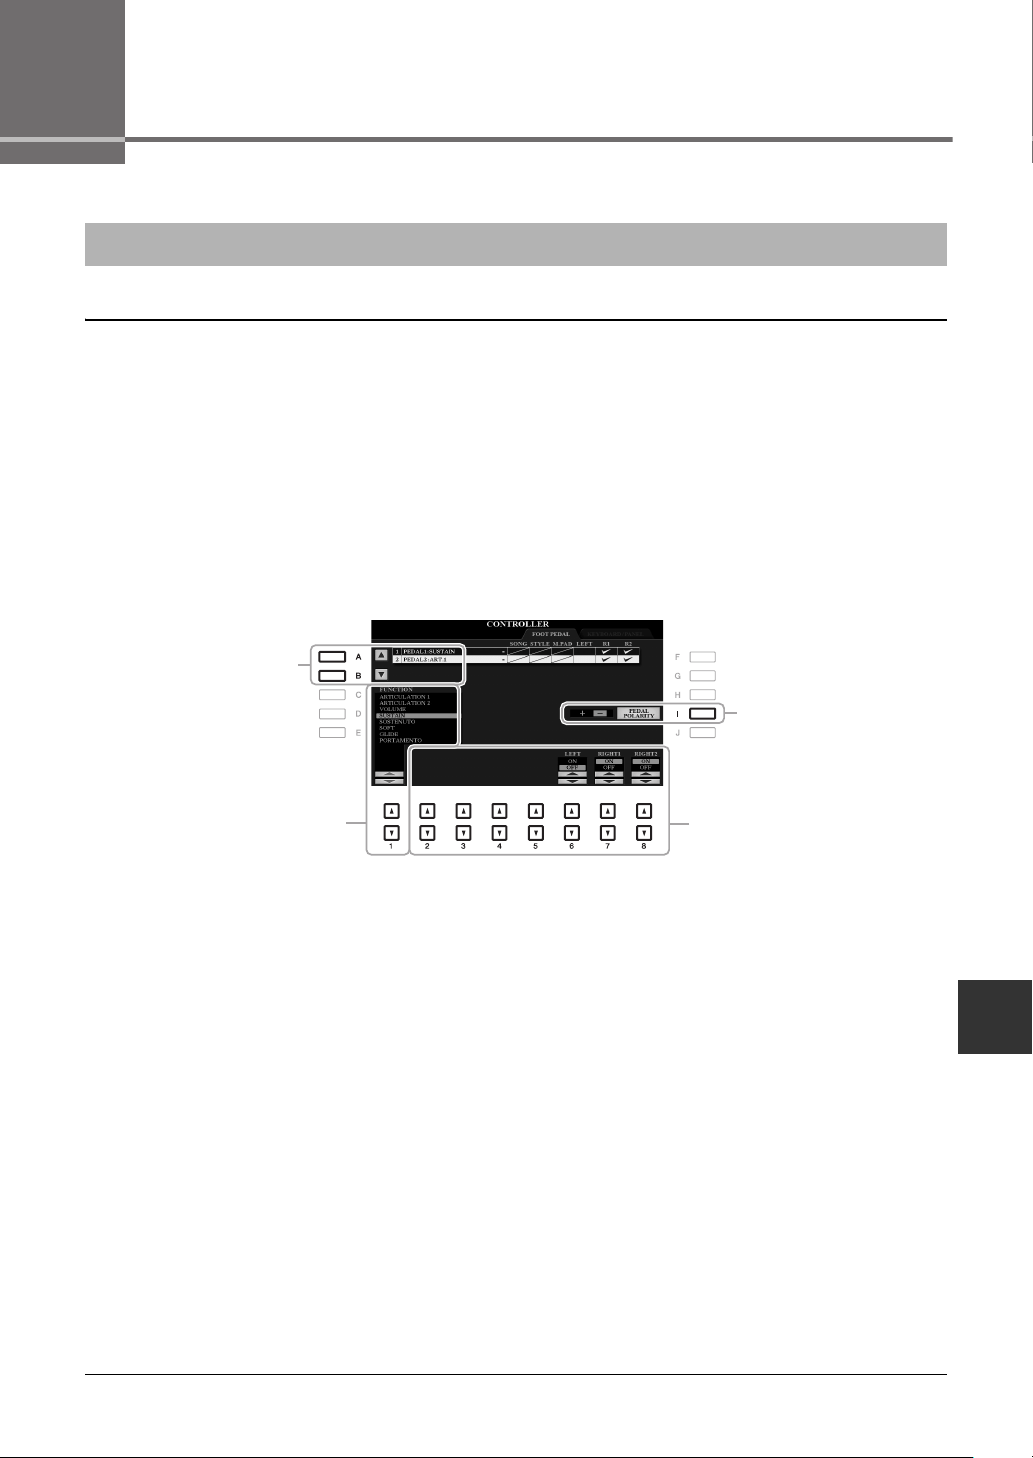
Assigning a Specific Function to Each Pedal
The functions of the foot pedals connected to the FOOT PEDAL [1]/[2] jacks can be changed individually from the
default settings (sustain, etc.)—for example, letting you use the footswitch to start/stop Style playback, or use the
foot controller to produce pitch bends.
NOTE For information on how to connect a foot pedal or what kinds of pedals can be connected, refer to page 93.
1 Call up the operation display.
[FUNCTION] TAB [E] MENU 1 [D] CONTROLLER TAB [E] FOOT PEDAL
2 Use the [A]/[B] buttons to select one of the two foot pedals to which the function is to be
assigned.
On the display, the numbers 1 and 2 correspond to the FOOT PEDAL jacks [1] and [2] respectively.
3 Use the [1 ] buttons to select the function to be assigned to the pedal specified in
step 2.
For information on available functions, see pages 192–193.
NOTE You can also assign other functions to the pedal—Punch in/out of Song (page 159) and Registration Sequence (page 178). If you assign multiple functions
to the pedal, the priority is: Punch in/out of Song Registration Sequence Functions assigned here.
4 Use the [2 ]–[8 ] buttons to set the details of the selected functions (the part for
which the function is applied, etc.).
The available parameters differ depending on the function selected in step 3.
5 If necessary, set the polarity of the pedal by using the [I] button.
Pedal on/off operation may differ depending on the particular pedal you’ve connected to the instrument. For
example, pressing down on one pedal may turn the selected function on, while pressing a different make/brand
of pedal may turn the function off. If necessary, use this setting to reverse the operation.
Footswitch/Foot Controller Settings
2
3
5
4
Loading ...
Loading ...
Loading ...