Loading ...
Loading ...
Loading ...
24
Advantages
▯ The cooking position is only powered when this is
necessary to maintain the temperature. This saves
energy.
▯ The temperature is maintained continuously. This
prevents the food from boiling over. It also means that
you do not have to change the temperature setting.
▯ Cooking Sensor mode will tell you when the water or
oil has reached the optimal temperature for adding the
food (see the exceptions where the food should be
added at the very beginning).
Notes
▯ Use pots or cookware with a thick, flat base. Do not
use pots with a thin or deformed base.
▯ Fill the pot so that the contents reach high enough to
cover the cooking sensor's silicone patch.
▯ Do not remove the cooking sensor from the pot during
cooking.
▯ Remove the cooking sensor from the pot after
cooking. Be careful as the cooking sensor may be
very hot.
Tips for cooking with Cooking Sensor mode
▯ Keeping warm/heating: Suitabel for portions of frozen
products, e.g. spinach. Place the frozen product in the
cookware. Add the volume of water specified by the
manufacturer. Cover the cookware with a lid. Select
the temperature recommended in the table.
▯ Simmering: This cooking method is suitable for
cooking food at low temperatures, thickening sauces,
reducing stews and cooking with milk. Select the
temperature recommended in the table for the food
you want to cook.
▯ Boiling: This cooking method allows you to boil water
with a lid on without it boiling over. This temperature
control allows water to be boiled more efficiently.
Select the temperature recommended in the table.
▯ Cooking in a pressure cooker: Follow the
manufacturer's recommendations. After the signal tone
sounds, continue cooking for the recommended time.
Select the temperature recommended in the table.
▯ Deep fat frying: It is recommended that you heat oil
with a lid on. Once the signal tone has sounded,
remove the lid and add the food. Select the
temperature recommended in the table for the food
you want to cook.
Notes
▯ Always cook with the lid on except when using the
"Deep fat frying" function.
▯ If an audible signal does not sound, make sure there
is a lid on the pot. If there is a lid on the pot, the
appliance may have reached its maximum power
consumption. This may affect the time required to
reach the selected temperature. Switch off or reduce
the temperature of the cooking positions on which the
other pots are placed. See the section entitled
~ "Wireless Cooking Sensor"
▯ Never leave oil unattended when it is being heated.
Use oil that is suitable for deep fat frying. Do not mix
different cooking fats and oils – e.g. oil and lard – as
such mixtures may foam up when hot.
▯ If you are not satisfied with the cooking result, e.g.
when boiling potatoes, next time use more water but
keep the recommended temperature setting.
Setting the boiling point
The point at which water starts to boil depends on the
altitude of your home above sea level. If the water is
boiling too vigorously or too weakly, you can set the
boiling point. Proceed as follows:
▯ Touch the " touch button and select the basic setting
CAL Cooking sensor calibration.
▯ The default setting is set to 650- 1300 ft (200-400 m).
If your home is between 650- 1300 ft (200-400 m)
above sea level, you do not need to set the boiling
point. If it is not, select the setting that best
corresponds to the altitude of your home above sea
level.
Note: Temperature level 212° F (100ºC) allows for
efficient cooking even if the water does not boil very
strongly. However, the boiling point can be changed. If
you want the water to boil more strongly, for example,
you can select the setting for a lower altitude.
Setting procedure
1.
Attach the wireless cooking sensor to the cookware;
see the section entitled ~ "Preparing and caring for
the wireless cooking sensor"
2.
Fill the cookware with a sufficient amount of liquid, put
the lid on and place it on the cooking surface. See the
section entitled ~ "Attaching the wireless cooking
sensor".
3.
Tap the cooking position display for the cookware.
4.
Touch the ¢ symbol.
5.
Use your finger to scroll up to the n symbol. Then
touch the 8 symbol to confirm your choice.
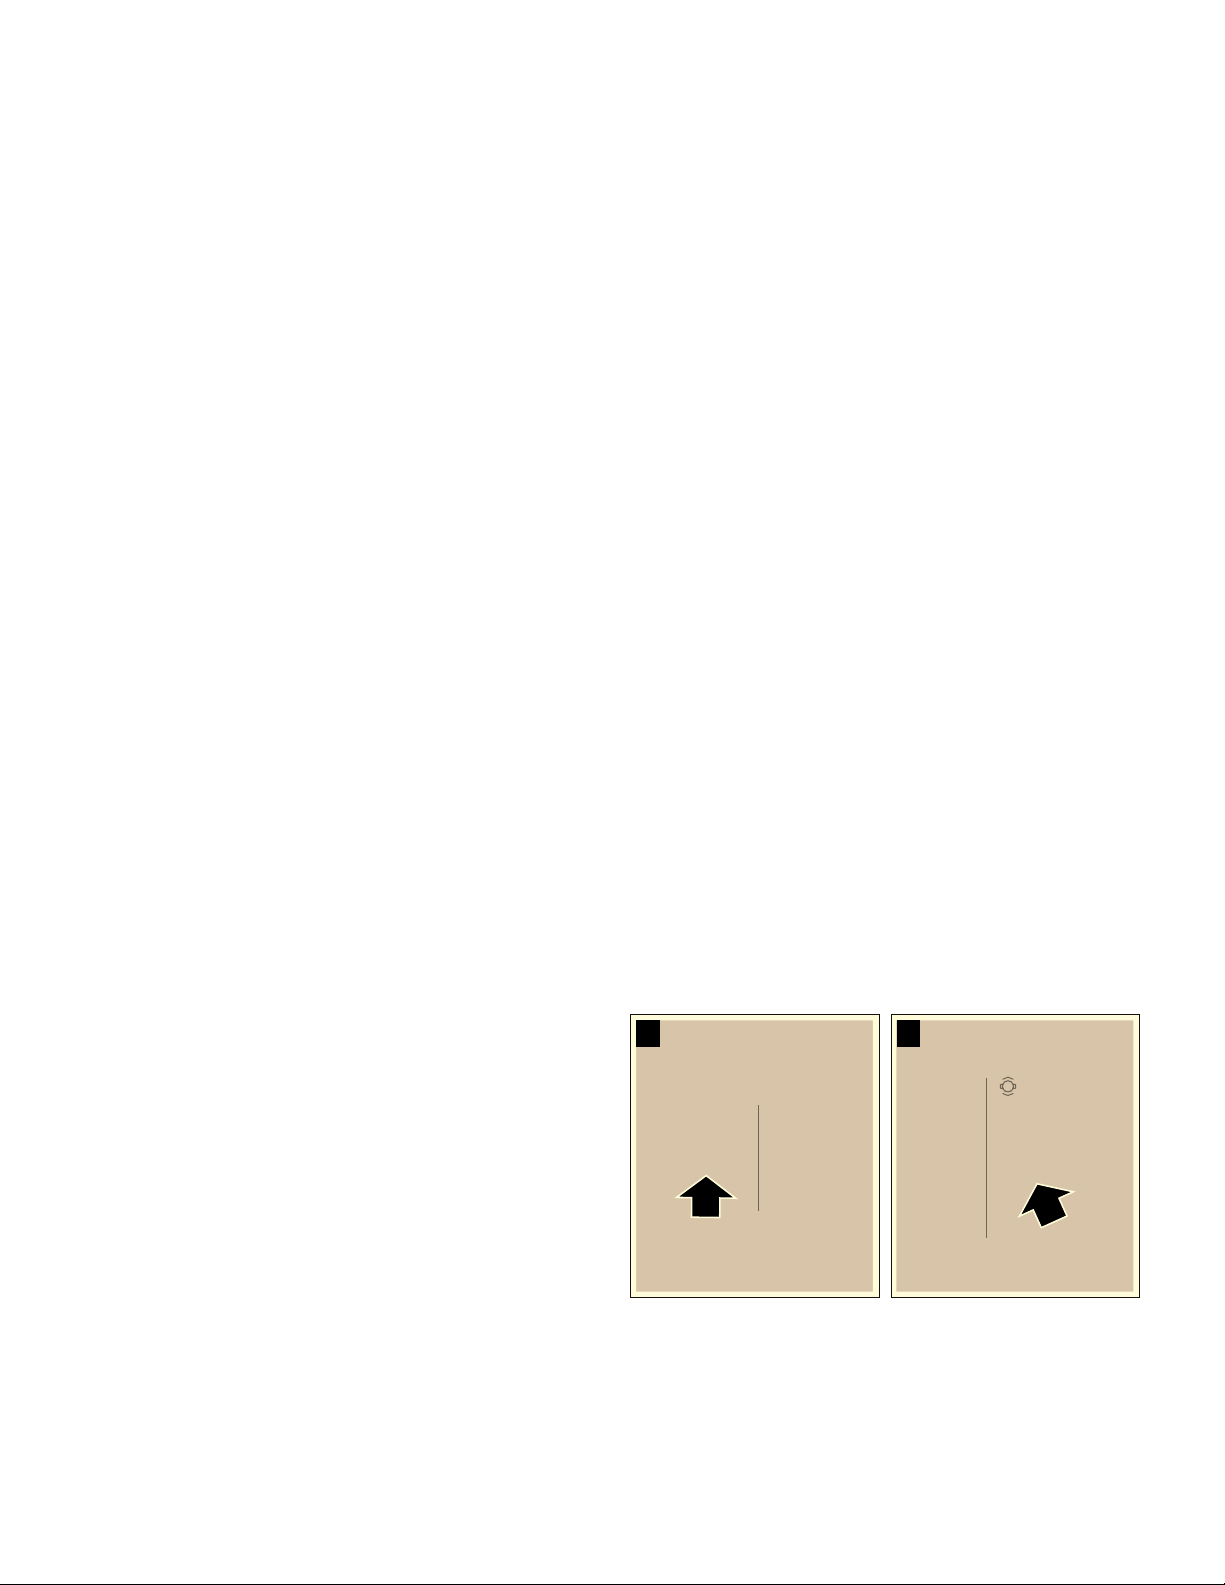
6.
Touch the ¨ symbol on the wireless cooking sensor
as shown on the display.
¤
Q
a
Loading ...
Loading ...
Loading ...