Loading ...
Loading ...
Loading ...
276
EN
Connecting the Camera to External Devices
5
5
Confi gure “OLYMPUS Capture” for download.
• Choose a destination for the downloaded pictures.
6
Take pictures using camera or computer controls.
• The pictures will be downloaded to the computer according to the options chosen.
• The computer cannot be used to change the camera shooting mode.
• The computer cannot be used to delete pictures from the memory cards inserted in the
camera.
• The camera display frame rate may drop if the view through the camera lens is displayed
simultaneously both on the computer and in the camera monitor.
• See online help for more information on using the software.
• The connection to the computer will end if you:
- exit “OLYMPUS Capture”,
- insert or remove memory cards, or
- turn the camera off.
Connecting the Camera for High-Speed RAW Processing
(M PC RAW)
1
After confi rming that the camera is off, connect it to the computer using the
USB cable.
2
Turn the camera on.
• The camera will display a message prompting you to identify the device to which the
USB cable is connected.
• If the message is not displayed, select [Auto] for [USB Mode] (P. 190) in G Custom
Menu S.
• If the batteries are very low, the camera will not display a message when connecting
to a computer. Be sure the batteries are charged.
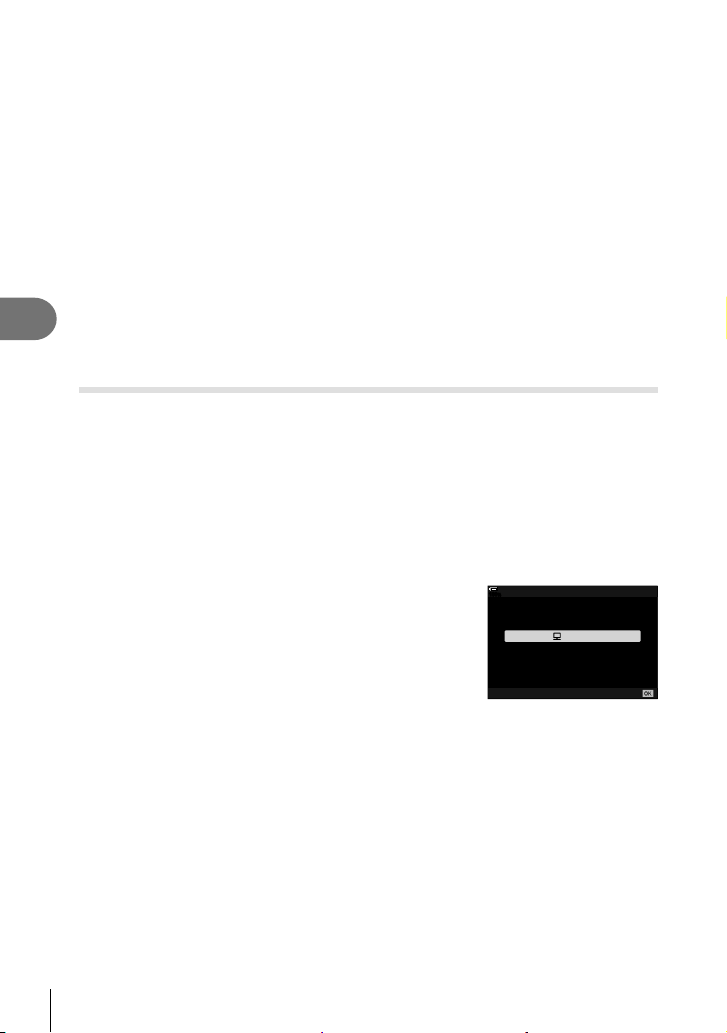
3
Highlight [M PC RAW] using FG on the arrow
pad and press the Q button.
100
%
USB
0
MTP
USB PD
PC RAW
Exit
Set
Storage
4
Launch the copy of “Olympus Workspace” installed on the computer.
• Click the [USB RAW Data Edit] icon.
5
Choose the location containing the pictures to be processed.
• You can choose either a memory card inserted in the connected camera, or a folder
on the computer.
• Only RAW pictures in the chosen location taken with the connected camera or
another camera of the same model can be selected.
• After choosing the source, click [OK].
Loading ...
Loading ...
Loading ...