Loading ...
Loading ...
Loading ...
Embroidering Preparation
77
EMBROIDERY
4
Follow the steps below to prepare the machine for
embroidery.
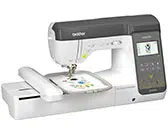
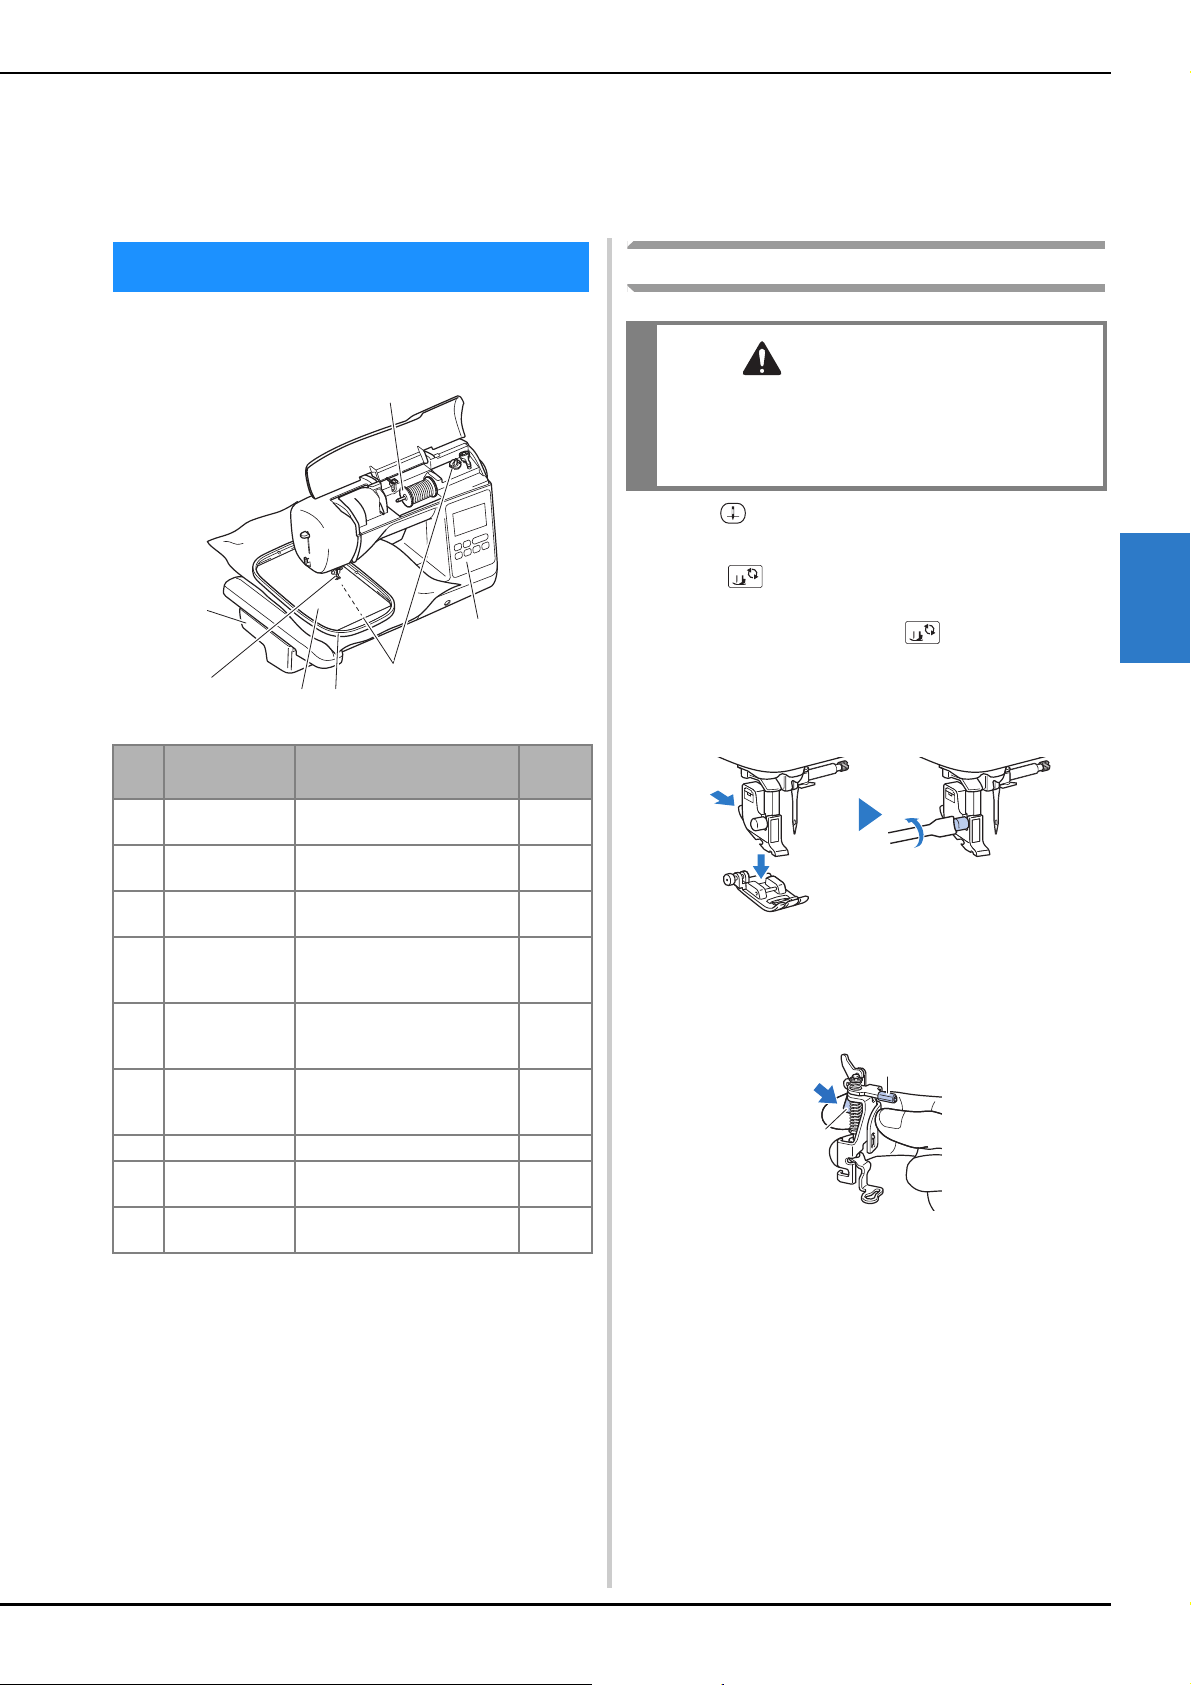
Attaching the embroidery foot
a
Press (Needle position button) to raise the needle.
b
Touch .
The screen changes, and all keys and operation
buttons are locked (except ).
c
Remove the presser foot and presser foot holder.
• For details, refer to “Replacing the Presser Foot” on
page 30.
d
Hold the embroidery foot “Q” with your right hand, as
shown.
Hold the embroidery foot with your index finger
wrapped around the lever at the back of the foot.
1 Lever
2 Embroidery foot bar
Chapter 4
EMBROIDERY
Embroidering Preparation
Step
#
Aim Action Page
1 Presser foot
attachment
Attach embroidery foot “Q”. 77
2 Checking the
needle
Use needle 75/11 for
embroidery.
29
3 Embroidery unit
attachment
Attach the embroidery unit. 78
4Bobbin thread
setup
For the bobbin thread, wind
embroidery bobbin thread and
set it in place.
21
5Fabric
preparation
Attach a stabilizer material to
the fabric, and hoop it in the
embroidery frame.
80
6Embroidery
frame
attachment
Attach the embroidery frame
to the embroidery unit.
82
7 Pattern selection Select an embroidery pattern. 84
8 Checking the
layout
Check and adjust the size and
position of the embroidery.
87
9Embroidery
thread setup
Set up embroidery thread
according to the pattern.
88
Step 3
Step 1, 2
Step 5
Step 6
Step 4
Step 7, 8
Step 9
CAUTION
• Be sure to use the embroidery foot when doing
embroidery. Using another presser foot may
cause the needle to strike the presser foot. The
needle may break, possibly resulting in injury.
b
a
Loading ...
Loading ...
Loading ...