Loading ...
Loading ...
Loading ...
Utility Stitches
67
VARIOUS STITCHES
3
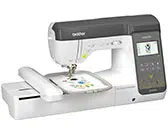
■ Darning
1 Reinforcement stitching
a
Determine the desired length of the darning.
Set the button guide plate on buttonhole foot “A” to the
desired length. (The distance between the markings on
the presser foot scale is 5 mm (3/16 inch).)
Once sewing is completed, the machine
automatically sews reinforcement stitches, then
stops.
b
Attach buttonhole foot “A”.
Position the upper thread under the presser foot by
guiding thread through the hole in the presser foot
before attaching the buttonhole foot “A”.
c
Select a stitch.
• For details, refer to “Stitch Chart” on page 45.
d
Position the fabric so that the needle is 2 mm (1/16
inch) in front of the area to be darned, and then lower
the presser foot.
e
Pull down the buttonhole lever as far as possible.
f
Gently hold the end of the upper thread in your left
hand, and then start sewing.
g
After sewing is finished, raise the presser foot lever,
remove the fabric, and then cut the threads.
h
Raise the buttonhole lever to its original position.
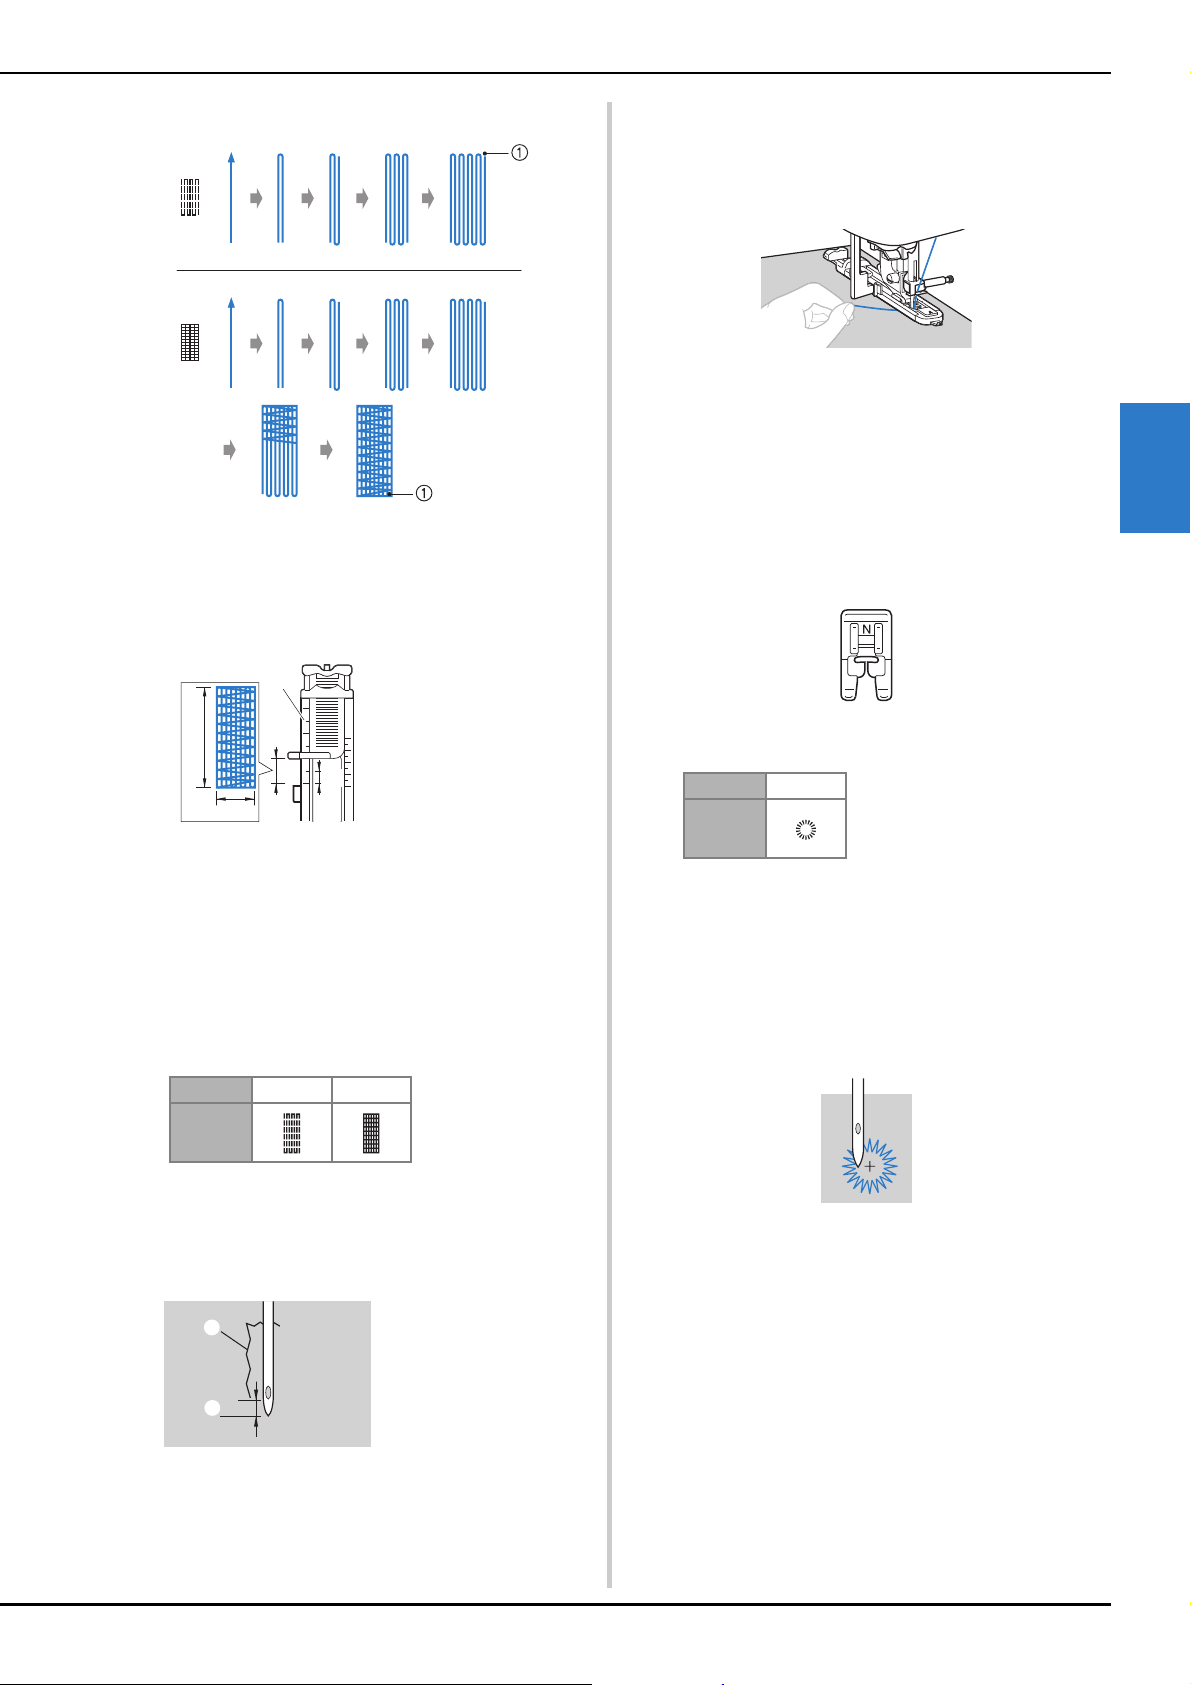
■ Eyelet stitching
Eyelets, such as those on belts, can be sewn.
a
Attach monogramming foot “N”.
b
Select stitch.
• For details, refer to “Stitch Chart” on page 45.
c
Adjust either the stitch width or the stitch length to
select the desired eyelet size.
• For details, refer to “Setting the stitch width” on
page 39 and “Setting the stitch length” on page 39.
d
Lower the needle into the fabric at the beginning of the
stitching, and then lower the presser foot lever.
e
Start sewing.
Once sewing is completed, the machine
automatically sews reinforcement stitches, then
stops.
1 Presser foot scale
2 Length of darning
3 5 mm (3/16 inch)
4 2.5 - 7.0 mm
(3/32 - 1/4 inch)
No. 4-11 4-12
Stitch
1 Tear
2 2 mm (1/16 inch)
3
1
2
4
2
1
No. 4-15
Stitch
Loading ...
Loading ...
Loading ...