Loading ...
Loading ...
Loading ...
Usingthe proofing
and warming features.(onsomemode/s)
ge.com(U.S.)
vvvvw.GEAppliances.ca(Canada)
Theproofing feature maintains a warm environment useful for rising yeast-leavened products.
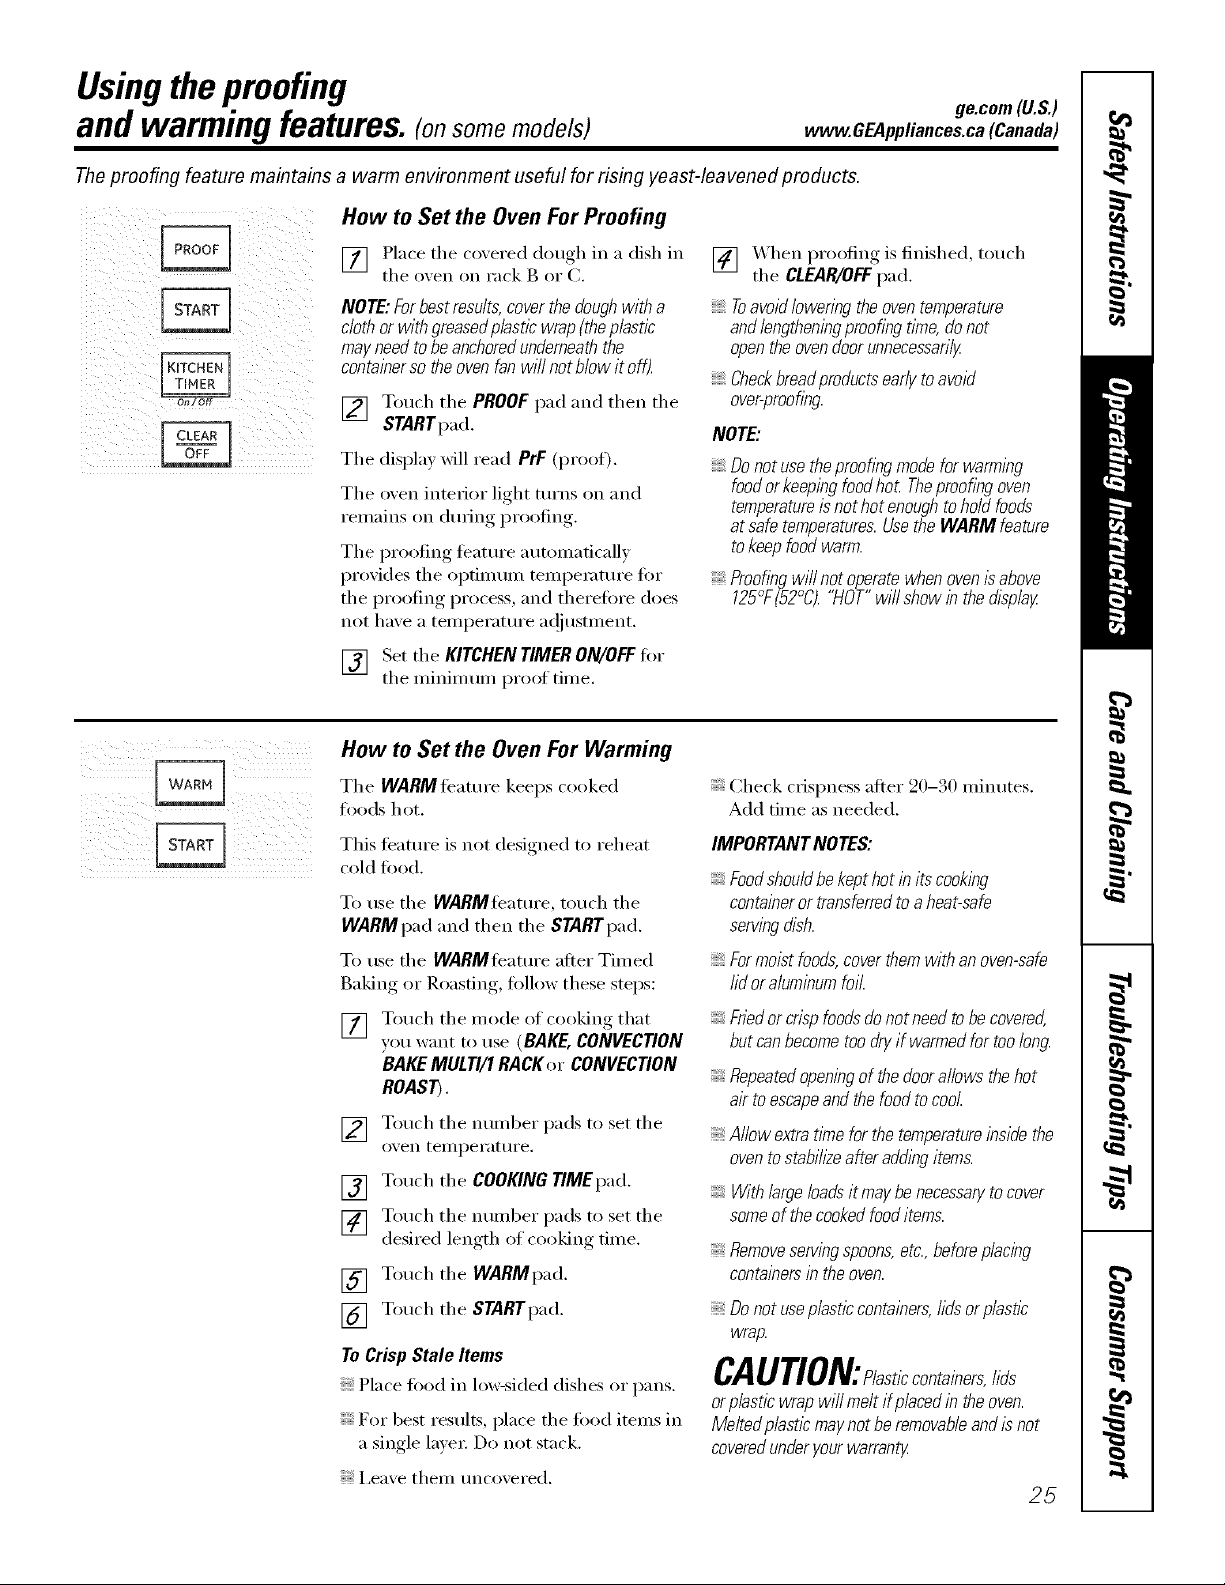
How to Set the Oven For Proofing
[] Place the coxered dough in a dish in
the oxen on rack g or C.
NOTE: For best rasults, cover the doughwith a
cloth or with graased p/astic wrap (the plastic,
may need to be anchoredunderneath the
container so the oven fan will not Mow it off).
[] Touch the PROOF pad and then the
STARTpad.
The displa) will read PrF (proof).
The oven interior light turns on and
remains on dm_ing proofing.
The proofing teature automatically
provides the optimum temperature t0r
the proofing process, and therefore does
not have a temperatm'e ac!justment.
[] "_&hen proofing is finished, touch
the CLEAR/OFFpad.
Toavoid lowering the oven temperature
and fengtheningproofing tlYne,do not
open the ovendoor unnecessarily
Checkbraadproducts early to avoid
over-proofing
NOTE:
Donot use the proofing mode for warming
food or keepingfood hot Theproofing oven
temperatureis not hot enough to hold foods
at safe temperatures.Usethe WARM feature
to keep food warm.
Proofingwi//not operatewhenovenis above
125°F(52°C)."HOT"will showin thedisplay
[] Set the KITCHENTIMERON/OFFfi,r
the minim um proof time.
How to Set the Oven For Warming
Tile WARMli_ature keeps cooked
foods hot.
This teatm'e is not designed to reheat
cold food.
To use the WARMleatm'e, touch the
WARMpad and then the STARTpad.
To use the WARMfeature after Timed
Baking or Roasting, follow these steps:
[] Touch the mode of cooking that
you want to use (BAKE, CONVECTION
BAKE MULTI/1 RACKer CONVECTION
ROAST).
[] Touch the number pads to set the
(),,'ell telllpeI';Kt II'e.
[] Touch the COOKING 77MEpad.
[] Touch the nunlber pads to set the
desired length of cooking time.
[] Touch the WARMpad.
[] Touch the STARTpad.
To Crisp Stale Items
Place toed in lo_sided dishes or pans.
For best results, place the toed items in
a single lavex: Do not stuck.
; i,eave theil/ tlncovered.
Check crispness after 90-30 minutes.
Add time as needed.
IMPORTANTNOTES:
Foodshouldbekepthotin its cooking
containeror transferredto aheat-safe
servingdish.
Formoistfoods,coverthemwithan oven-safe
lid oraluminumfoil.
Friedor crisp foodsdo not need to be covered,
but can become too dry if warmed for too long.
Repeatedopening of the doorallows the hot
air to escapeand the food to cool.
Allow extra tlrne for the temperatureinside the
oven to stabih2eafter adding items.
With large loadsit may be necessaryto cover
some of the cooked food items.
Removeservingspoons,etc.,beforeplacing
containersin theoven.
Do not use plastic containers,hds or p/asflc
wrap.
CAUTION: /aetlCCOntainers,lids
or plastic wrap will melt if placed in theoven.
Melted p/astlc may not be removableand is not
coveredunder your warranty
25
Loading ...
Loading ...
Loading ...