Loading ...
Loading ...
Loading ...
32
2
First Steps
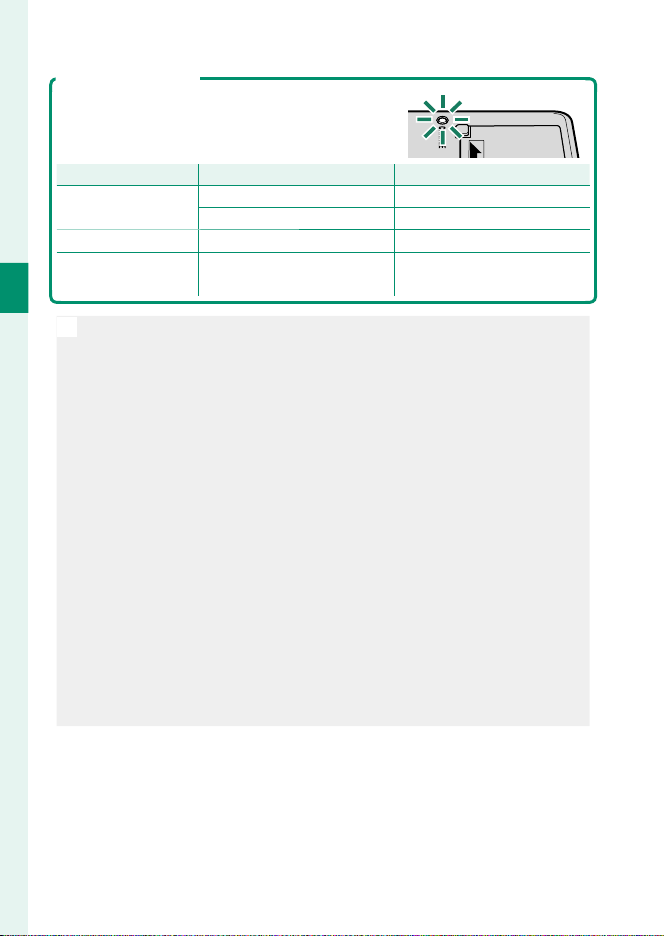
The Charging Indicator
The charging indicator shows battery charge
status as follows:
Charging indicator
Charging indicator
Battery status
Battery status
Action
Action
Off
Battery not inserted. Insert the battery.
Battery fully charged. Remove the battery.
On Battery charging. —
Blinks Battery fault.
Unplug the charger and
remove the battery.
O
•
The supplied charger is compatible with power supplies of 100 to 240
volts (a plug adapter may be needed for overseas use).
•
Do not a x labels or other objects to the battery. Failure to observe
this precaution could make it impossible to remove the battery from
the camera.
•
Do not short the battery terminals. The battery could overheat.
•
Read the cautions in “The Battery and Power Supply”.
•
Use only battery chargers designated for use with the battery. Failure
to observe this precaution could result in product malfunction.
•
Do not remove the labels from the battery or attempt to split or peel
the outer casing.
•
The battery gradually loses its charge when not in use. Charge the
battery one or two days before use.
•
If the battery fails to hold a charge, it has reached the end of its
charging life and must be replaced.
•
Unplug the charger when it is not in use.
•
Remove dirt from the battery terminals with a clean, dry cloth. Failure
to observe this precaution could prevent the battery from charging.
•
Note that charging times increase at low or high temperatures.
Loading ...
Loading ...
Loading ...