Loading ...
Loading ...
Loading ...
10
INSTALLING THE SOFTWARE (THAT ACCOMPANIES THE MACHINE)
INSTALLATION METHOD 2
Use this procedure to install the software in the following environments:
1. The printer is connected by USB cable or parallel cable.
2. Windows version: Windows XP
Custom installation
Installation methods 2 through 4 are for custom installations of the software. If the machine is used as a shared
printer via a server or is connected by a parallel cable and you only wish to install required software components,
select "Custom installation".
1
Make sure that the USB or parallel
cable is not connected to the machine
and your computer.
If the cable is connected, a Plug and Play window
will appear. If this happens, click the [Cancel]
button to close the window and disconnect the
cable.
2
Insert the "Software CD-ROM (1)" that
accompanies the machine into your
computer's CD-ROM drive.
3
Click the [start] button, click [My
Computer] ( ), and then double-click
the [CD-ROM] icon ( ).
4
Double-click the [Setup] icon ( ).
5
The "SOFTWARE LICENSE" window
will appear. Make sure that you
understand the contents of the license
agreement and then click the [Yes]
button.
6
Read the message in the "Welcome"
window and then click the [Next]
button.
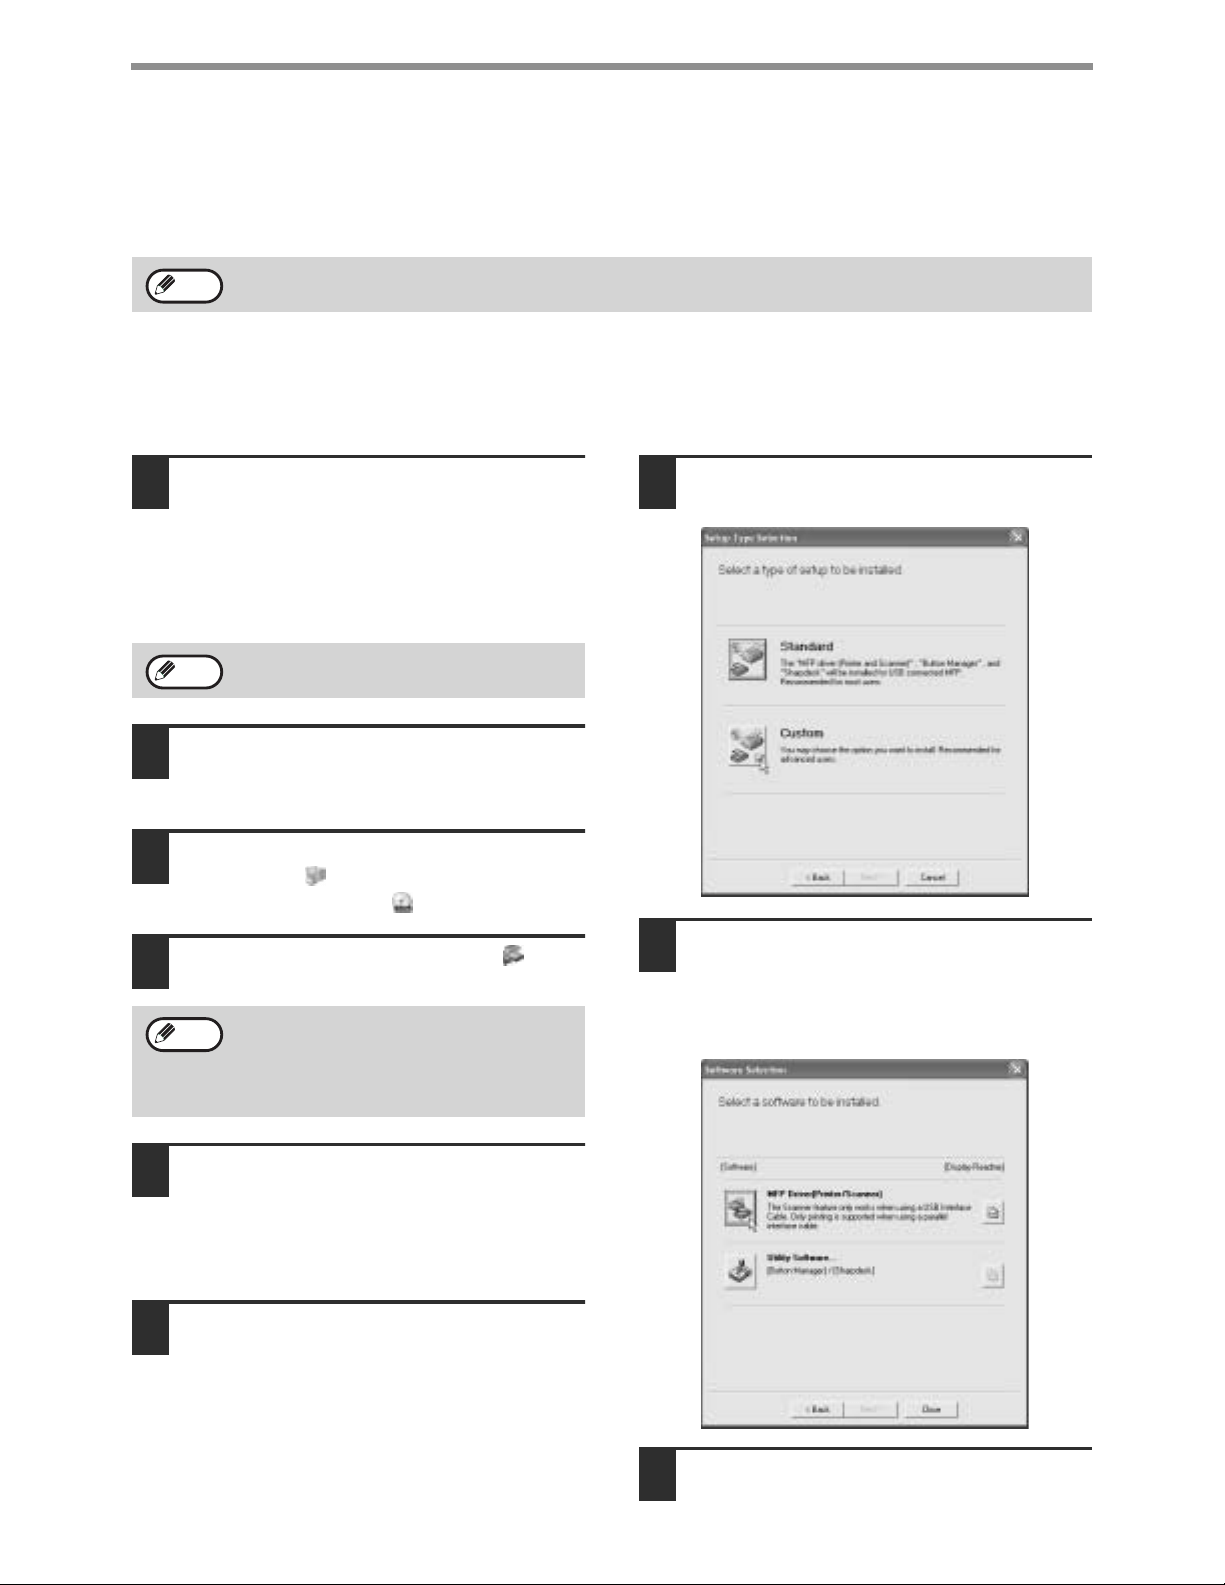
7
Click the [Custom] button.
8
If you wish to install the MFP driver,
click the [MFP Driver (Printer/Scanner)]
button.
To view information on the software, click the
[Display Readme] button.
9
Click the [Next] button.
To install this software, you must have administrator's rights.
Note
The cable will be connected in step 14.
If the language selection screen appears
after you double click the [Setup] icon,
select the language that you wish to use and
click the [Next] button. (Normally the correct
language is selected automatically.)
Note
Note
Loading ...
Loading ...
Loading ...