Loading ...
Loading ...
Loading ...
15
1
SELECTING RESOLUTION AND EXPOSURE SETTINGS
The resolution and exposure can be adjusted to match the size and darkness of text on the original, or for an original such
as a photograph. To change the settings, follow the steps below after selecting fax mode and placing the original. (Page 13)
1
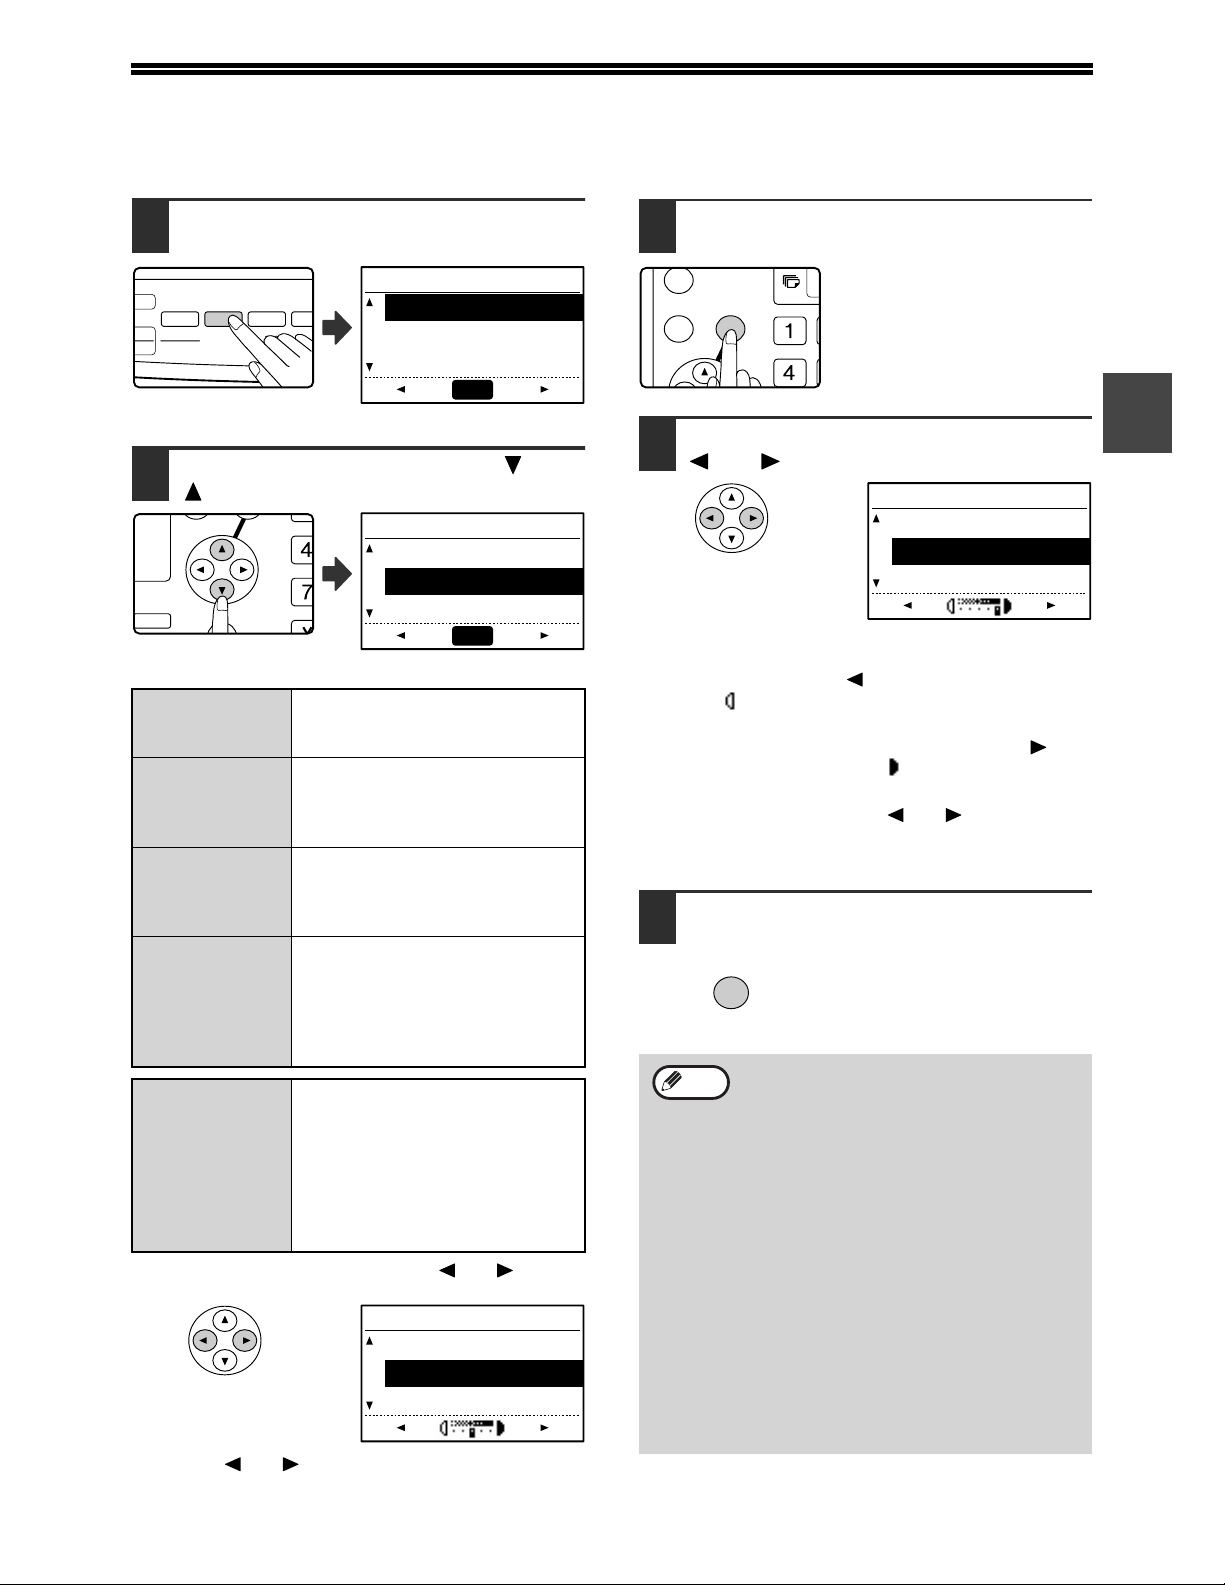
Press the [RESOLUTION] key.
The resolution selection
screen will appear.
2
Select the resolution with the [ ] or
[ ] key.
The selected resolution is
highlighted.
To set the exposure next, press the [ ] or [ ] key
and go to step 4.
When the [ ] or [ ] key is pressed, the exposure
display changes from "AUTO" to a 5-step display.
3
Press the [OK] key.
You will return to the base
screen and the selected
resolution will appear in the
resolution display.
4
Select the desired exposure with the
[] or [] key.
• To select a light setting for a dark original such as a
newspaper, press the [ ] key to move the setting
toward ( ).
• To select a dark setting for a light original such as
writing in pencil or faint colour text, press the [ ] key
to move the setting toward ( ) .
• When the exposure setting reaches the left side or
the right side, pressing the [ ] or [ ] key changes
the exposure display from the 5-step display to
"AUTO".
5
Press the [OK] key.
You will return to the base
screen and the selected
exposure will appear in the
exposure display.
STANDARD
Use this setting for originals with
normal-size text (like the text in
this manual).
FINE
Use this setting for originals with
small letters or detailed drawings.
The original will be scanned at
twice the resolution of Standard.
SUPER FINE
Use this setting for originals with
intricate drawings or diagrams. A
higher-quality image will be
produced than with the Fine setting.
ULTRA FINE
Use this setting for originals with
intricate drawings or diagrams.
This setting gives the best image
quality. However, transmission
will take longer than with the
other settings.
(FINE/HALFޓ
ޓޓ
ޓ
TONE)
(S-FINE/HALF
TONE)
(U-FINE/HALF
TONE)
Use halftone if your original is a
photograph or has gradations of
colour (such as a colour original).
This setting will produce a clearer
image than "FINE", "SUPER FINE",
or "ULTRA FINE" used alone.
When halftone is selected,
transmission will take longer.
COPY
EXPOSURE
PAPER
SELECT
COPY
RATIO
AUT
IMAG
SCAN
FAX
COLOUR MODE
PROGRAM
FORM
BROADC
RESOLUTION
ADDRESS
RESOLUTION
STANDARD
FINE
SUPER FINE
AUTO
GH
PQR
2-SIDED
COPY
SPECIAL FUNCTION
RESOLUTION
STANDARD
FINE
SUPER FINE
AUTO
RESOLUTION
STANDARD
FINE
SUPER FINE
• The default resolution setting is
"STANDARD" and the default exposure
setting is "AUTO". The default settings for
the resolution and exposure can be
changed in the key operator programs.
(See "RES. CON. SET" on page 100.)
When using the document glass to scan
multiple original pages, the exposure
setting can be changed each time you
change pages. When using the SPF, the
resolution and exposure settings cannot
be changed once scanning has begun.
• Even if you send a fax using a high
resolution setting such as "FINE",
"SUPER FINE", or "ULTRA FINE", some
receiving fax machines may print the fax
at a lower resolution.
• To cancel a resolution or exposure
selection, press the [CA] key.
GHI
OK
BACK
RESOLUTION
STANDARD
FINE
SUPER FINE
OK
Note
Loading ...
Loading ...
Loading ...