Loading ...
Loading ...
Loading ...
LCD SCREEN
38
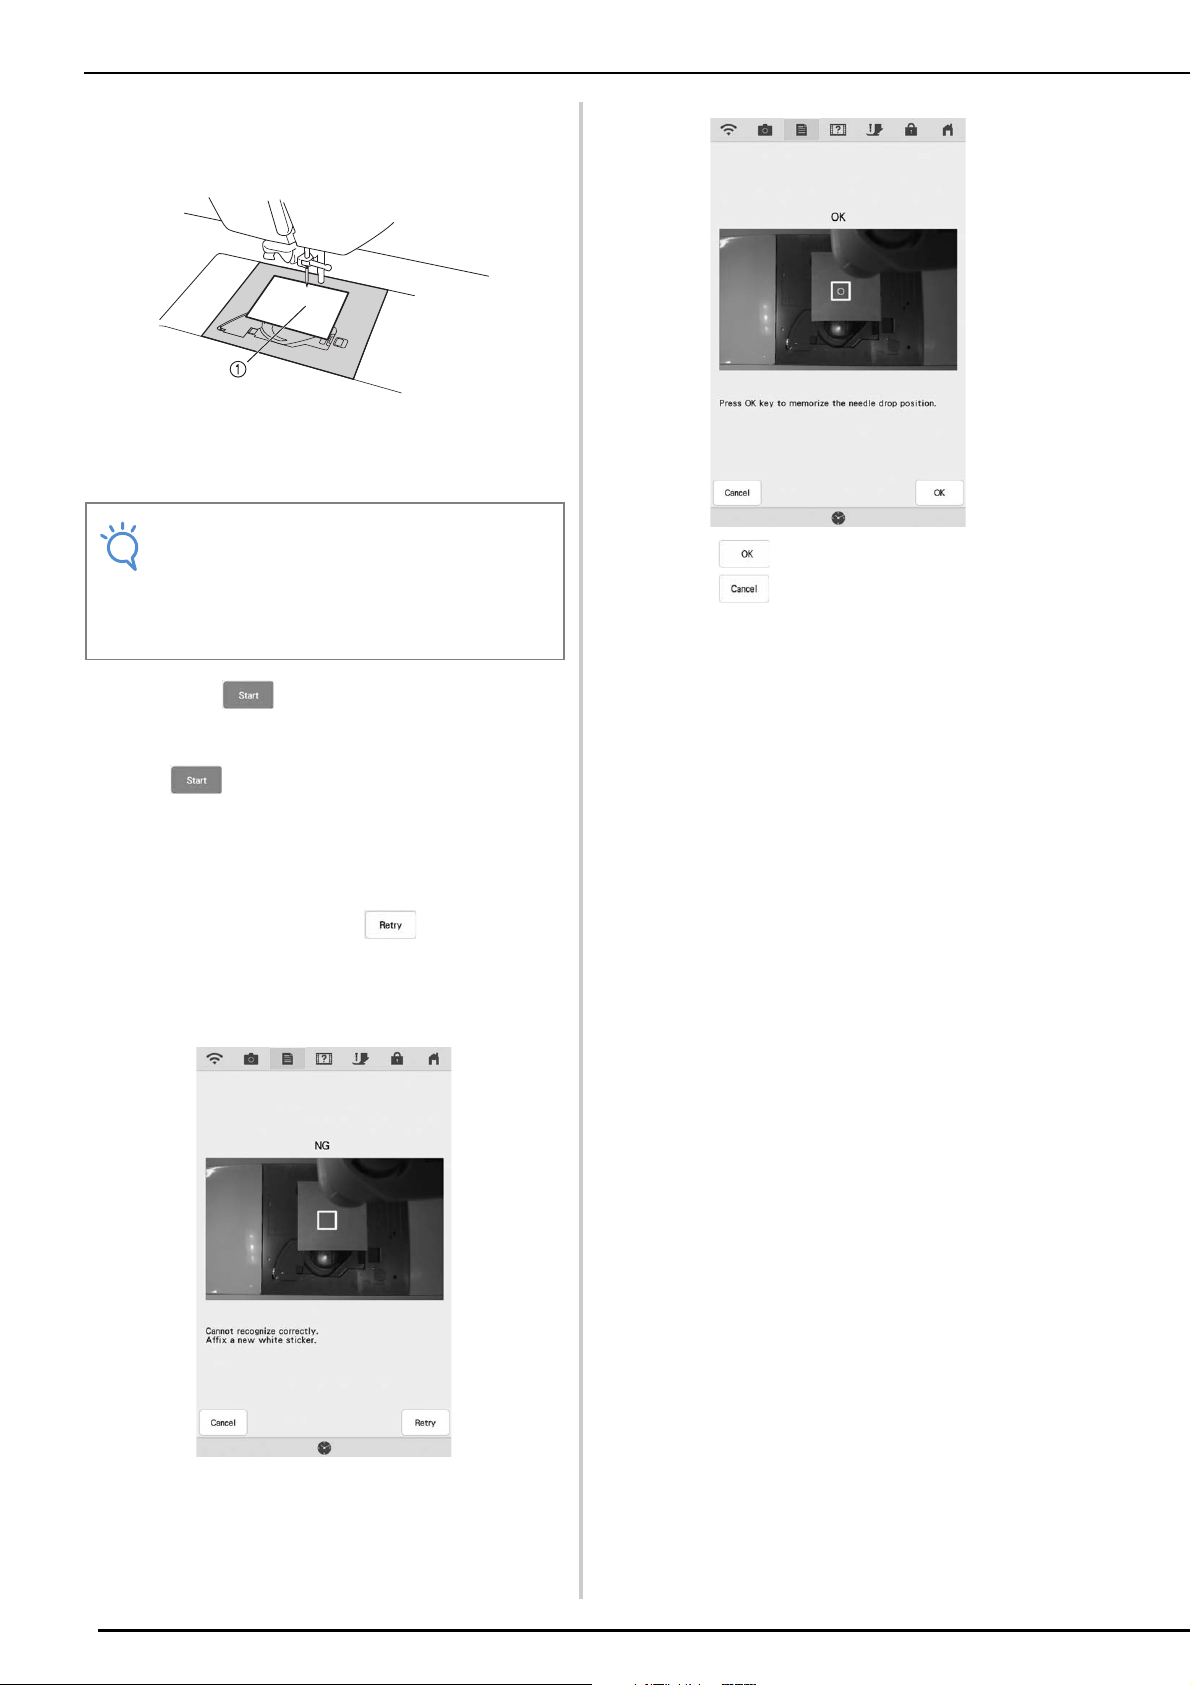
2. After removing the needle and the presser
foot, affix white sticker on needle dropping
point area.
a White sticker
3. Insert the needle (standard size 75/11 or 90/
14).
4. Press to initiate the calibration
process. For safety please make sure area
around needle is clear prior to pressing
.
Setting the needle drop point begins.
f
The operation is finished when “OK”
appears. If “NG” appears, affix a new white
sticker, and then press . If multiple
attempts to set the position are not
successful, contact your nearest authorized
Brother dealer.
* Press to memorize the calibration data.
* Press to back to original screen without
memorizing the calibration data.
g
Remove the sticker.
Note
• Use a new sticker. The camera needle
position cannot be set correctly if there is a
hole in sticker or if it is dirty. If you have no
new stickers, contact your nearest
authorized Brother dealer.
Loading ...
Loading ...
Loading ...