Loading ...
Loading ...
Loading ...
SEWING THE STITCHES
Utility Stitches
155
3
d
Cut off any excess thread.
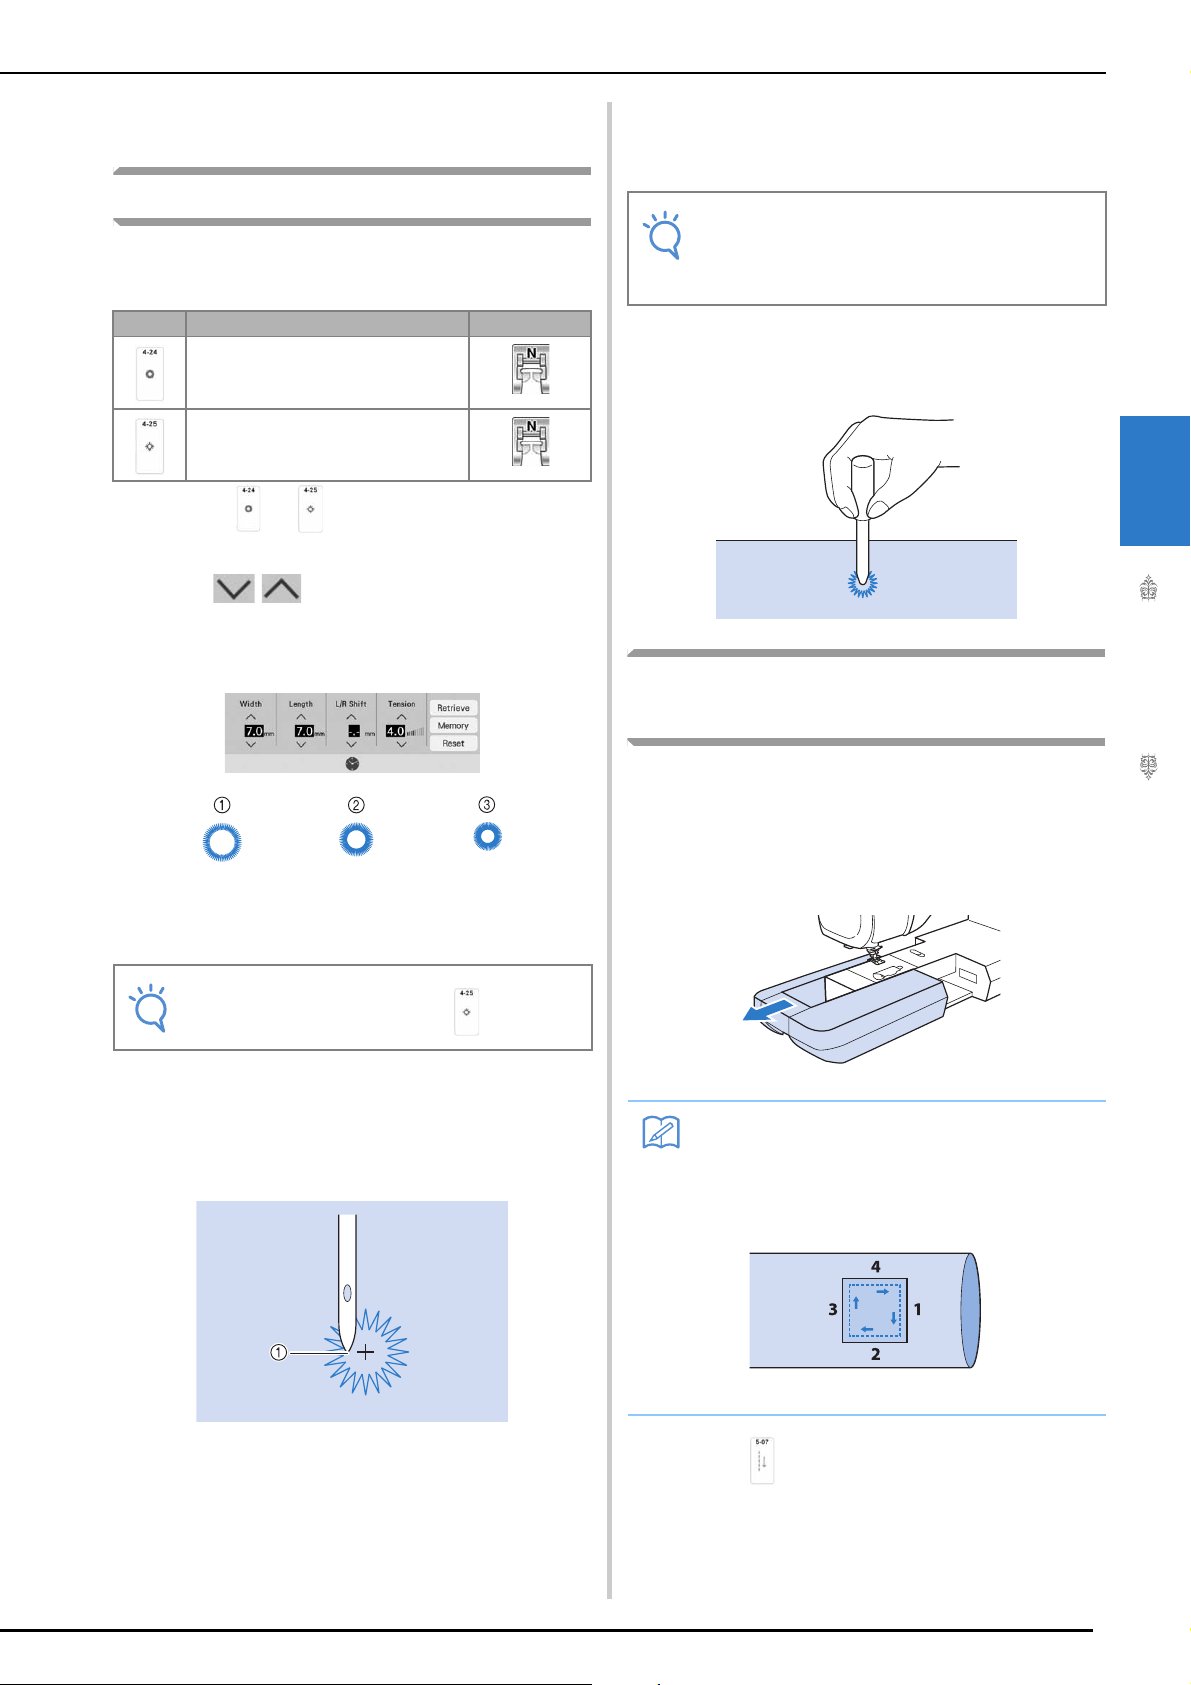
Eyelet
Use this stitch for making belt holes and other
similar applications.
a
Select or .
b
Use in either the stitch width
display or the stitch length display to
choose the size of the eyelet.
a Large 7 mm (approx. 9/32 inch)
b Medium 6 mm (approx. 15/64 inch)
c Small 5 mm (approx. 13/64 inch)
c
Attach monogramming foot “N”, then
rotate the handwheel toward you
(counterclockwise) to check the needle
drop position.
a Needle drop position
d
Lower the presser foot and start sewing.
When sewing is finished, the machine sews
reinforcement stitches and stops automatically.
e
Use the eyelet punch to make a hole in the
center of the stitching.
Multi-directional Sewing
(Straight Stitch and Zigzag Stitch)
Use these stitch patterns to attach patches or
emblems to pant legs, shirt sleeves, etc.
a
Remove the flat bed attachment to use the
free-arm.
b
Select and attach monogramming foot
“N”.
Stitch Stitch name Presser foot
Eyelet
Star eyelet
Note
• Only one size is available for .
Note
• If the stitch pattern comes out poorly, make
adjustments to “SEWING STITCH
PATTERNS” on page 167.
Memo
• Insert the tubular piece of fabric onto the
free-arm, and then sew in the order shown
in the illustration.
Loading ...
Loading ...
Loading ...