Loading ...
Loading ...
Loading ...
Controls and Functions
YC61 Owner’s Manual
13
NOTE
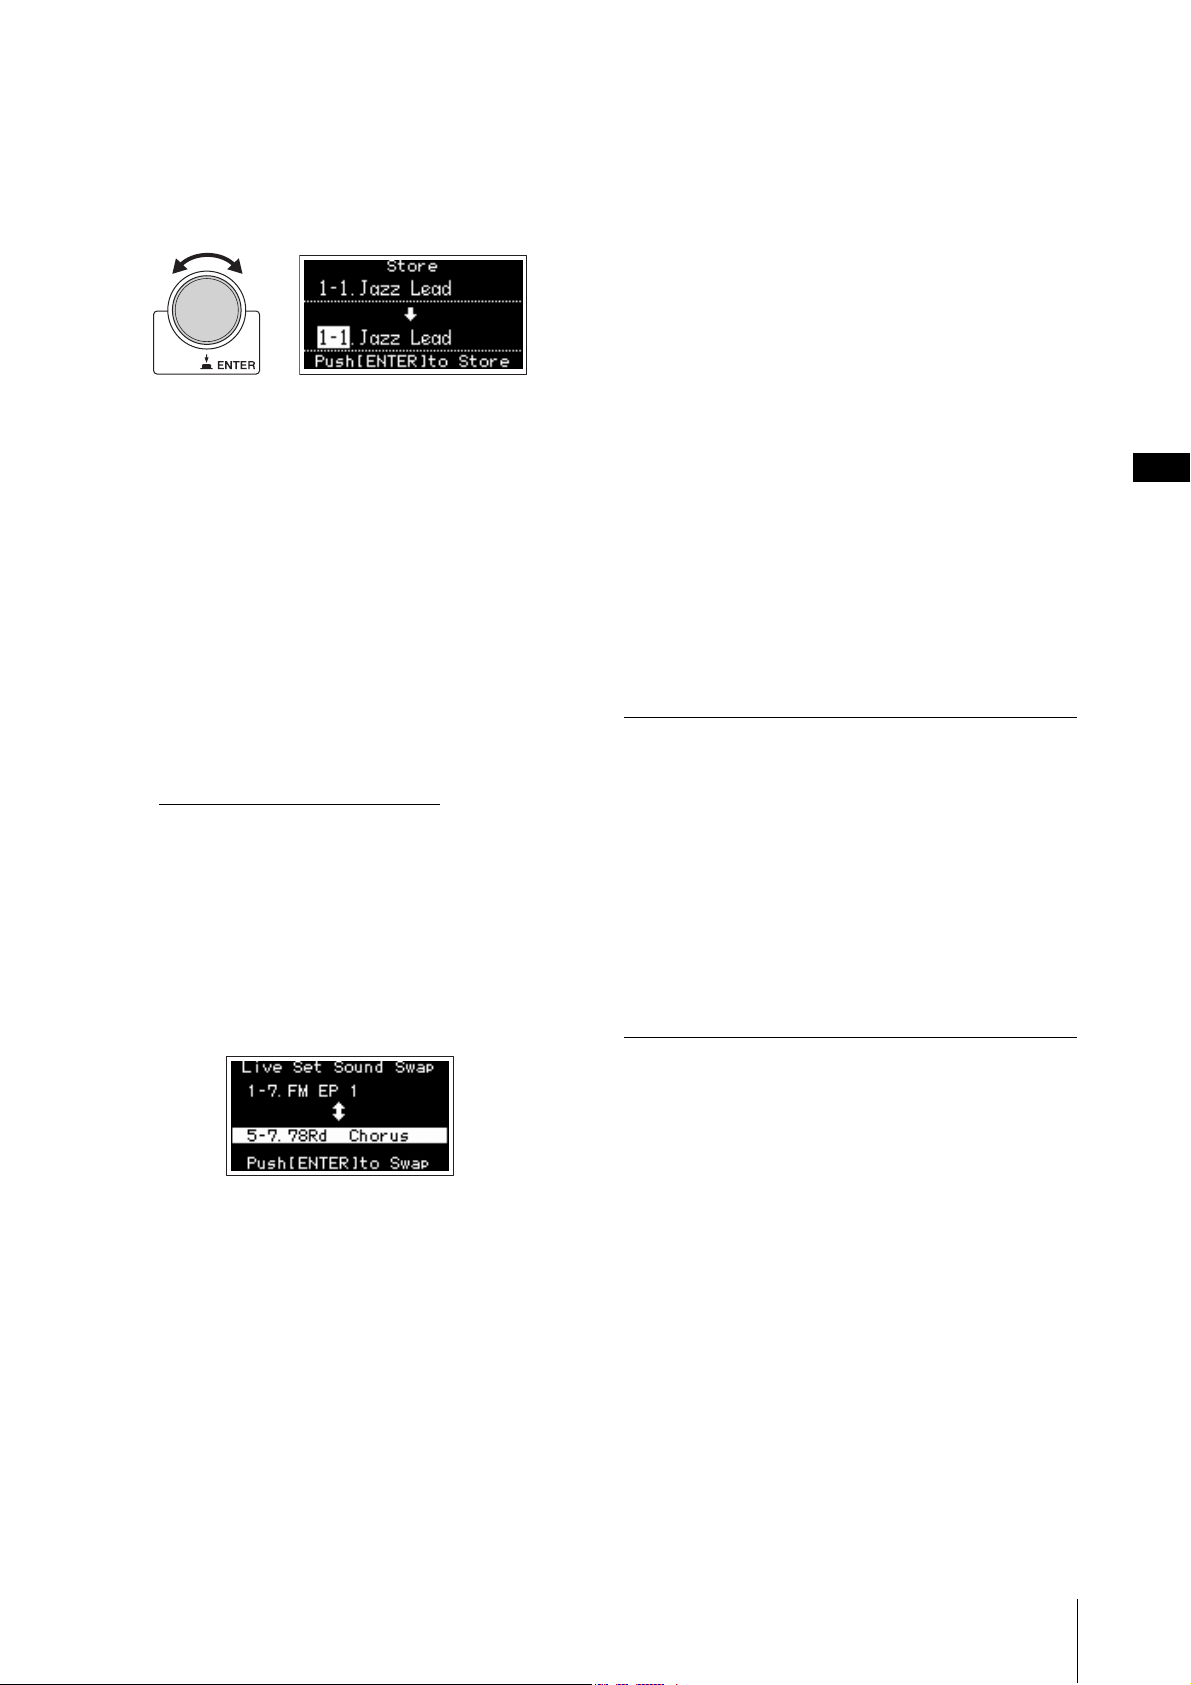
If you wish to store the currently edited settings to another
Live Set Sound, use the Encoder dial to select which Live
Set Sound to store the data to. You can confirm the sound of
that has already been stored in the destination by playing the
keyboard, before step 2.
NOTICE
• The settings will be overwritten if you change the
settings of an existing Live Set Sound (including one
of the preset Live Set Sounds) and then store those
changes. Proceed with caution, as the original
settings will be lost.
• The settings currently being edited will be lost if you
select a different Live Set Sound or turn off the power
before storing the settings.
NOTE
• If you selected a different Live Set Sound causing your
edits to be lost, you can use the “Edit Recall” function to
recall the last edited status (page 41).
• You can download the preset Live Set Sounds from
Soundmondo. Soundmondo is a service for managing
and sharing the Sound settings on an iOS application or
by using the Google Chrome browser on a Mac or PC. For
details, refer to the website below.
http://www.yamaha.com/2/soundmondo
Swapping/Copying Live Set Sounds
1. Call up the Live Set Sound you want to swap
from or copy.
2. Open the operating screen.
[MENU] button → “Job” → “Live Set Manager” →
“Swap”/ “Copy.”
3. Select the Live Set Sound you want to swap to
or copy to.
Use the Encoder dial to select the intended Live Set
Sound. Press the [ENTER] button. The messages
“Executing..” → “Completed.” appear on the screen,
and then operation returns automatically to the Top
screen.
Initializing the Live Set Sound
1. Call up the Live Set Sound you want to
initialize.
2. Open the initialization screen.
[MENU] button → “Job” → “Live Set Manager”→
“Initialize.”
3. Execute initialization.
Use the Encoder dial to select “Live Set Sound Init”
and then press the [ENTER] button. The messages
“Initializing..” → “Completed.” appears on the screen,
and then it returns automatically to the Top screen.
NOTE
If you want to reset the sound settings currently being edited
to the default state, press the [EXIT] and the [SETTINGS]
buttons simultaneously. This operation does not overwrite
the stored Live Set Sound.
$ [SPLIT POINT] button
For changing the Split Point. Turn the Encoder dial or
press the key you wish to assign as the Split Point. The
setting will be stored in the current Live Set Sound.
% [TRANSPOSE] button
For adjusting the pitch in semitone steps. The settings
can be stored to the Live Set Sound. The settings can also
be changed from the [SETTINGS] button → “Sound” →
“Function” → “Transpose” (page 44).
^ [SETTINGS] button
For calling up the screens for making detailed settings
for the currently selected Live Set Sound (page 42). You
can make various settings, including the Organ
customization and Mono/Poly settings for Key A and
Key B. Settings made here are stored in the Live Set
Sound.
Split
The Split function allows you play different Voices with
the right and left hands. The point on the keyboard that
separates the right hand section and the left hand section
of the keyboard is called the “Split Point.”
NOTE
• You can also set by pressing the desired key while holding the
[SPLIT POINT] button.
• The note set as the Split Point becomes the lowest note of the
right hand section.
• The Split Point can also be changed from the [SETTINGS]
button “Function” “Split Point” (page 44).
Loading ...
Loading ...
Loading ...