Loading ...
Loading ...
Loading ...

2. High voltage wires: If your thermostat is labeled 120V or 240V
or has thick wires with wire nuts, your system is high voltage
and isn’t compatible with Wyze Thermostat. Do not connect
Wyze Thermostat to high-voltage wires.
Step 7. Label the wires
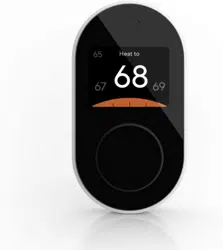
It is time to install your Wyze Thermostat! Using the old thermostat
base as a guide, put the provided sticky label on each wire as you
disconnect it. Make sure all wires are disconnected from the old
thermostat.
Note: Label wires according to old thermostat terminal designations,
NOT by wire color.
Step 8. Disconnect and remove your old thermostat
Remove the old thermostat’s back panel by unscrewing it from the
wall after wires are all labeled and disconnected. Make sure the wires
do not fall back into the wall due to gravity.
Step 9. Mount your Wyze Thermostat back panel
Thread the wires through the center of the back panel (the wall cover
is optional). Hold the back panel to your wall, use a pencil to mark the
holes for your thermostat to be placed. Drill mounting holes for the
drywall anchors (e.g., 3/16 inch holes for drywall).
Use the included drywall anchors and screws to mount the back panel
to the wall. Keep centering the bubble on the built-in level to make
sure your thermostat is in alignment.
Note:You may use your existing wall anchors. Hold the back panel up
against the existing anchors to check for alignment.
9
Loading ...
Loading ...
Loading ...
