Loading ...
Loading ...
Loading ...
46
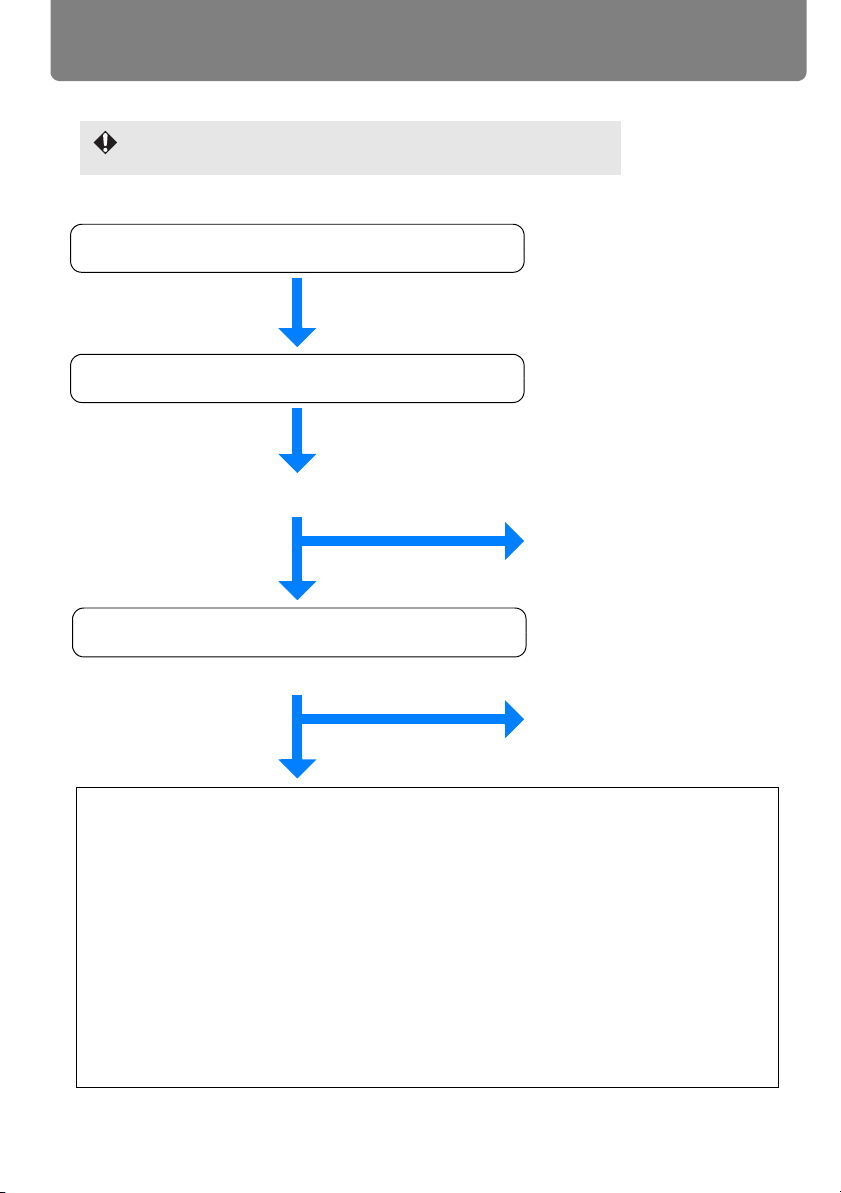
Steps for Connecting the Projector and Projecting an Image
Connecting the Projector to Equipment (P162)
Starting Projection (P56)
Selecting an Input Signal (P59)
Adjusting the Image
(
P61
)
Make the following adjustments.
• Setting the Display Resolution of the Computer
(
P61
)
• Selecting an Aspect Ratio of Projected Image (Screen aspect) and a Screen
Mode (Aspect)
(
P63
,
P69
)
•
Adjusting Misaligned Images or Flickering of the Screen Using the Auto PC (
P62
)
• Adjusting the Image Size
(
P71
)
• Adjusting the Focus
(
P73
)
• Adjusting the Image Position (Lens shift) (P74)
• Adjusting Keystone Distortion
(
P76
)
Making Fine Adjustments
• Selecting an Image Mode
(
P78
)
Do you want to project an image from a
notebook computer?
Is the image projected properly?
No
For a notebook computer,
turn on the monitor output
(P58) and then proceed.
No
Yes
Projection is complete.
Yes
Installation work should be performed by a qualified technician.
Contact the Canon Customer Support Center for further information.
Loading ...
Loading ...
Loading ...