Loading ...
Loading ...
Loading ...
Operating your Breville Juice Fountain
11
Assembling your Breville Juice Fountain continued
10
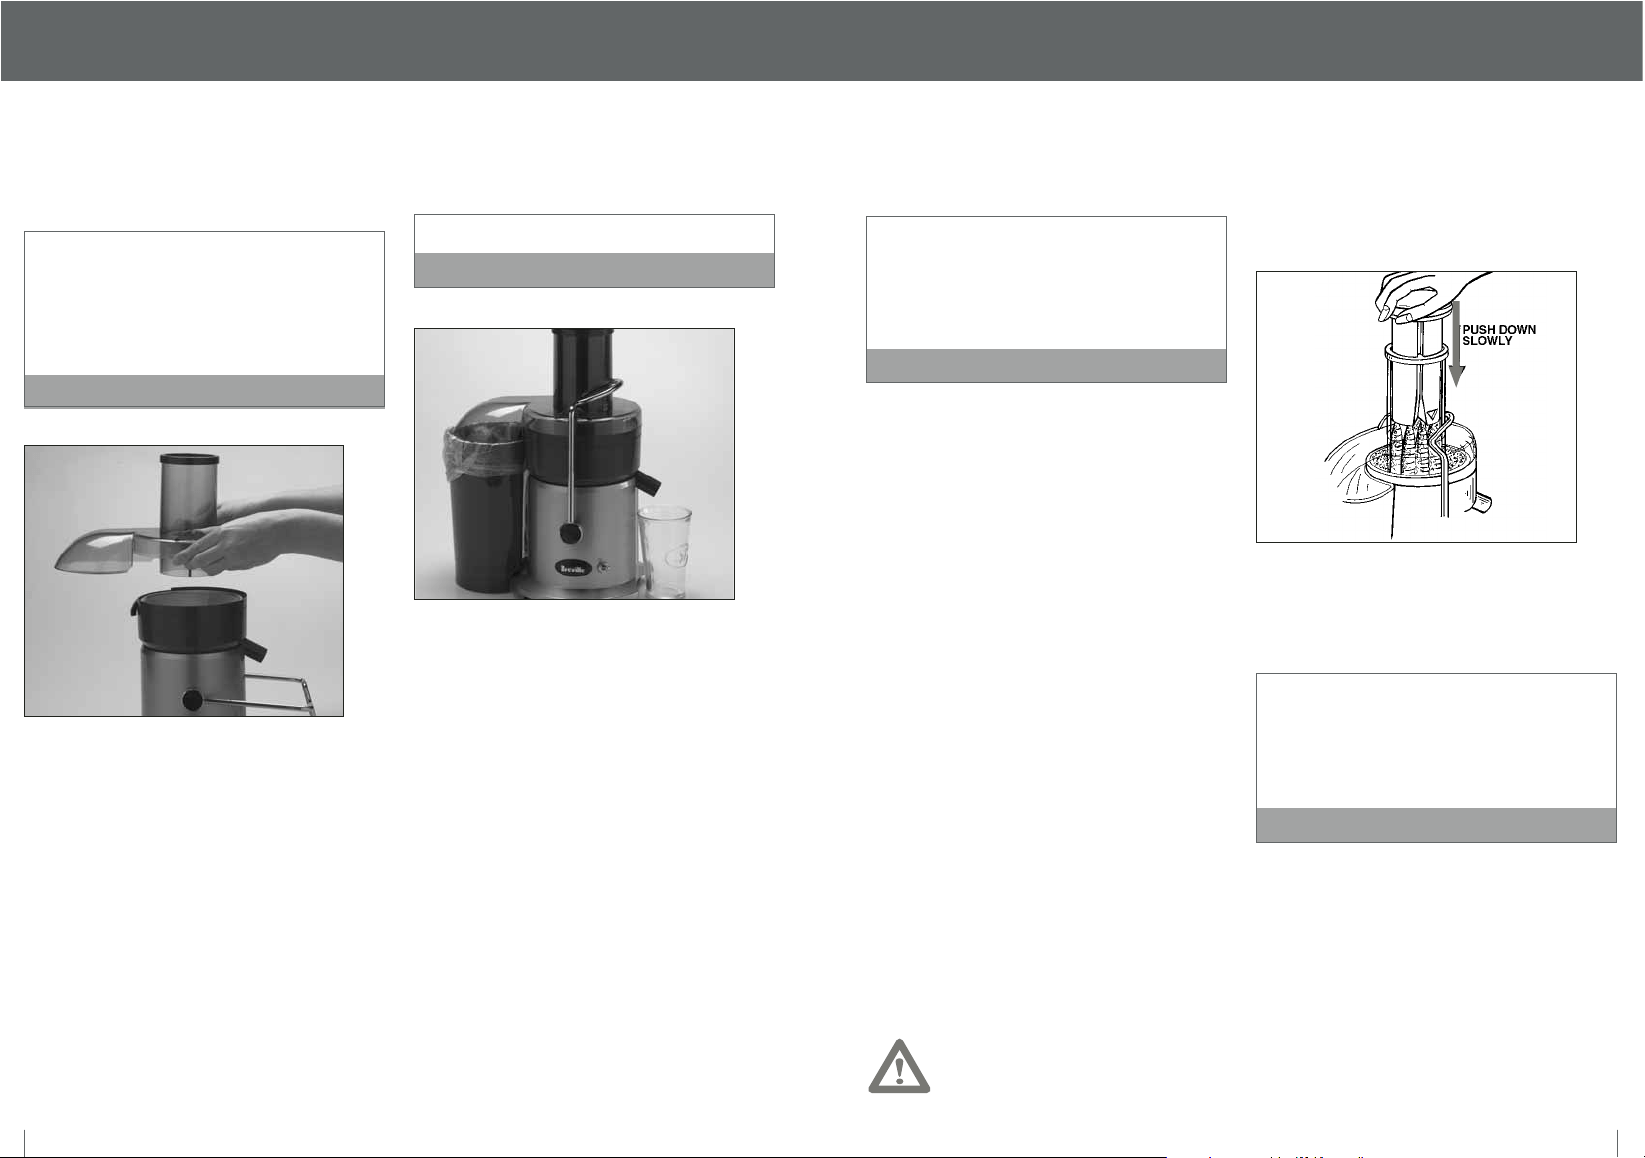
Step 6
Place the Pulp Container into position by tilting the
pulp container slightly.
To minimize washing up we suggest you place a
plastic freezer bag (or plastic grocery bag) into
the pulp container to collect the pulp. The bag
may also prevent pulp from spitting out of the
pulp container. (Please see page 11.)
That’s the idea
™
Step 7
Place the juice jug provided under the spout on the
right hand side of the Juice Fountain.
A glass could also be used to collect the juice.
Note
Step 1
Wash your selection of fruit and vegetables ready
for juicing.
Most fruit and vegetables such as apples, carrots
and cucumbers will not need to be cut to size as
these will fit into the feed chute whole. When
juicing carrots place the tip of the carrot into the
feed chute last.
Note
Step 2
Ensure the Juice Fountain is correctly assembled. (See
pages 7, 8 and 9.) Ensure you place the juice jug
under the spout while juicing.
Step 3
Plug the power cord into a power outlet and turn
the power ‘ON’. Turn the ‘ON/OFF’ switch on the
Juice Fountain down to the ‘ON’ position to start the
Juicer operating.
Step 4
With the motor running, place food into the feed
chute. Using the food pusher, gently guide food down
the feed chute. To extract the maximum amount of
juice, always push the food pusher down slowly.
Step 5
Juice will flow into the juice jug and the separated
pulp will accumulate in the Pulp Container.
The Pulp Container can be emptied during
juicing by turning the Juice Fountain ‘OFF’ and
then carefully removing the Pulp Container.
(Replace empty Pulp Container before continuing
to juice.)
Note
6
7
4
TO EXTRACT
MAXIMUM
JUICE PUSH
DOWN SLOWLY
NEVER USE FINGERS TO PUSH FOOD DOWN THE FEED CHUTE OR TO CLEAR THE FEED CHUTE.
ALWAYS USE THE FOOD PUSHER PROVIDED.
Loading ...
Loading ...
Loading ...