Loading ...
Loading ...
Loading ...
RIGOL Chapter 5 To Trigger the Oscilloscope
5-4 MSO5000 User Guide
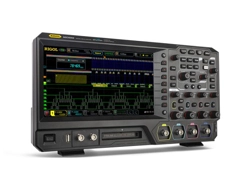
input a specific value with the displayed numeric keypad.
Trigger Mode
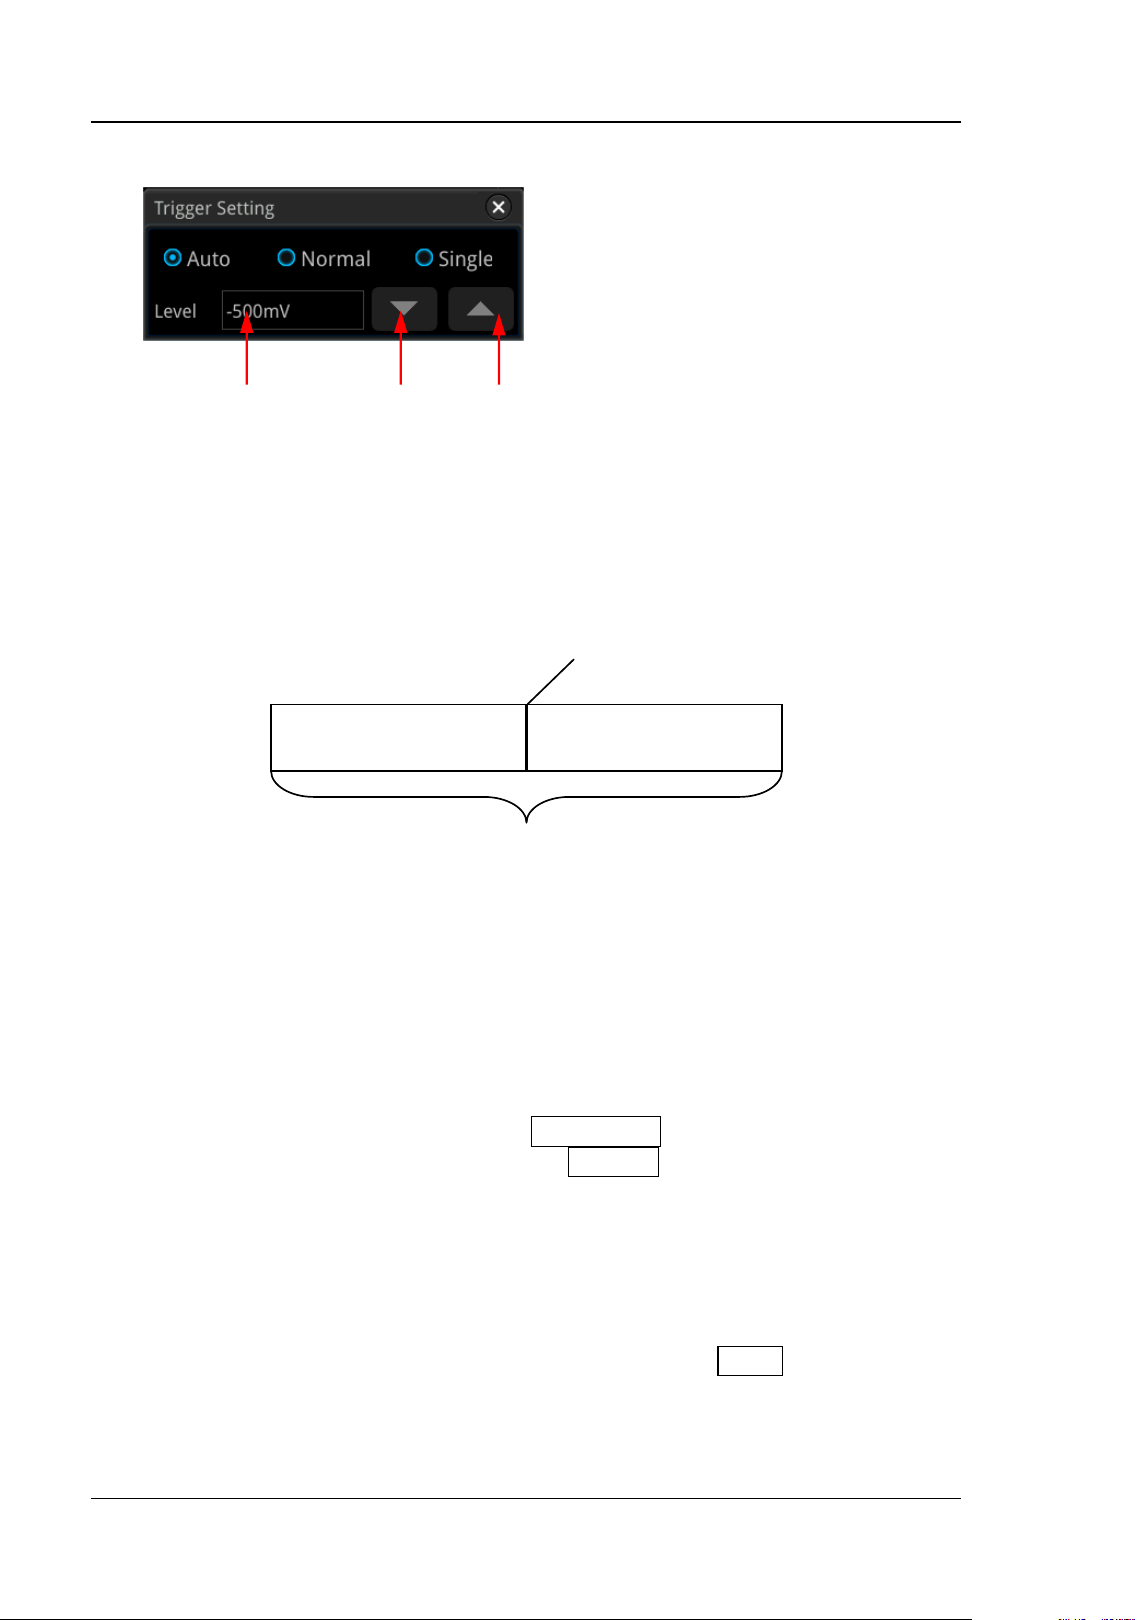
The following is the schematic diagram of the acquisition memory. To easily
understand the trigger event, we classify the acquisition memory into the pre-trigger
buffer and post-trigger buffer.
Figure 5-1 Schematic Diagram of the Acquisition Memory
After the system runs, the oscilloscope operates by first filling the pre-trigger buffer.
It starts searching for a trigger after the pre-trigger buffer is filled. While searching
for the trigger, the data sampled will still be transmitted to the pre-trigger buffer (the
new data will continuously overwrite the previous data). When a trigger is found, the
pre-trigger buffer contains the data acquired just before the trigger. Then, the
oscilloscope will fill the post-trigger buffer and display the data in the acquisition
memory. If the acquisition is activated via RUN/STOP, the oscilloscope will repeat
this process; if the acquisition is activated via SINGLE, the oscilloscope will stop
after finishing a single acquisition (you can pan and zoom the currently displayed
waveform).
MSO5000 provides three trigger modes: Auto, Normal, and Single. The default is
Auto.
In the trigger control area (Trigger) on the front panel, press Mode to quickly switch
the current trigger mode. The trigger mode is displayed at the upper-right corner of
the screen: A (Auto), N (Normal), and S (Single).
⚫ Auto: In this trigger mode, if the specified trigger conditions are not found, triggers
Pre-trigger Buffer
Post-trigger Buffer
Trigger Event
Acquisition Memory
Level Input Field Decrease the level Increase the level
Loading ...
Loading ...
Loading ...