Loading ...
Loading ...
Loading ...

RIGOL Chapter 20 System Utility Function Setting
20-10 MSO5000 User Guide
For detailed settings, refer to descriptions in "Quick Measurement after AUTO".
Print Setting
Connect the oscilloscope to the local area network via the network cable. The
MSO5000 series supports printing the whole screen to the USB printer or network
printer. You can connect the oscilloscope to the printer directly via the USB DEVICE
interface on the rear panel. Then, you can set the print parameters on the
oscilloscope to control the printer to output the corresponding picture.
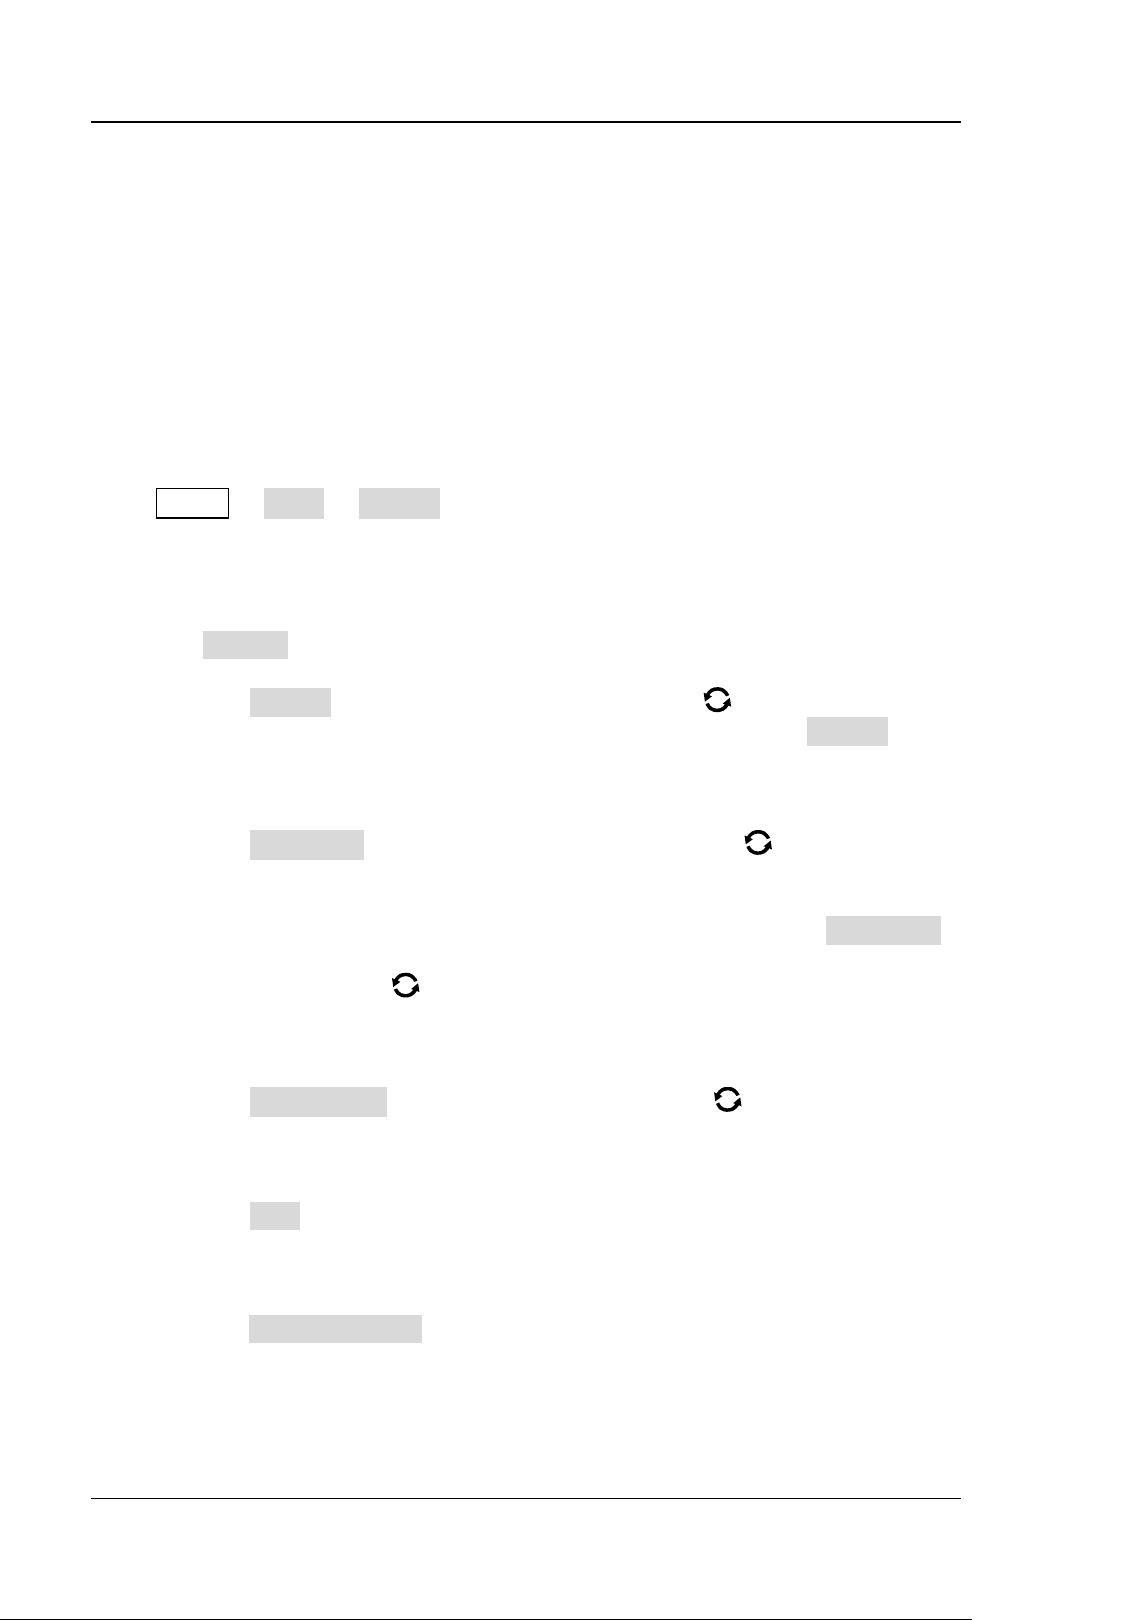
Press Utility → More → Printer to enter the printer setting menu. After the printer
is properly connected, you need to set the network configurations for printing, and
then set the printer parameters.
1. Network Configuration
Press Setting to enter the network configuration menu.
⚫ Select the Printer
Press Printer, and rotate the multifunction knob to select the printer
model. Press down the knob to select it. You can also press Printer
continuously or enable the touch screen to select it.
⚫ Set the IP Address
Press Printer IP, then rotate the multifunction knob to set each
segment of the IP address for the printer. Press down the knob to confirm
the setting for each segment of the address. At this time, the cursor is
moved to the next segment automatically. You can also press Printer IP
continuously to switch the segment position, and then rotate the
multifunction knob
to set it. You can also enable the touch screen to
switch the address segment.
⚫ Set the Port
Press Printer Port, rotate the multifunction knob to adjust the port
number or use the pop-up numeric keypad to input the port number.
⚫ Network Test
Press Test to test whether the network is connected. If connected, a
prompt message "Network connected" is displayed.
⚫ Print Test Page
Press Print test page to carry out the print test. The print progress is also
displayed on the screen.
2. Set the Printer Parameters
⚫ Print
Loading ...
Loading ...
Loading ...
