Loading ...
Loading ...
Loading ...
22
CAUTION
Installation of wainscoting material is best accomplished before the refrigeration system has been started,
and before any product has been loaded. In the event that wainscoting must be added at a later date,
ensure that the refrigeration system has been turned off and that the subsurface has been allowed to
return to a normal working temperature. Installing at a low temperature may not allow the
adhesive/sealant to cure adequately.
• Clean and dry subsurface.
• Follow the sequence of labels on the sheets of material in accordance to the labeling on the assembly drawing.
• Attach corner pieces (if applicable) first, by applying silicone adhesive to the back side, and then securing to the panel walls
using sheet metal screws every 24”.
• The remaining sheets can then be secured using sheet metal screws every 24”. Ensure that at least one fastener is used
near each corner of each piece of material.
• All sheets must be as flush as possible to one another.
• Make sure that all sheets make contact with outside finished floor.
• Caulk all exposed edges of sheeting.
• Allow 1-3 hours for the adhesive/sealant to dry prior to resuming use of the walk-in.
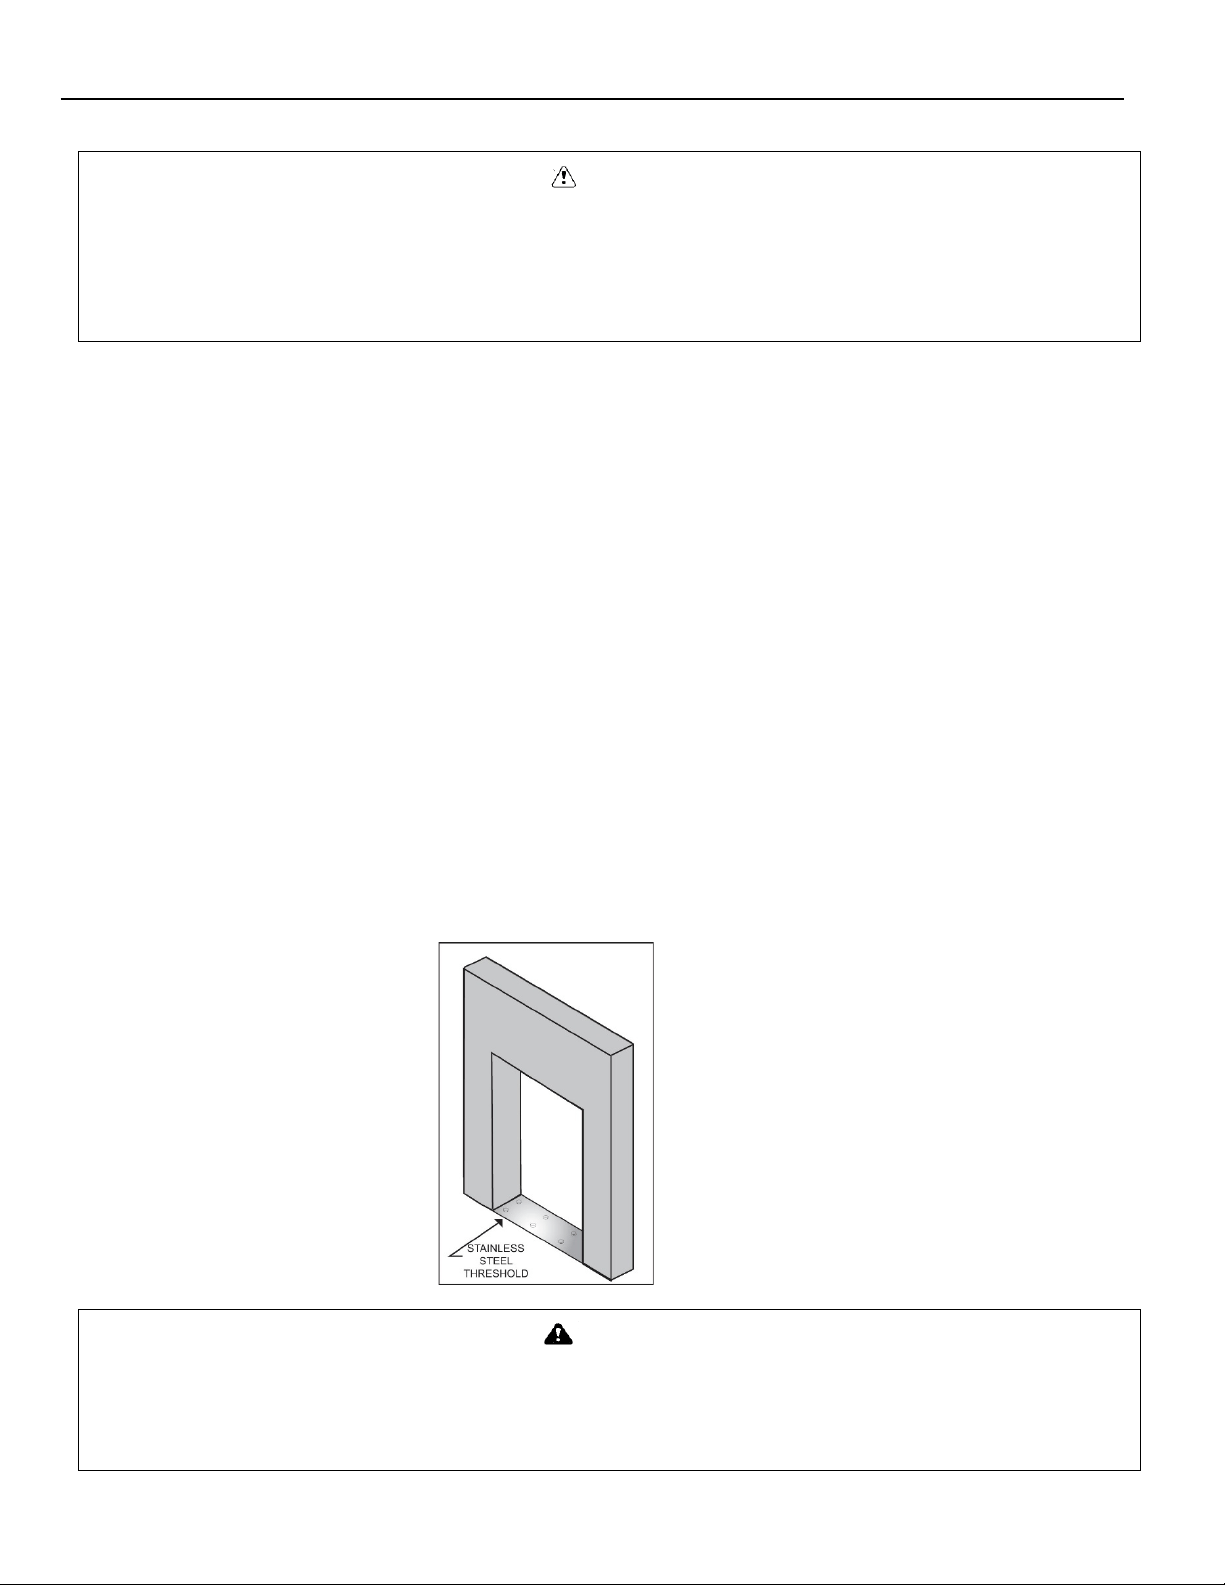
Threshold Installation
• Install the threshold per the details provided on the assembly drawing. Threshold types include fiberglass and stainless steel
and are provided with either flat or sloped transitions depending on the required floor application.
WARNING
Make sure that if any holes are drilled into the threshold, or when the fasteners are driven, that they do
not damage the threshold heater wire inside or under the threshold assembly. Damage to this could
impair the ability of the heater to melt any ice which forms on the threshold, or could even result in an
electrical short.
Loading ...
Loading ...
Loading ...