Loading ...
Loading ...
Loading ...
16
• Start with a back corner and work around the unit both ways, ending with a front corner. Do not lock the walls into the
floor/screed at this time.
• Begin wall panel assembly by cam-locking a back corner panel and one wall panel together. See assembly drawing for
correct panel placement, and tongue and groove directions.
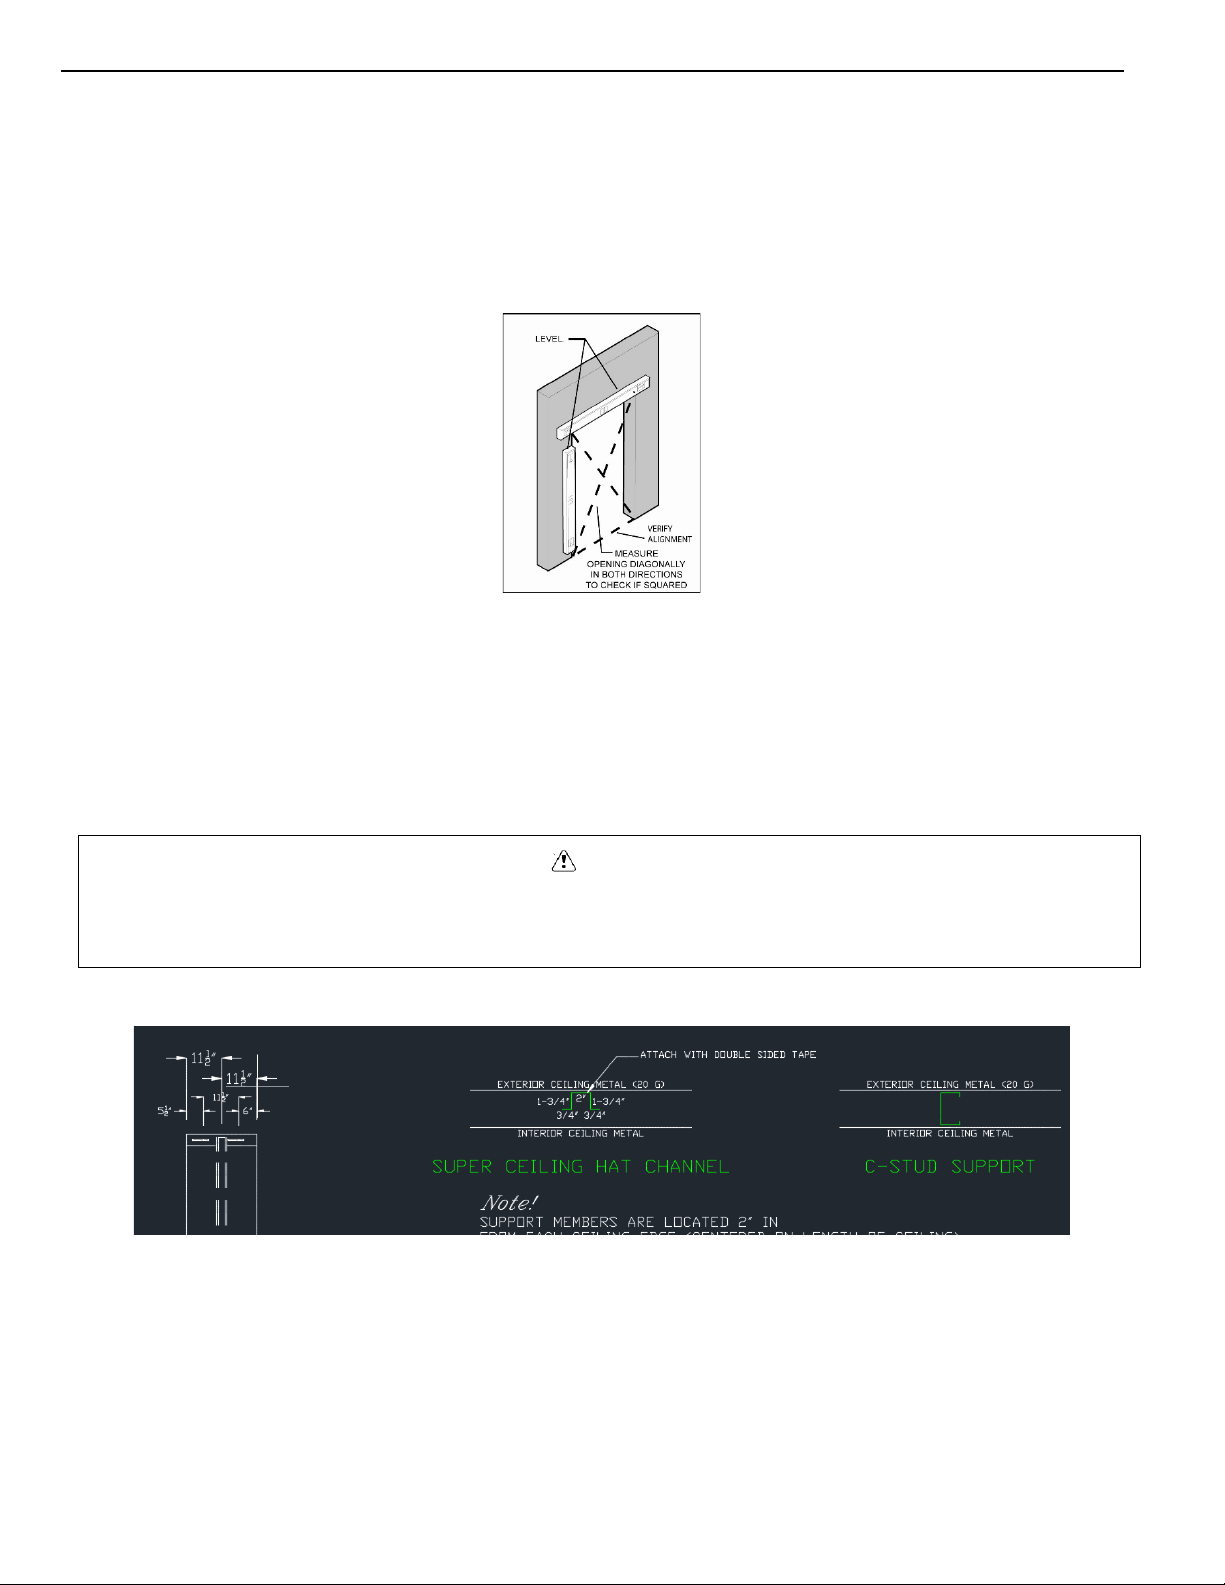
• Door sections will be installed in sequence along with wall panels. Use a level to set the door section plumb and level.
• Work around unit in both directions, ending at opposite corner.
• Ensure the edges and tops of walls are flush.
• Lock the wall panels and door section into the floor/screed.
Ceiling Panel Installation
CAUTION
Hat Channel and C-Stud ceiling panels could potentially interfere with evaporator coil mounting holes. Hat
Channels and C-Studs are located every 11.5” from the male/female rail. Make sure to offset evaporator
coil mounting holes so that they do not interfere with any Hat Channel or C-Stud.
Loading ...
Loading ...
Loading ...