Loading ...
Loading ...
Loading ...
11. Connecting to other equipment
306
Printing the Pictures
If you connect the camera to a printer supporting PictBridge, you can select the pictures to
be printed out and instruct that printing be started on the camera’s monitor.
• Group pictures will not be displayed as group pictures but as single pictures.
• Some printers can print directly from the card removed from the camera. For details, refer to
the operating instructions of your printer.
Preparations:
Turn on the camera and the printer.
Perform the print quality and other settings at the printer before printing the pictures.
1
Press [(] on the camera.
2
Rotate the rear dial to the left to display the multi playback screen,
and press [Fn1] to select the card to display the images you want to
print.
• You can only print images on one card at a time. You cannot change the displayed card
while a printer is connected.
• You can also select the card to be displayed using the function button [Slot Change]
(P62).
3
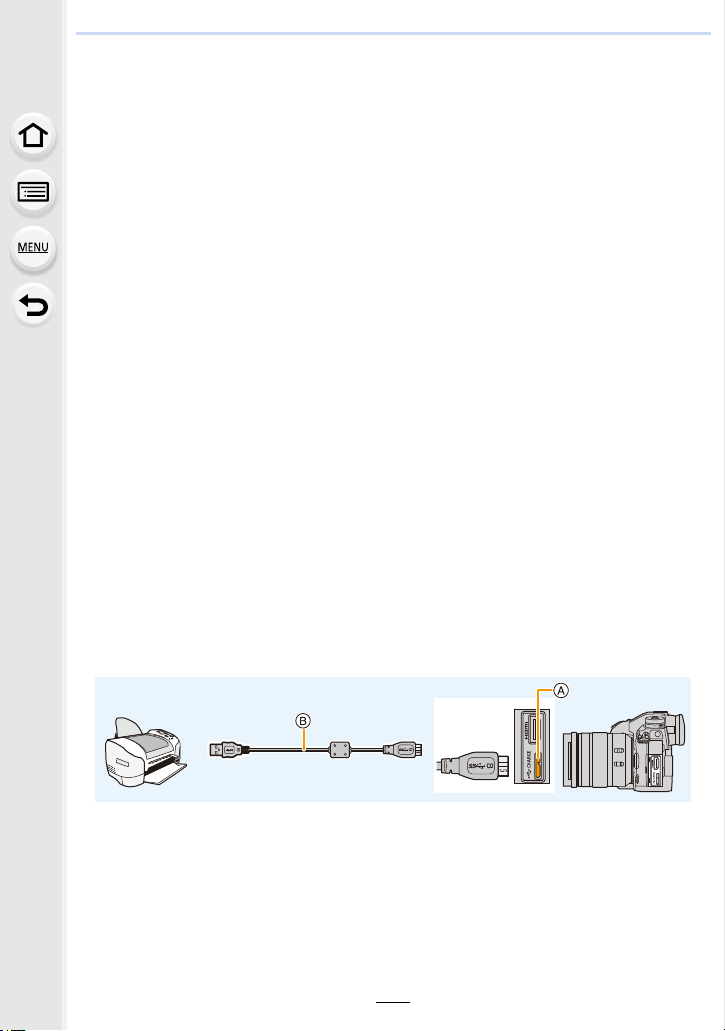
Connect the printer and camera with the USB connection cable
(supplied).
• Check the direction of the terminals and plug in/out straight holding onto the plug.
(It may result in malfunction by the deforming of the terminal if it is plugged in obliquely
or in wrong direction.)
Do not connect devices to incorrect terminals. Doing so may cause malfunction.
• Do not use any other USB connection cables except the supplied one.
A [USB/CHARGE] socket
B USB connection cable (supplied)
4
Press 3/4 to select [PictBridge(PTP)], and then press [MENU/SET].
Loading ...
Loading ...
Loading ...