Loading ...
Loading ...
Loading ...
En
19
Advanced Operation
Section 1 Section 2 Section 3 Section 4
Section 5 Section 6 Section 7 Section 8
3 Press the [PARAMETERc] or [PARAMETERd] button.
Set the quantization for the slicer function. The value set for the quanti-
zation switches each time one of the buttons is pressed.
The quantization can be set to one of four settings: 1/8, 1/4, 1/2 and 1.
The length of the loop which is played while the pad is being pressed
can be changed with the “QUANTIZATION” setting. For example, when
“QUANTIZATION” is set to “1”, the entire section assigned to the pad is
played in a loop, and when “QUANTIZATION” is set to “1/2”, only the first
half of the section assigned to the pad is played in a loop.
4 Press and hold one of the performance pads.
When the pad is pressed and held, the sound is played in a loop.
When the pad is released, the track returns to the position that is playing
in the background.
!
The length of loop playback differs depending on the quantization
setting.
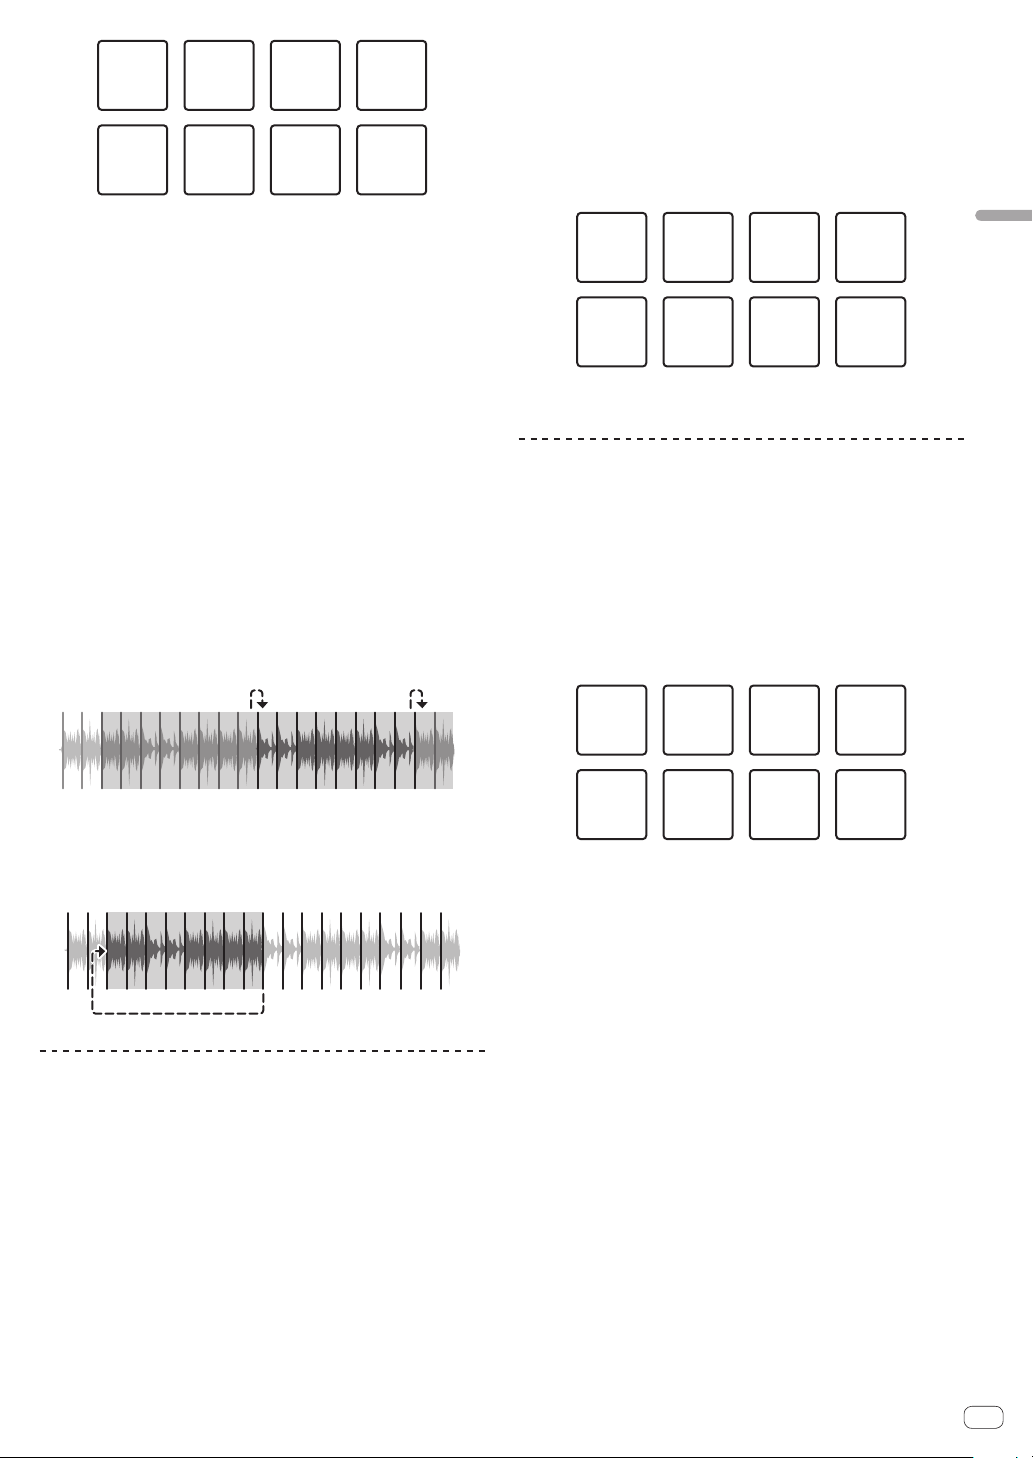
Slicer mode and slicer loop mode
Slicer mode
When the playback position advances to the end of the range that has
been sliced into eight equal sections, the range shown on the display
switches to the next eight sliced sections, and these sliced sections
are assigned to the respective pads, replacing the previously assigned
sections.
12345678112
2
…
345678
Slicer loop mode
When the playback position advances to the end of the range that was
sliced into eight equal parts, the playback position returns to the begin-
ning of the range that was sliced into eight equal parts.
12345678
Using the sampler function
The tracks loaded in the sampler slots of the sampler can be played
using the performance pads.
1 Press the [PANEL] button to open the sampler panel
on the computer screen.
2 Press the [SAMPLER] mode button.
The [SAMPLER] mode button lights up and the mode switches to the
sampler mode.
3 Press the [PARAMETERc] or [PARAMETERd] button.
The sampler bank is switched. The sampler has the four banks of A, B, C,
and D, and each bank has eight slots.
4 Press the performance pads while pressing the [SHIFT]
button to load the tracks into the respective slots of the
sampler panel.
The sampler settings and loaded tracks are saved.
5 Press a performance pad.
The sound for the slot assigned to the pad that was pressed is played.
! The playback method differs depending on the Serato DJ sampler
mode. For details, see the Serato DJ software manual.
Slot 1 Slot 2 Slot 3 Slot 4
Slot 7 Slot 8Slot 5 Slot 6
! When a performance pad is pressed while pressing the [SHIFT] but-
ton, the sound of the slot that is currently playing stops.
Using cue loops
1 Press the [HOT CUE] mode button while pressing the
[SHIFT] button.
The mode switches to cue loop mode.
2 During playback, press a performance pad.
The loop-in point is set at the hot cue slot and loop playback starts.
! The length of the loop at this time is the number of beats set for auto
looping.
The loop-in points are assigned to the performance pads as shown
below.
Loop 1 Loop 2 Loop 3 Loop 4
Loop 5 Loop 6 Loop 7 Loop 8
! With the cue loop function, the hot cue point is used as the loop-in
point.
If a performance pad to which a hot cue point is already set is
pressed, loop playback starts from that hot cue point.
3 During loop playback, press the [PARAMETERc]
button.
The loop length is cut in half.
Pressing the [LOOP 1/2X] button obtains the same effect.
4 During loop playback, press the [PARAMETERd]
button.
The loop length is doubled.
Pressing the [LOOP 2X] button obtains the same effect.
5 During loop playback, press the [PARAMETERc]
or [PARAMETERd] button while pressing the [SHIFT]
button.
The loop moves, maintaining the same length (loop shift).
6 While pressing the [SHIFT] button, press the same
performance pad.
The track returns to the set loop-in point and loop playback continues.
7 Press the same performance pad again.
Loop playback is canceled.
Loading ...
Loading ...
Loading ...