Loading ...
Loading ...
Loading ...
By connecting the optional iDatalink adapter,
you can access the satellite radio source pro-
vided for the vehicle and the vehicle informa-
tion can be displayed on this product.
Important
! For information on installing the iDatalink
adapter, refer to the operating manual of the
iDatalink adapter.
! After installing the iDatalink adapter, be sure
to check the operations.
! For details about vehicle models that are com-
patible with the iDatalink adapter, refer to the
information on our website.
! Functions and displays vary depending on the
vehicle model. For details of the functions
available for each model, refer to the informa-
tion on our website.
! The iDatalink list screen can be scrolled up or
down by page.
! Please note that your Pioneer radio’s serial
number and a computer with internet access
are required to program your Maestro RR
module. For troubleshooting information
about “My Vehicle” functions, visit www.idata-
linkmaestro.com/support or call iDatalink
Maestro Technical Support toll-free at
877.212.6169 ext 7900.
Activating iDatalink Maestro
Before using and/or connecting the iDatalink
Maestro adapter, you will need to first flash the
Maestro module with the appropriate vehicle
and head unit firmware.
Please note that you will need to power up the
Pioneer product in advance to view the device
number needed to flash the iDatalink Maestro
module.
= For details on how to check the device num-
ber, refer to Checking the device number on
page 123.
Checking the device number
1 Install this product to your vehicle, and
then turn on the power of this product.
2 Press the HOME button to display the
Top menu screen.
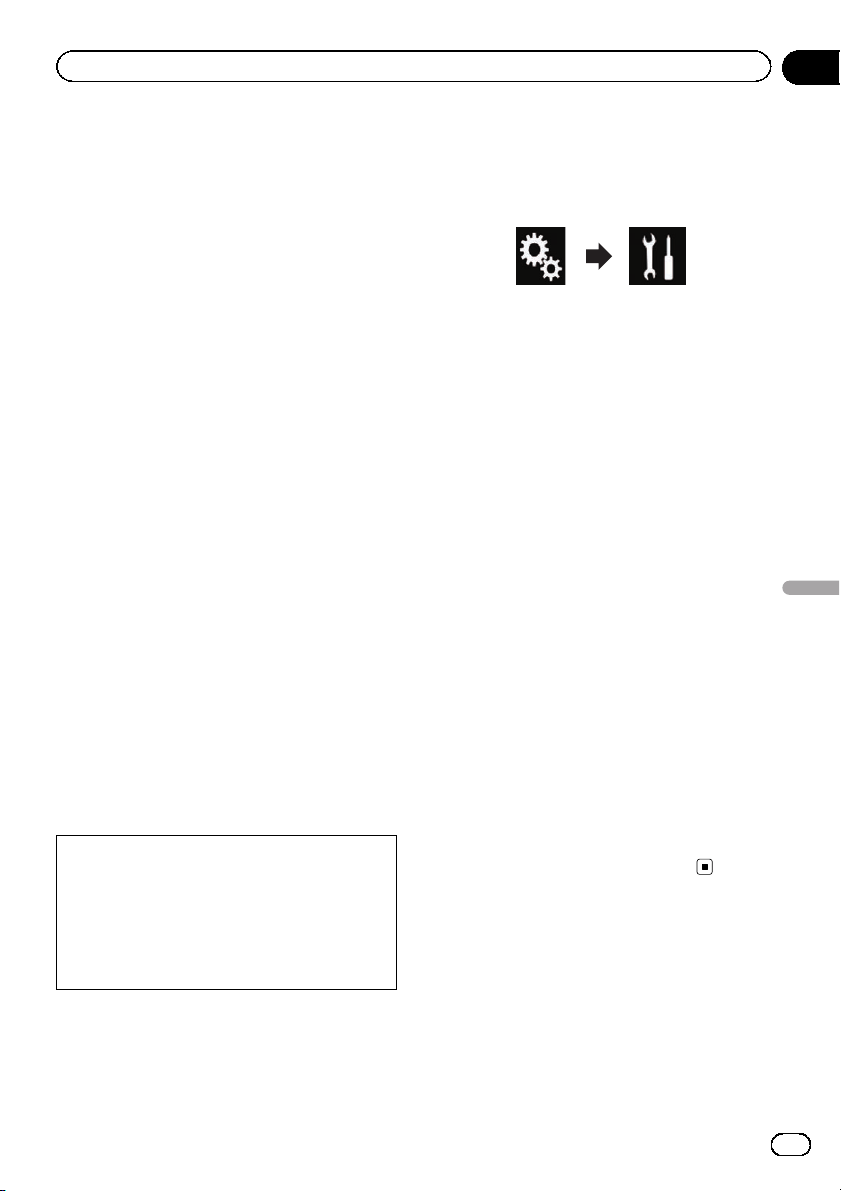
3 Touch the following keys in the follow-
ing order.
The “System” screen appears.
4 Touch [System Information], and then
touch [Firmware Information].
The device number of this Pioneer product will
appear.
5 Take a note of the device number of
this Pioneer product.
Updating the iDatalink Maestro
module
1 Access the Automotive Data Solutions
Inc. website (www.idatalinkmaestro.com/)
and follow the on-screen directions to con-
figure the desired firmware.
p When the serial number input is required,
please input the device number of this
Pioneer product.
2 Install the vehicle/head unit specific
firmware on your iDatalink Maestro mod-
ule.
p For details, please refer to Automotive Data
Solutions Inc. website.
3 Connect this product to iDatalink Maes-
tro, and then install this product to the ve-
hicle.
The iDatalink function will be active.
En
123
Chapter
24
Using iDatalink
Using iDatalink
Loading ...
Loading ...
Loading ...