Loading ...
Loading ...
Loading ...
Computer Access Setup Remote access not working? (troubleshooting steps)
48
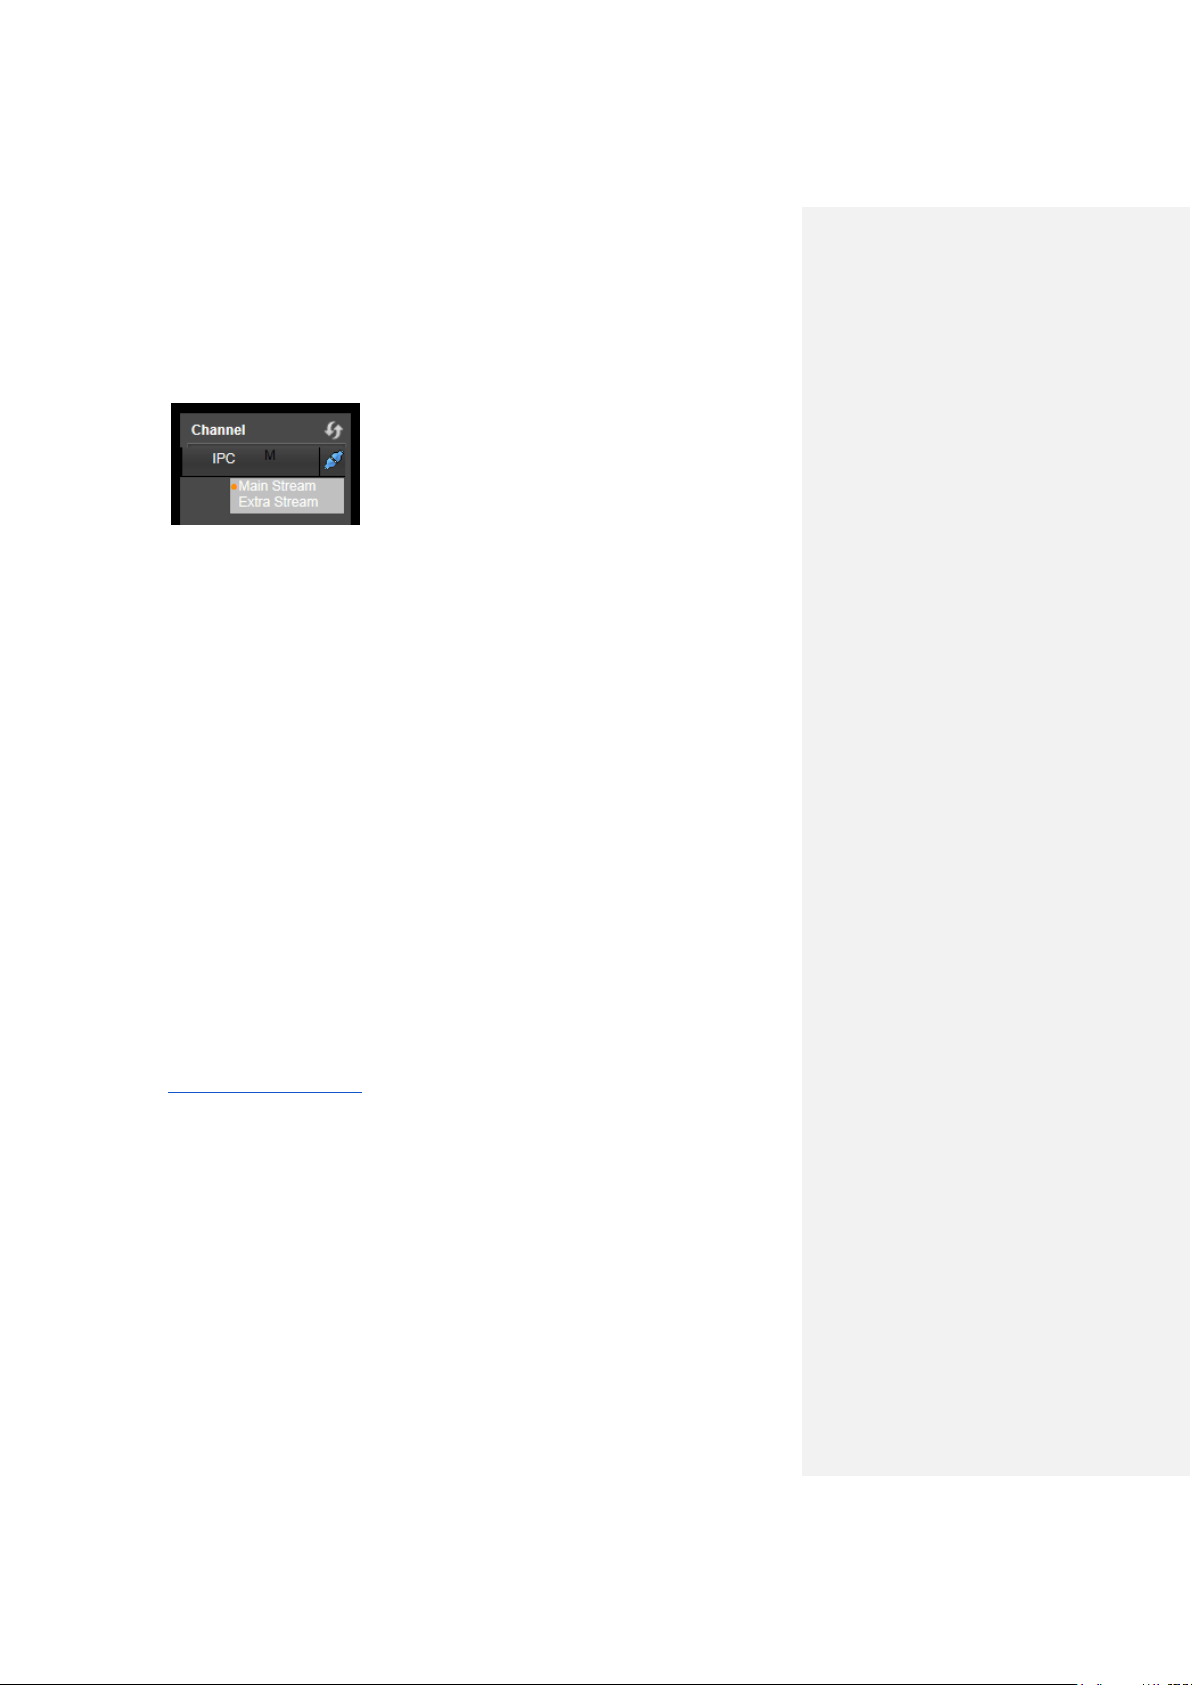
17. Once the main interface opens, click the plug icons next to each camera in the left panel.
After clicking the plug icon, you can choose between Main Stream and Extra Stream.
Main Stream is HD and takes more bandwidth (requires faster network speed).
Extra Stream is SD and requires less bandwidth (can work on slower internet
connections).
To get more detailed information on other methods to set up remote web access for the Amcrest
NVR, please refer to the user manual.
Remote access not working? (troubleshooting steps)
1. Re-enter login credentials: Confirm that your username and password for accessing
the NVR are correct. Please refer to part 3 of this guide: Console Setup > Logging in.
The same credentials you use to log in to the console in that section are what you will
enter into the login screen on the web interface.
2. Use the correct web browser: Make sure you are using Internet Explorer as your web
browser.
3. Confirm plugin is installed: If you still see any popup windows when trying to log in to
the web interface, please make sure you have correctly installed the Amcrest browser
plugin: webplugin.exe. Please refer to part 5 of this guide: Computer Access Setup>
Installing the Amcrest browser plugin.
4. Write the URL correctly: When using Internet Explorer, it is crucial to write the NVR’s
remote access URL correctly. Some versions of Internet Explorer will not automatically
include the “http://” prefix to the beginning of an IP address that is typed in. Check your
search bar and, if you do not see “http://” before your URL (e.g. 192.168.2.149:12345),
please add it. In addition to that, make sure that you are using a colon “:” and not a
semicolon “;”. Your final URL should look something like this:
“http://192.168.2.149:12345/” (without quotes). Keep in mind that the IP address and port
number will be different depending on your setup.
5. Select WAN button: The LAN radio button will be selected by default. You must click
and select WAN in order for this remote connection to work.
6. Connect to the internet: Confirm that your computer is properly connected to the
internet by loading another web page first, then trying the NVR’s remote access URL
again. Also, confirm that an Ethernet cable is connected from your router to the correct
port on the back of your NVR. If using a PoE NVR, it will NOT be one of the 4 or 8 PoE
ports bunched together. It will be a standalone internet port. Please refer to part 2 of this
guide: Front/Back Panel Diagrams & Descriptions.
Loading ...
Loading ...
Loading ...