Loading ...
Loading ...
Loading ...
Computer Access Setup Amcrest IP Config Software method
36
The following section will cover both means of access (local and remote). Keep in mind that any
user can have both local and remote access simultaneously if they so choose.
Before accessing your NVR through a web browser, the following two steps must be
completed:
1. You must access the NVR’s web interface with its IP address.
2. You must install the Amcrest web browser plugin.
An IP address is just an identifier given to any devices that connect to a network. People use
names, but internet-connected devices use a set of numbers called an IP address to talk to each
other. Once you have the IP address, your computer will be able to find and communicate with
your NVR.
A browser plugin is just like a translator. Using your NVR by itself, without a computer (the built-
in interface featured in previous parts of this guide) is different than using it on your computer. By
using the NVR on your computer through a web browser, you need to introduce a new piece of
software that allows your computer to understand the language that the NVR speaks in a way
that a computer can understand. That’s what the browser plugin is for.
There are 2 ways to access the NVR’s web interface: (1) Amcrest IP Config Software method
and the built-in interface method.
Amcrest IP Config Software method
Amcrest IP Config Software can be installed for free onto your computer from Amcrest’s official
website. The IP Config Software is available for both Windows and Mac operating systems. To
get directly to the downloads page, use this link:
https://amcrest.zendesk.com/hc/en-us/categories/201939038-All-Downloads
Otherwise, the steps below will walk you through how to download, install, and use Amcrest IP
Config Software:
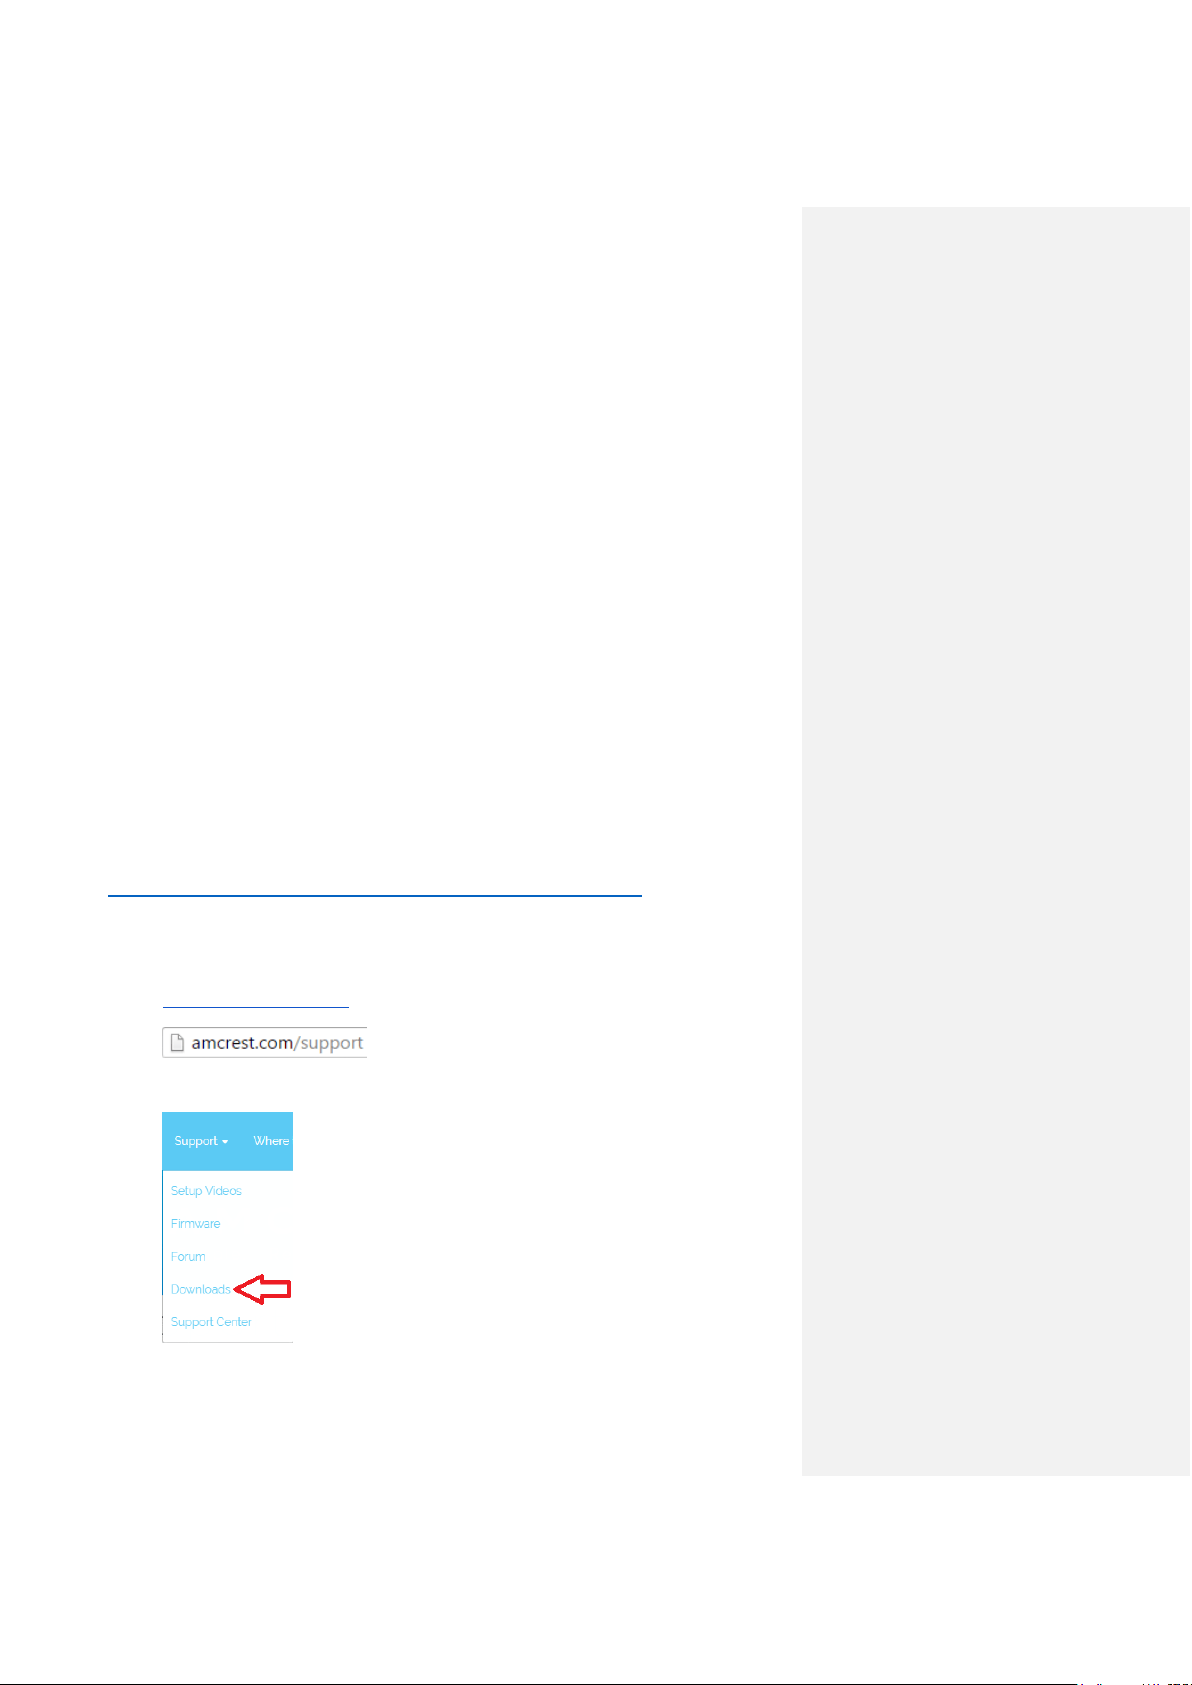
1. Log onto your computer, open your web browser of choice, and go to
www.amcrest.com/support:
2. Then, hover over the Support tab up top and choose Downloads from the dropdown.
Loading ...
Loading ...
Loading ...