Loading ...
Loading ...
Loading ...
7
Inserting and ejecting an SD memory
card
8200NEX
7200NEX
p This system is not compatible with the Multi Media Card
(MMC).
p
Compatibility with all SD memory cards is not guaranteed.
p This product may not achieve optimum performance with
some SD memory cards.
Inserting an SD memory card
1 Press the button.
2 Touch to open the LCD panel.
3 Insert an SD memory card into the SD card
slot.
4 Press the button.
Ejecting an SD memory card
1 Press the button.
2 Touch to open the LCD panel.
3 Press the middle of the SD memory card gently
until it clicks.
4 Pull the SD memory card out straight.
5 Press the button.
Plugging and unplugging a USB stor-
age device
p This product may not achieve optimum performance with
some USB storage devices.
p
Connection via a USB hub is not possible.
p A USB cable is required for connection.
1 Pull out the plug from the USB port of the USB
cable.
2 Plug a USB storage device into the USB cable.
2
1
1 USB cable
2 USB storage device
p Check that no data is being accessed before pulling out the
USB storage device.
On rst-time startup
1 Start the engine to boot up the system.
The “Select Program Language” screen appears.
p
From the second time on, the screen shown will differ
depending on the previous conditions.
p
From the second time on, enter the password for the anti-
theft function if the password entry screen appears.
2 Touch the language.
3 Touch .
The “Smartphone Setup” screen appears.
4 Touch the item.
Refer to Information on the connections and functions for
each device on page 35
5 Touch .
The warning message screen appears.
6 Touch [OK].
The top menu screen appears.
On rst-time startup of the naviga-
tion system
When you use the navigation function for the first time, an initial
setup process starts automatically. Follow the steps below.
p
You can change the language later using [Regional] in the
“Settings” screen. Other settings can be restarted later
using [Start Conguration Wizard] in the “Settings”
screen.
1 Press the button.
2 Touch or .
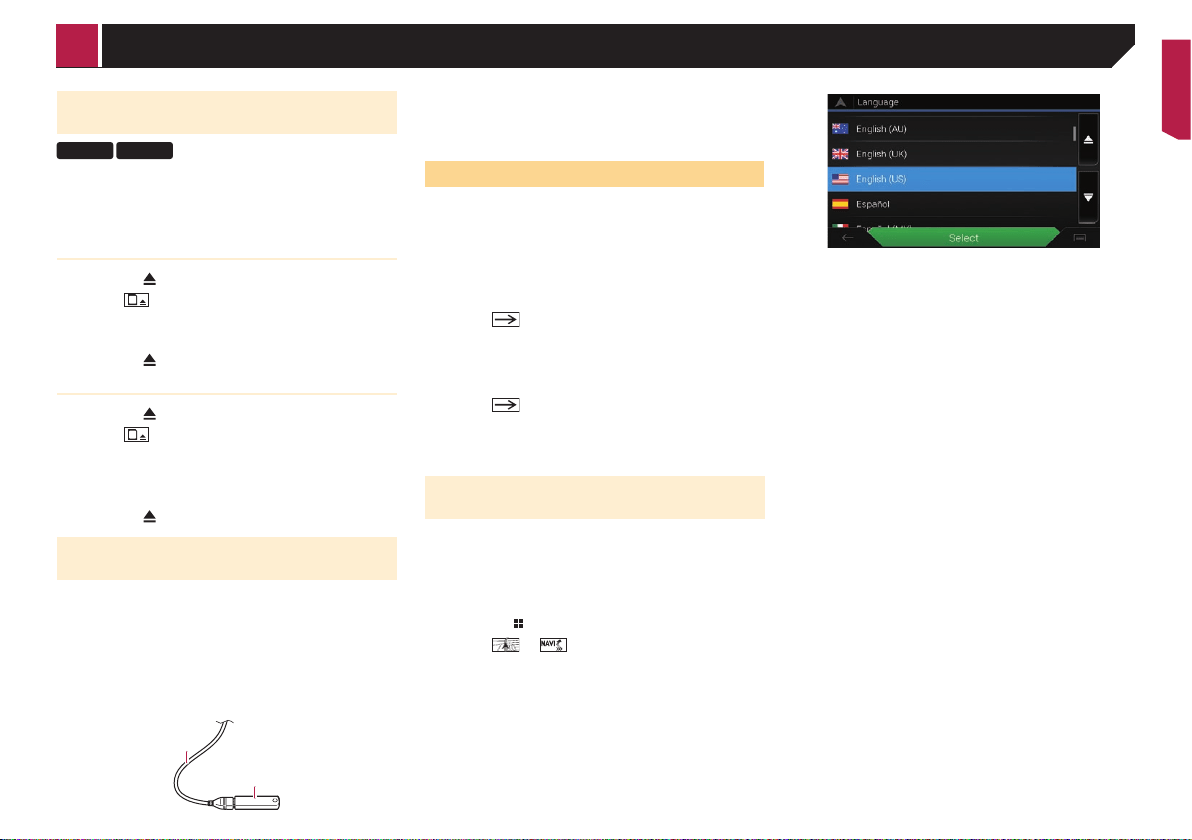
3 Touch the language that you want to use on the
navigation screen, then touch [Select].
4 Read the terms carefully, checking the details,
and then touch [Accept] if you agree to the
conditions.
5 Touch [Next].
6 Touch the language that you want to use for
voice guidance messages, then touch [Next].
7 If needed, modify the unit settings, then touch
[Next].
8 If needed, modify the default route planning
options, then touch [Next].
9 Touch [Activate], then [Next].
A message saying that the connected online features are acti-
vated appears if you activate these services right away.
Refer to “Connected Services” settings on page 28
10 Touch the connected services you want to use,
then touch [Next].
The initial setup is now complete. The map screen appears and
you can start using the navigation system.
< CRB4817-A >
Basic operation
Loading ...
Loading ...
Loading ...