Loading ...
Loading ...
Loading ...
30
AVICSYNC compatibility
AVICSYNC is available for the following models.
p
Depending on the software version of the iPhone and
Android, it may not be compatible with this product. For
latest compatibility with this product and AVICSYNC App,
refer to the information on our website.
iPhone models
iPhone 6 Plus: iOS 8.x
iPhone 6: iOS 8.x
iPhone 5s: iOS 7.x, 8.x
iPhone 5c: iOS 7.x, 8.x
iPhone 5: iOS 7.x, 8.x
iPhone 4s: iOS 7.x, 8.x
iPhone 4: iOS 6.x
Smartphone (Android) models
SAMSUNG
Galaxy Grand Prime: Android 4.4.4
Galaxy S2: Android 4.1.2
Galaxy S3: Android 4.1.2, 4.3
Galaxy S4: Android 4.2.2, 4.4.2
Galaxy S5: Android 4.0.3
Galaxy S6: Android 5.0.2
Galaxy Note : Android 4.1.1
Galaxy Note : Android 4.4.2
Galaxy Tab 2: Android 4.0.3
Galaxy Tab 3: Android 4.2.2
LG
Nexus 5: Android 4.4.2, 4.4.4, 5.0
ASUS
Nexus 7 (2013): Android 4.3
Motorola
Moto G: Android 4.4.4
Preparations before using the
AVICSYNC function
1 Download the AVICSYNC App from the
App Store or Google Play and install the app to
your iPhone or smartphone (Android).
To find AVICSYNC App, access the App Store or Google Play
and enter “AVICSYNC” in the search box.
2 Start the AVICSYNC App on your iPhone or
smartphone (Android).
3 Connect your iPhone or smartphone (Android)
to the navigation system via Bluetooth or USB
cable connection.
For details of the Bluetooth connection, refer to Bluetooth
®
connection on page 30.
For details of the USB connections, refer to the Installation
Manual.
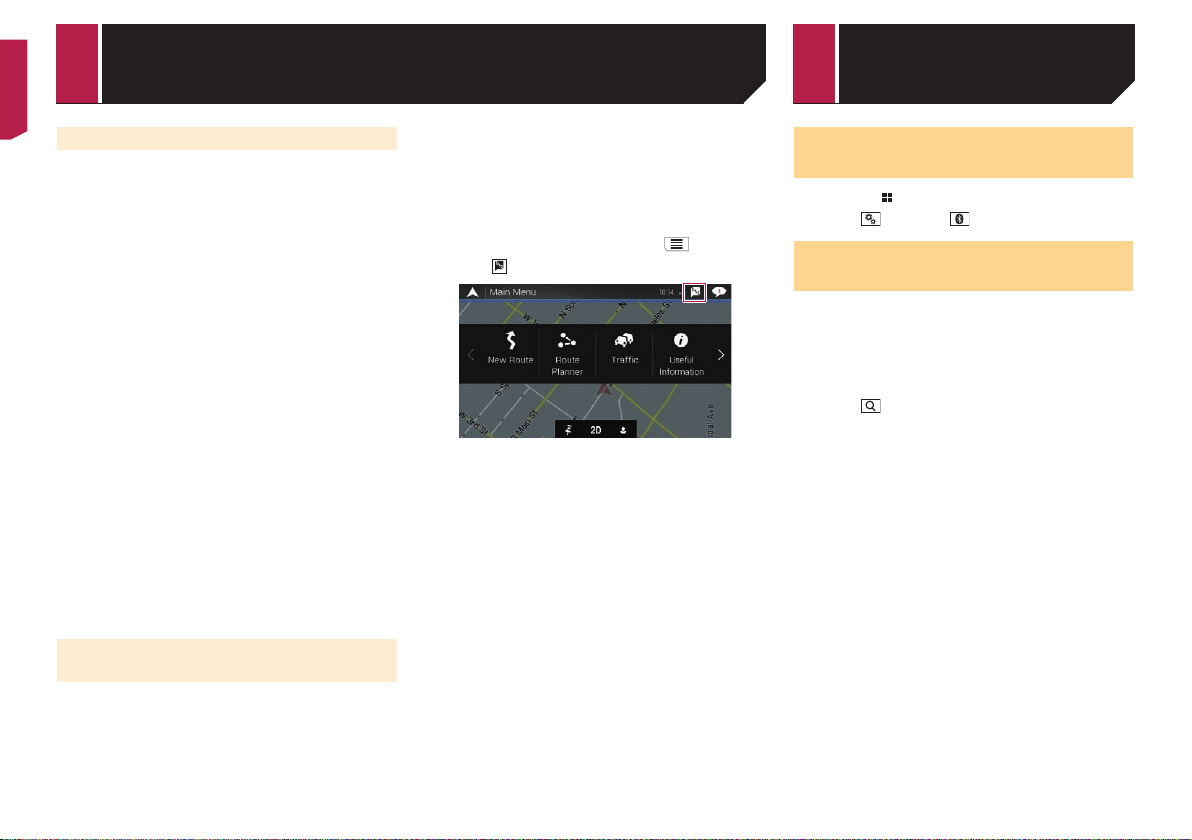
4 Press the MAP button and touch .
5 Touch on the navigation menu.
6 Touch [Associate New Phone].
7 Touch the iPhone or smartphone (Android) that
you want to associate with the navigation sys-
tem and then touch [Associate].
8 Accept the association on your iPhone or
smartphone (Android).
Once the association is established, your iPhone or smartphone
(Android) is automatically associated when you connect your
iPhone or smartphone (Android) to the navigation system.
9 Purchase connected services via the AVICSYNC
App.
10 Display the navigation menu and then touch
[Settings].
11 Touch [Connected Services].
12 Touch the service that you want to activate.
The menus for the connected service are activated.
For details on the operations and features of the AVICSYNC,
refer to the manual on our website.
Displaying the “Bluetooth”
screen
1 Press the button.
2 Touch , and then .
Registering your Bluetooth
devices
1 Activate the Bluetooth wireless technology on
your devices.
2 Display the “Bluetooth” screen.
Refer to Displaying the “Bluetooth” screen on page 30
3 Touch [Connection].
4 Touch .
The system searches for Bluetooth devices waiting for a connec-
tion and displays them in the list if a device is found.
5 Touch the Bluetooth device name.
After the device is successfully registered, a Bluetooth connec-
tion is established by the system. Once the connection is estab-
lished, the device name is displayed on the list.
p
If three devices are already paired, “Memory Full” is dis-
played. Delete a paired device first.
Refer to Deleting a registered device on page 31
p
If your device supports SSP (Secure Simple Pairing), a six-
digit number appears on the display of this product. Touch
[Yes] to pair the device.
p
If a PIN code input is required, enter a PIN code. (The default
PIN code is “0000”.)
Refer to Entering the PIN code for Bluetooth wireless con-
nection on page 31
p
The Bluetooth connection can be also made by detecting
this product from the Bluetooth device. Before registration,
make sure that “Visibility” in the “Bluetooth” menu is set
to “On”. For details on a Bluetooth device operations, refer
to the operating instructions supplied with the Bluetooth
device.
Refer to Switching visibility on page 31
Bluetooth
®
connection
< CRB4817-A >
Customizing preferences of the
navigation
Bluetooth
®
connection
Loading ...
Loading ...
Loading ...