Loading ...
Loading ...
Loading ...
59
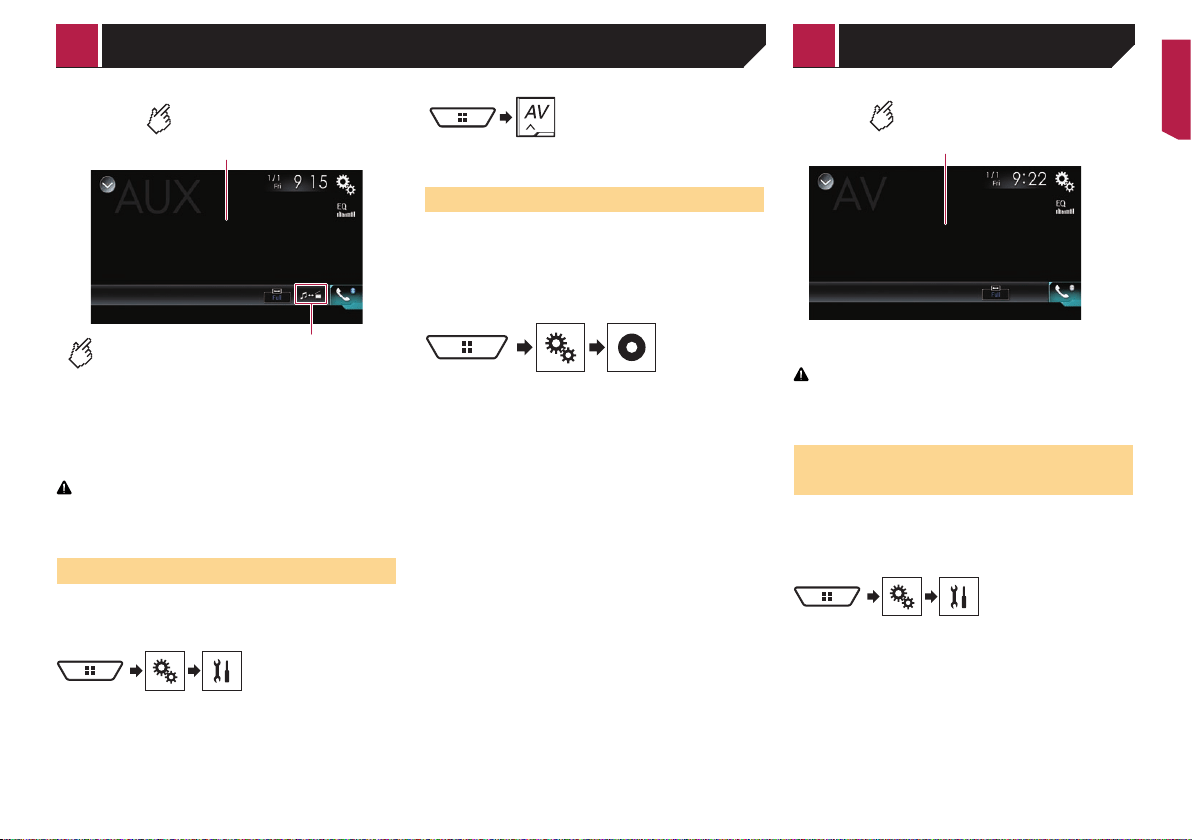
Switches between the video input
and the sound input.
Hides the touch panel keys.
To display again the keys, touch
anywhere on the screen.
p A Mini-jack AV cable (CD-RM10) (sold separately) is required
for connection.
Refer to the Installation Manual.
p You can set the screen size for the video image.
Refer to Changing the wide screen mode on page 74
CAUTION
For safety reasons, video images cannot be viewed while your
vehicle is in motion. To view video images, stop in a safe place
and apply the parking brake.
Starting procedure
You can display the video image output by the device connected
to video input.
1 Display the “System” setting screen.
2 Touch [Input/Output Settings].
3 Confirm that “AUX Input” is turned on.
4 Display the AV source selection screen.
5 Touch [AUX].
Setting the video signal
When you connect this product to an AUX equipment, select the
suitable video signal setting.
The default setting is “Auto”.
p
You can operate this function only for the video signal input
into the AUX input.
1 Display the “Video Setup” screen.
2 Touch [Video Signal Setting].
3 Touch [AUX].
4 Touch the item.
The following items are available:
Auto, PAL, NTSC, PAL-M, PAL-N, SECAM.
Hides the touch panel keys.
To display again the keys, touch
anywhere on the screen.
CAUTION
For safety reasons, video images cannot be viewed while your
vehicle is in motion. To view video images, stop in a safe place
and apply the parking brake.
Starting procedure (for AV
source)
You can display the video image output by the device connected
to video input.
Refer to the Installation Manual.
1 Display the “System” setting screen.
2 Touch [Input/Output Settings].
3 Touch [AV Input].
4 Touch [Source].
p If “Source” is selected, “2nd Camera Input” is automatically
set to “Off”.
Refer to Setting the second camera activation on page 65
5 Display the AV source selection screen.
AUX sourceAV input
< CRB4817-A >
AUX source AV input
Loading ...
Loading ...
Loading ...