Loading ...
Loading ...
Loading ...
84
BeforeUse
BasicGuide
AdvancedGuide
CameraBasics
AutoMode
OtherShooting
Modes
PMode
PlaybackMode
SettingMenu
Wi-FiFunctions
Accessories
Appendix
Index
RegisteringOtherWebServices
You can also add Web services besides CANON iMAGE GATEWAY to the
camera.
1 LogintoCANONiMAGE
GATEWAYandaccessthe
cameralinksettingspage.
From a computer or smartphone, access
http://www.canon.com/cig/ to visit
CANON iMAGE GATEWAY.
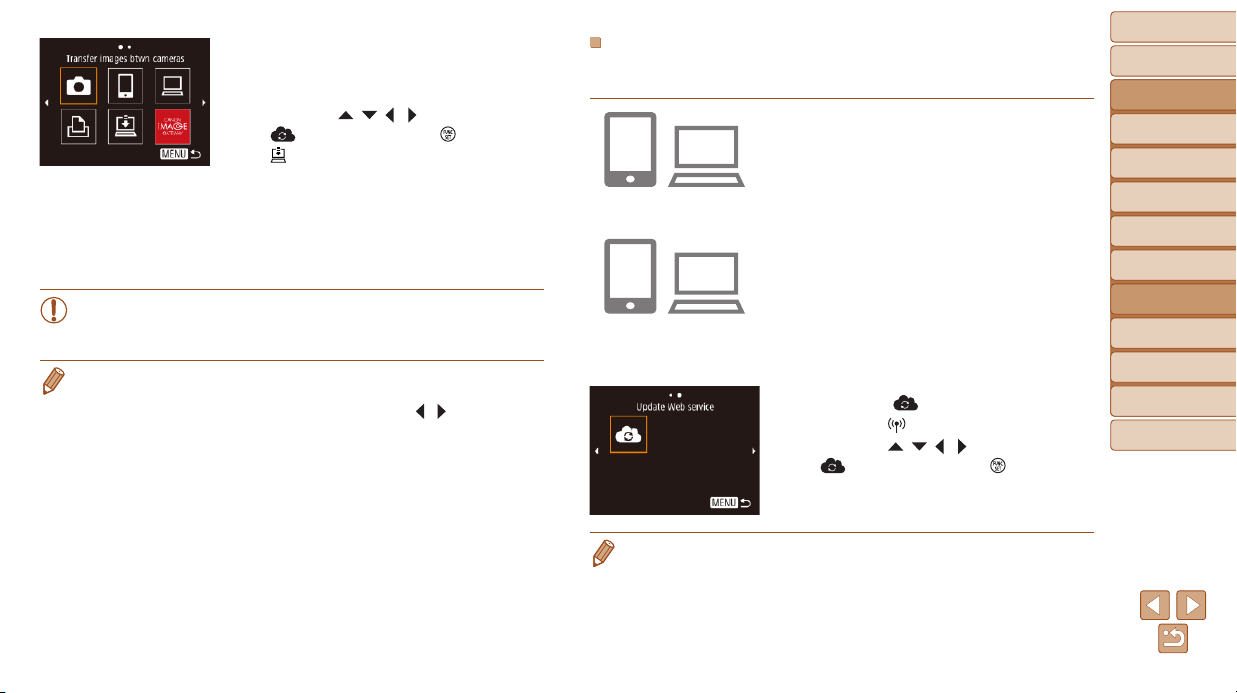
2 ConguretheWebserviceyou
wanttouse.
On the computer or smartphone, display
the Web service settings screen.
Follow the on-screen instructions to
complete settings for Web services you
want to use.
3 Choose[ ].
Press the [ ] button.
Press the [ ][ ][ ][ ] buttons to choose
[
], and then press the [ ] button.
The Web service settings are now
updated.
• Ifanyconguredsettingschange,followthesestepsagaintoupdatethe
camera settings.
9 CompleteCANONiMAGE
GATEWAYsettingsonthe
camera.
Press the [ ][ ][ ][ ] buttons to choose
[
], and then press the [ ] button.
[ ] (=
91) and CANON iMAGE
GATEWAY are now added as
destinations.
You can add other Web services,
as needed. In this case, follow the
instructions from step 2 in “Registering
Other Web Services” (=
84).
• Make sure initially that your computer or smartphone mail
applicationisnotconguredtoblockemailfromrelevantdomains,
whichmaypreventyoufromreceivingthenoticationmessage.
• You can also change the camera nickname on the screen in step 1 (=
82).
• Once you have connected to devices via the Wi-Fi menu, recent destinations
willbelistedrstwhenyouaccessthemenu.Pressthe[
][ ] buttons to
accessthedeviceselectionscreenandthencongurethesetting.
Loading ...
Loading ...
Loading ...