Loading ...
Loading ...
Loading ...

5
1-1 1-2
1-4
1-3
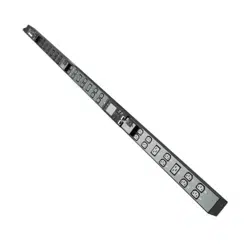
Mounting the PDU
Note: The illustrations may differ somewhat from your PDU model. Regardless of
configuration, the user must determine the fitness of hardware and procedures
before mounting. The PDU and included hardware are designed for common rack
and rack enclosure types and may not be appropriate for all applications. Exact
mounting configurations may vary. Screws for attaching the mounting brackets to
the PDU are included. Use only the screws supplied by the manufacturer or their
exact equivalent.
Note: Mounting buttons come preinstalled to the PDU for toolless mounting.
1-1
To attach the mounting
brackets to the PDU, remove
the mounting buttons.
1-2
Attach the mounting brackets
to the PDU with the included
screws.
1-3
Attach the PDU to a vertical
rail in your rack or rack
enclosure. (Use the mounting
hardware that came with
your rack or rack enclosure to
attach the mounting brackets
to the rail.)
1-4
To reinstall the mounting
buttons for toolless mounting,
remove the mounting
brackets, then install the
mounting buttons onto the
PDU. Position the PDU as
desired in the rack enclosure,
align the buttons with the rack
mounting slots, and slide the
PDU into position.
Note: Be sure to insert the 2
buttons into either the upper hole
at each end of the PDU or into the
lower hole at each end of the PDU.
Installation
Loading ...
Loading ...
Loading ...
