Loading ...
Loading ...
Loading ...
Using the Main Menu17
3. Select an event type to search for.
4. Enter a start and end time for your search.
5. Click Search.
6. Events that match your search criteria are displayed:
• The Event column is formatted to show [Event Type]: [Channel Number]>.
• Click Details to see more information on the selected event.
• Smart Motion events have more options than other events. You can view the event by
clicking the icon in the Playback column, or back up the video clip to a USB flash
drive (not included) by clicking Backup.
17.6.13 Configuring Pre-Recording
The system can pre-record video when motion detection events occur. This will ensure that the
system records the entire event when motion is detected. By default, the system pre-records 4
seconds of video every time motion is detected.
NOTE
Ensure you have set your preferences for motion detection (see 12 Motion Detection, page 36for details).
To configure pre-recording:
1. From the Live View display, right-click to open the Quick Menu, then click Main Menu.
2. Click STORAGE. Click the Schedule tab on the side panel, then click the Record tab on
the top panel.
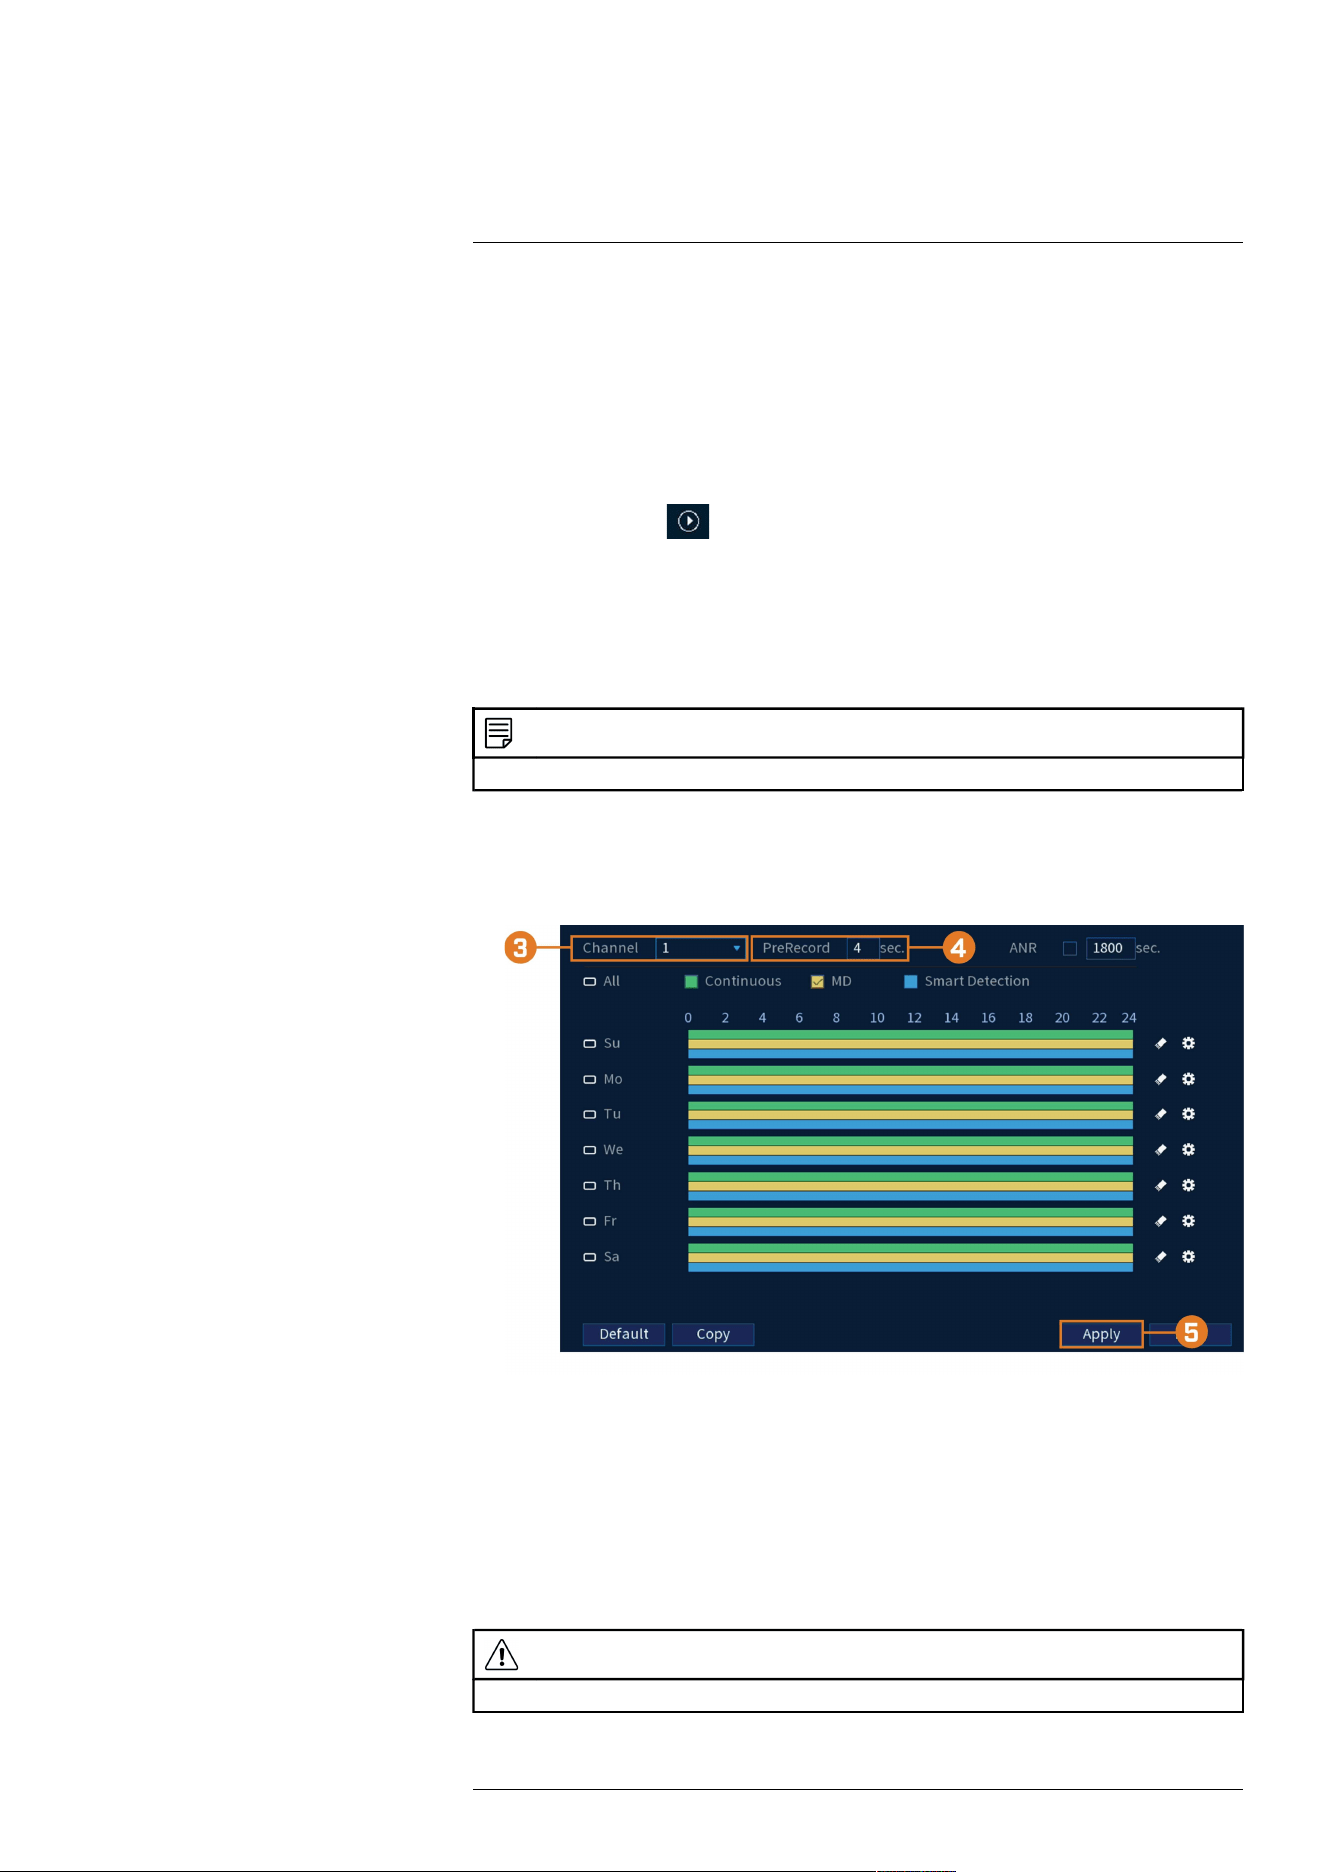
3. Under Channel, select the camera you would like to configure or select All.
4. Under PreRecord, select the duration for pre-recording.
5. Click Apply to save settings.
17.6.14 Formatting the Hard Drive
Format the hard drive to erase all saved data. If you install a new hard drive, you must format
the hard drive using the procedure below before you will be able to record.
To format the hard drive:
CAUTION
Formatting the hard drive erases all data on the hard drive. Formatting cannot be undone.
1. From the Live View display, right-click to open the Quick Menu, then click Main Menu.
#LX400113; r. 7.0/56940/56940; en-US 83
Loading ...
Loading ...
Loading ...