Loading ...
Loading ...
Loading ...
_ _00. RX-VI400UEN.bookPage54Thursday,July10,2003
12:17 AM
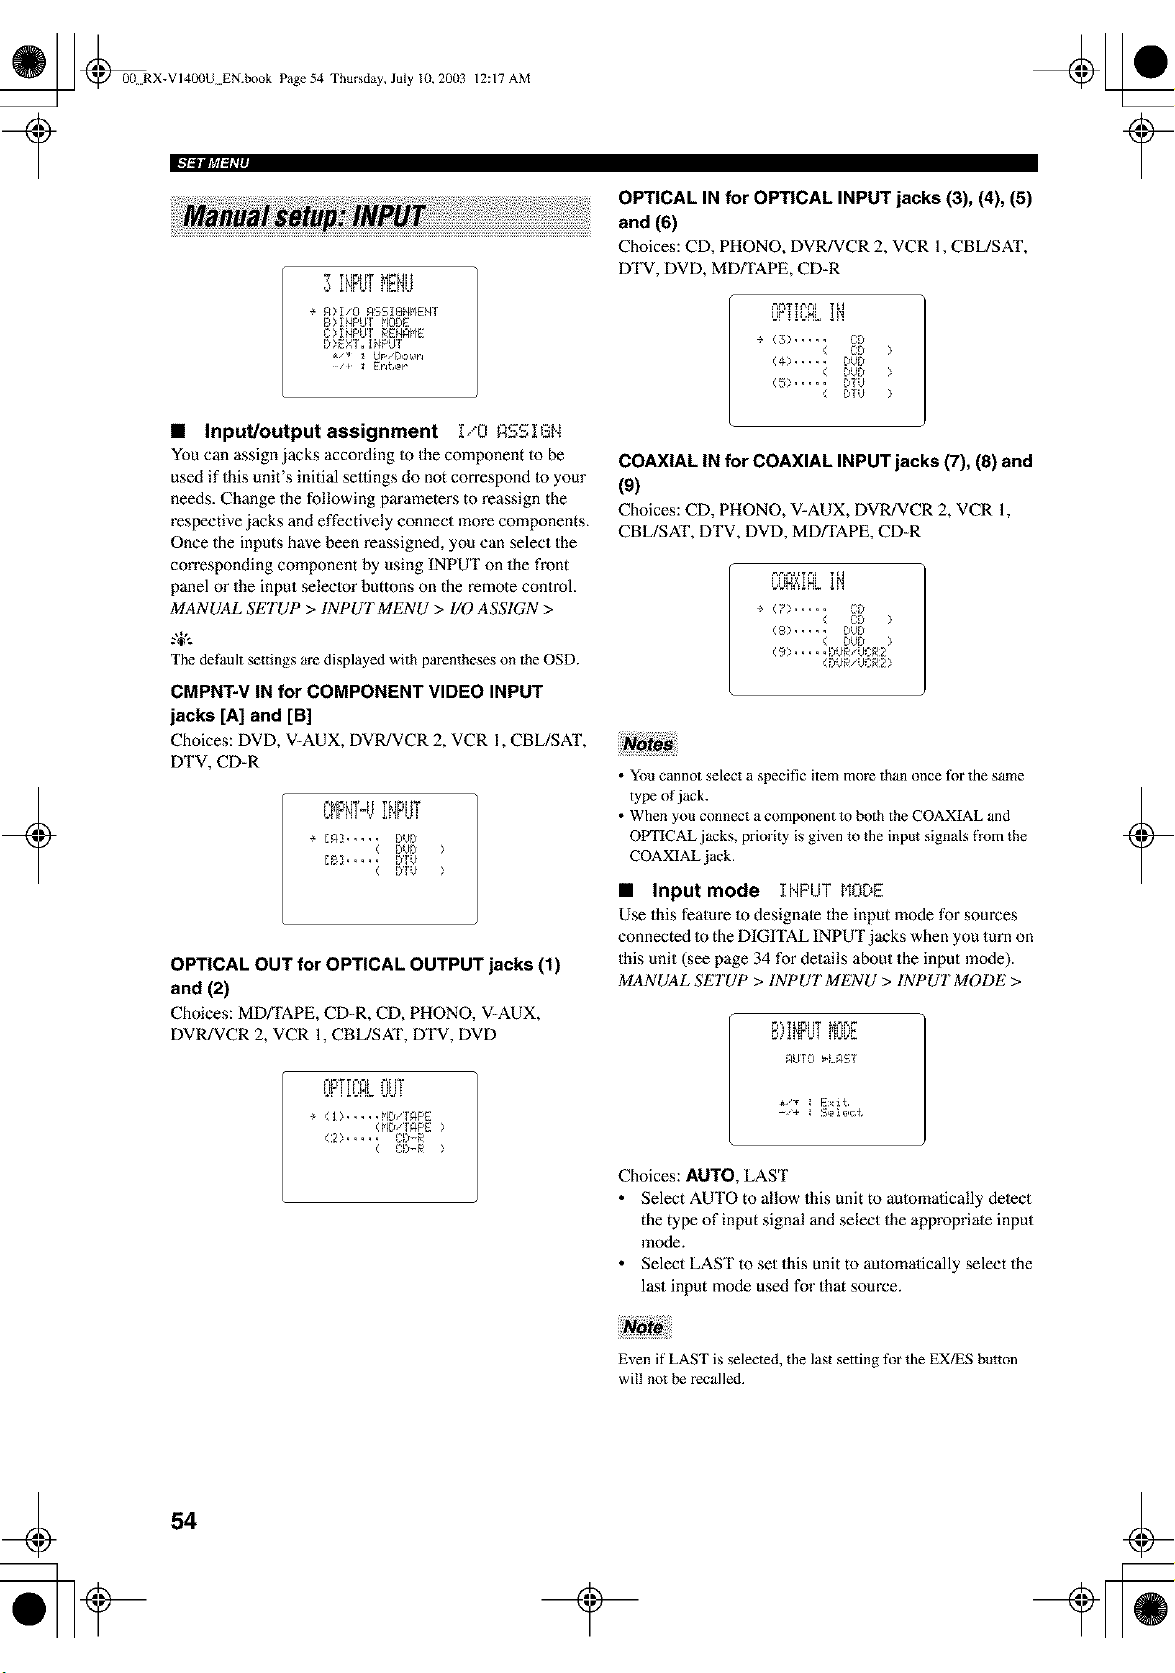
w _t[mt[T _ LIH
¢ A>I/O ASSI!i_NMENI
B> INPUt MODE
C>INPUt RENAME
IY>EXT. I_PUT
_/_ _ UP/Dor_ir4
/+ _ Er4ter ¸
+
• Input/output assignment I/O ASSIGN
You can assignjacksaccordinglothecomponenttobe
used if this unit's initial sellings do not correspond to your
needs. Change the following parameters to reassign the
respective jacks and effectively connect more components.
Once the inputs have been reassigned, you can select the
con'esponding component by using INPUT on the front
panel or the input seleelor buttons on the remote control.
MANUAL SETUP > INPUT MENU > 1/0 ASSIGN >
The default settings are displayed with parentheses on the OSD.
CMPNT-V IN for COMPONENT VIDEO INPUT
jacks [A] and [B]
Choices: DVD, V-AUX, DVR/VCR 2, VCR 1, CBL/SAT,
DTV, CD-R
L,I'IFI'!]%' I!'!FVI
÷ lAY ..... DUD
< DUD >
[BY..... DIU
( DIU >
OPTICAL OUT for OPTICAL OUTPUT jacks (1)
and (2)
Choices: MD/TAPE, CD-R, CD, PHONO, V=AUX,
DVR/VCR 2, VCR 1, CBL/SAT, DTV, DVD
_'_F_T%%'£ *'=HT
VF I iL,Mb UU !
÷ (I> ..... NIl I APE
<MDIIAPE >
C2> ..... _]:lY_R
OPTICAL IN for OPTICAL INPUT jacks (3), (4), (5)
and (6)
Choices: CD, PHONO, DVR/VCR 2, VCR 1, CBL/SAT,
DTV, DVD, MD_APE, CD-R
VF!!VNL
÷ <_;>..... L-:D
< CO >
(4> ..... DUD
< DUD >
(5> ..... DIO
( IYTU >
COAXIAL IN for COAXIAL INPUT jacks (7), (8) and
(9)
Choices: CD, PHONO, V-AUX, DVR/VCR 2, VCR 1,
CBL/SAT, DTV, DVD, MD/TAPE, CD-R
VVN?d_L
÷ (?> ..... CO
< CO >
(8> ..... D)D
< DUD >
( 9 >..... IYUR/UCR2
(DUR/UCR2>
• You cannot select a specific item more than once for the same
type of jack.
• When you connect a component to both the COAXIAL and
OVI'ICAL jacks, priority is given to the input signals from the
COAXIAL jack.
• Input mode INPUT MODE
Use this feature 1o designate the input mode for sources
connected m the DIGITAL INPUT jacks when you turn on
this unit (see page 34 for details about the input mode).
MANUAL SETUP > INPUT MENU > INPUT MODE >
i#!IIV! Pii.iI_I
gLlTO _LgST
i/T I E>i{
--'+ I SIll{It{
Choices: AUTO, LAST
• Select AUTO to allow this unit to automatically detect
the type of input signal and select the appropriate input
mode.
• Select LAST to set this unit to automatically select the
last input mode used for that source.
+
Even if LAST is selected, the last setting for the EX/ES button
will not be recalled.
54
Loading ...
Loading ...
Loading ...