Loading ...
Loading ...
Loading ...
Scanning
36
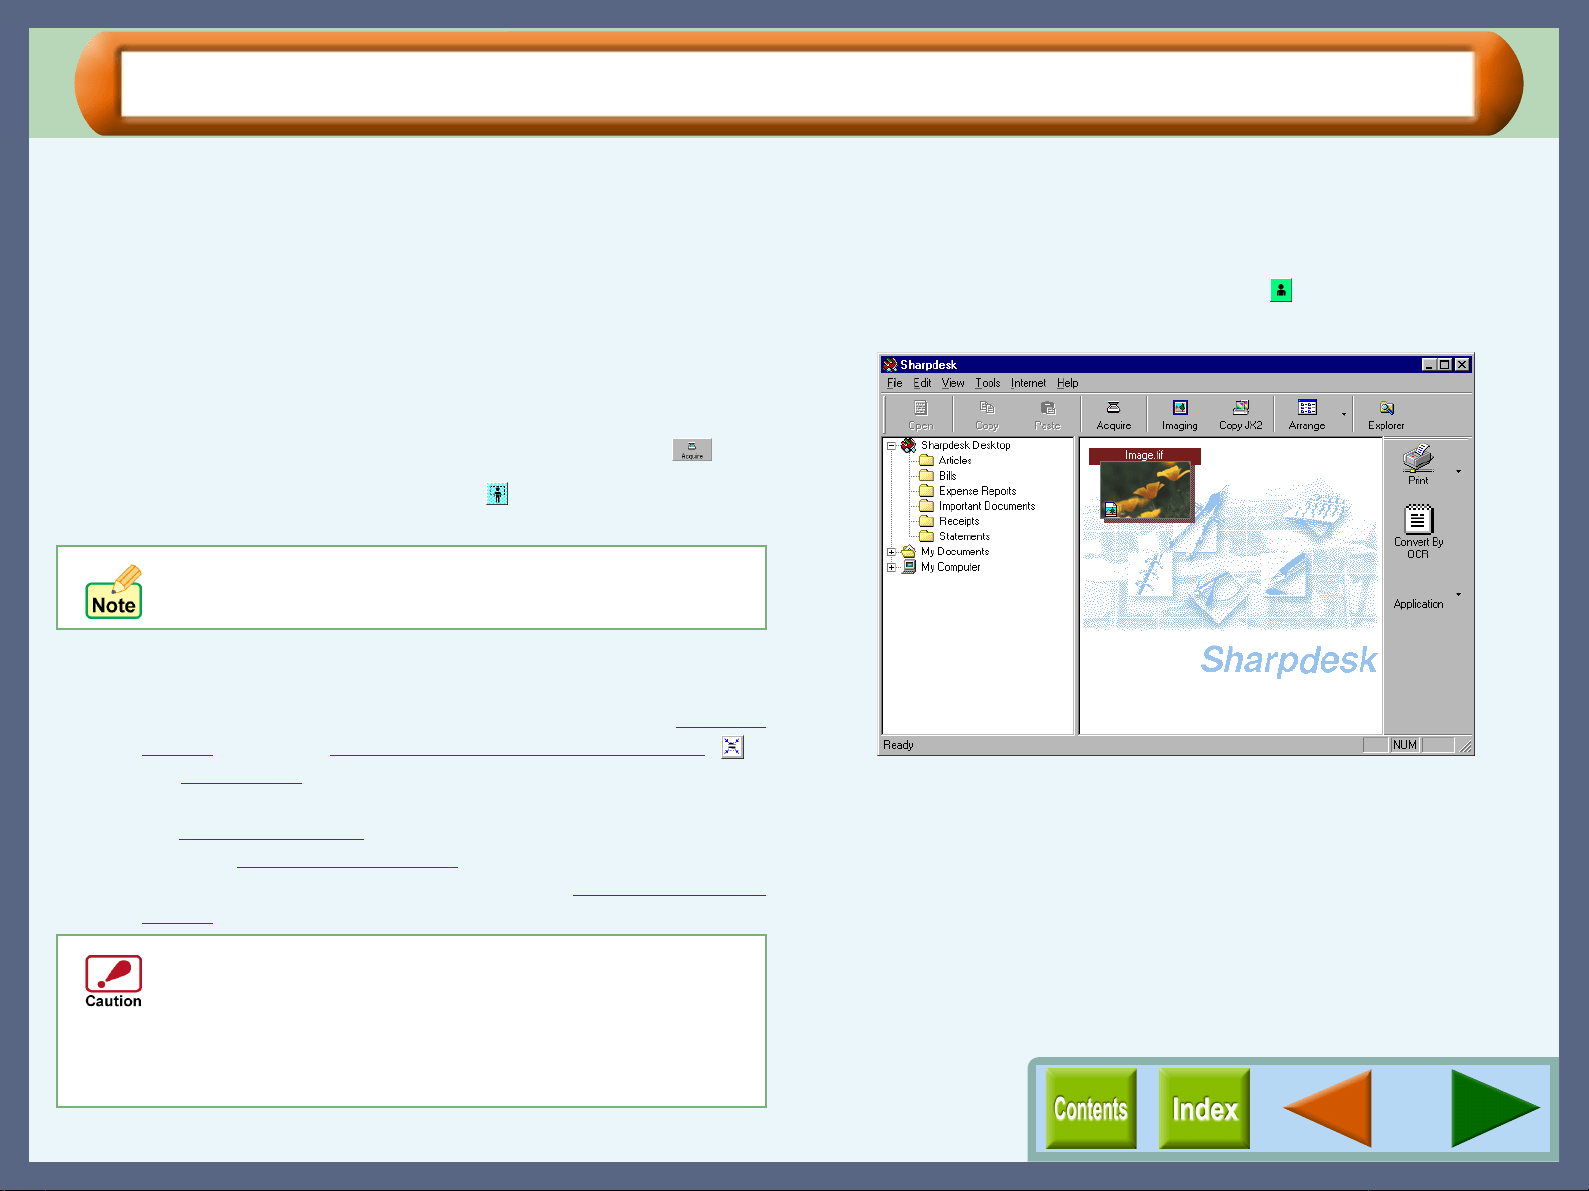
Scanning an Image
Below is a step-by-step guide for acquiring a scanned image to the Sharpdesk desktop screen using Sharpdesk.
It is assumed that the SHARP TWAIN driver has been installed without changing the default setting, and
Sharpdesk is running.
1
11
1
Place a document on the original table.
Reference:For information on setting a document for
scanning, refer to "MAKING COPIES" in
the Setup Guide and Operation Manual.
2
22
2
From Sharpdesk, select "Acquire Image" from the
"File" menu, or click the "Acquire" button ( ).
3
33
3
Click the "Preview" button ( ).
The preview image will appear.
4
44
4
Specify the scanning area, and set the scan
preferences.
To specify the scanning area, follow the steps on the Preview
Screen, or use the "Auto Scan Area Judgement" button (),
or "Image Area
".
To set the scan preferences, use the four buttons displayed on
the "Standard" screen
. To set your scan preferences in detail,
go to the "Professional" screen
. To adjust the brightness and
contrast of the scanned document, refer to Variation Preview
Screen.
5
55
5
Click the "Scanning" button ( ) after setting your
preferences.
After scanning, the image data will appear as a new file in
Sharpdesk.
If the rotation or angle of the image is different, reset
the document, and click the "Preview" button again.
Setting a large area with full colour together with a high
resolution setting, makes the data size large, resulting
in extended scanning times. It is recommended to set
the scanning preferences depending on the type of
original to be scanned, i.e., Text, Text/Graphics,
Photograph, Colour, Black & White.
Loading ...
Loading ...
Loading ...