Loading ...
Loading ...
Loading ...
Sending Embroidery Patterns From a Computer to the Machine (Link Function) 177
——
—————————————————————————————————————————————————————————————————————
—
—————————————
5
Embroidering using
the Link function
First, use the embroidery editing software to create
the embroidery pattern to be sent to the embroidery
machine.
Note
● Only embroidery data in the PES format
(.pes) can be embroidered using the Link
function.
● The Link function cannot be used with
large-size (split) embroidery patterns or
embroidery patterns for the jumbo frame
(optional).
● Attach to the embroidery machine the
embroidery frame for the size of the
pattern to be sent.
1
Touch , and then touch and
to display page 5/5 of the settings
screen.
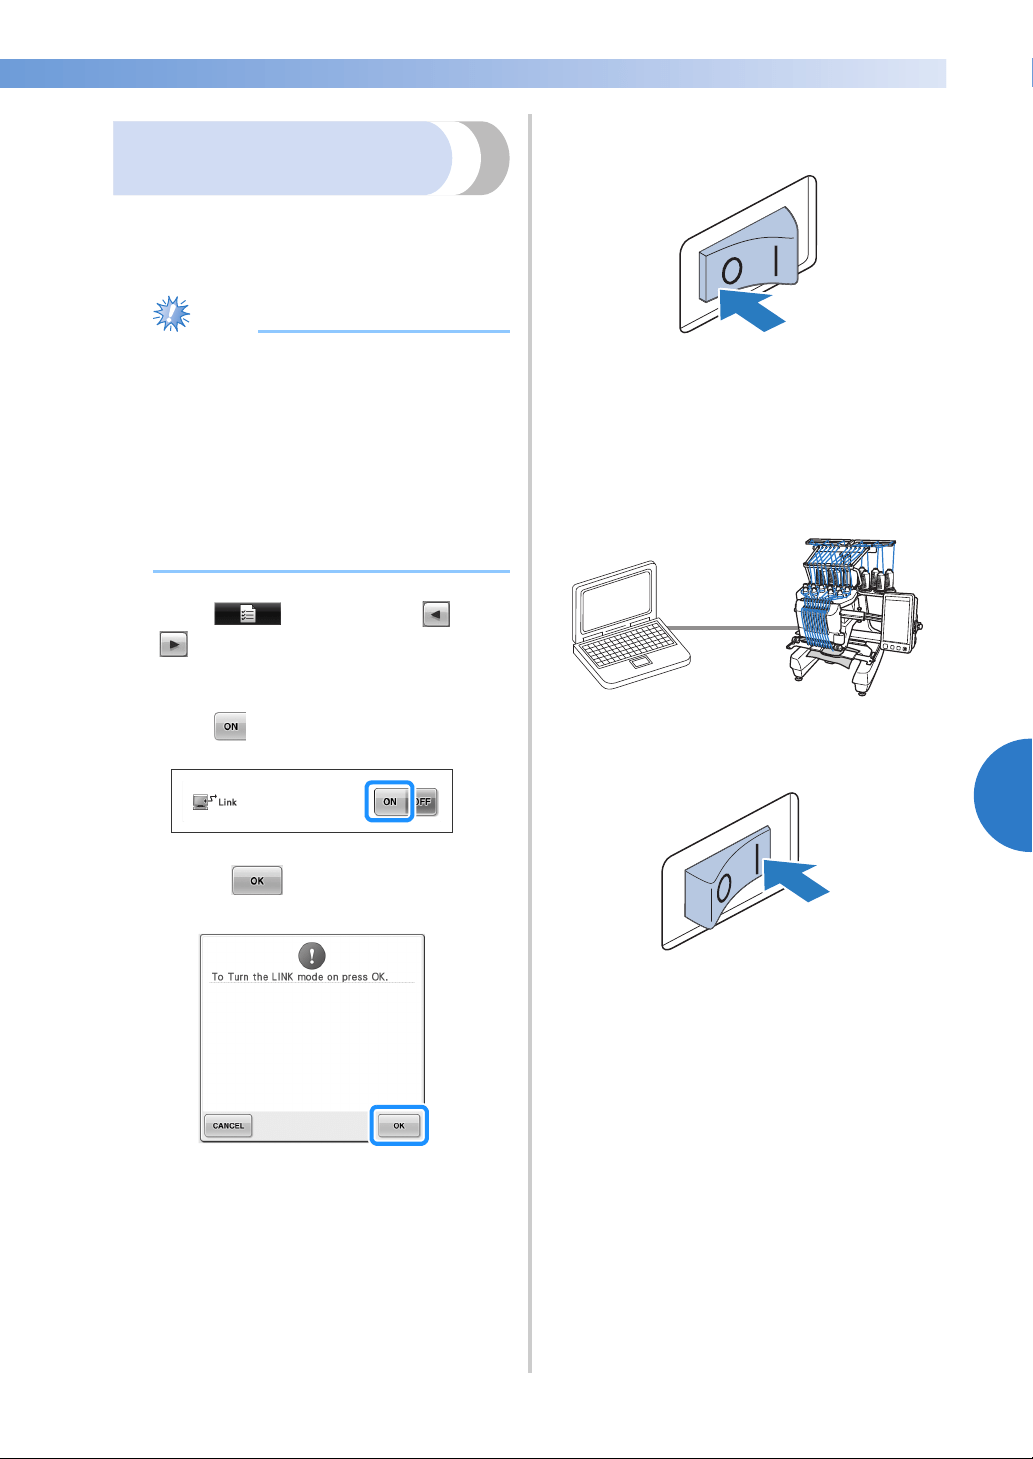
2
Touch to enable the Link function.
X When the following message appears,
touch .
3
Turn off the machine.
4
Use the included USB cable to connect the
embroidery machine to the computer.
• When connecting the embroidery machine
to the computer, be sure to use the
included USB cord clamps. For details on
using the USB cord clamps, refer to
page 171.
5
Turn on the machine.
6
Using embroidery editing software provided
with the Link function, such as PE-DESIGN
NEXT or later from a computer, send the
embroidery pattern to the machine in the
Link mode.
Loading ...
Loading ...
Loading ...