Loading ...
Loading ...
Loading ...
My Design Center
4
PATTERN DRAWING SCREEN
91
Saved outlines
Frame embroidering areas
* Press to return to the pattern drawing screen.
c
Press to set the selected stamp.
The pattern drawing screen appears.
* You can change size of, rotate or move the shape
right after you create it by pressing or .
Using the Erase Key
a
Press .
b
Select the shape of the eraser.
The pattern drawing screen appears.
c
Drag along the area or line that you want to erase
while the key appears as .
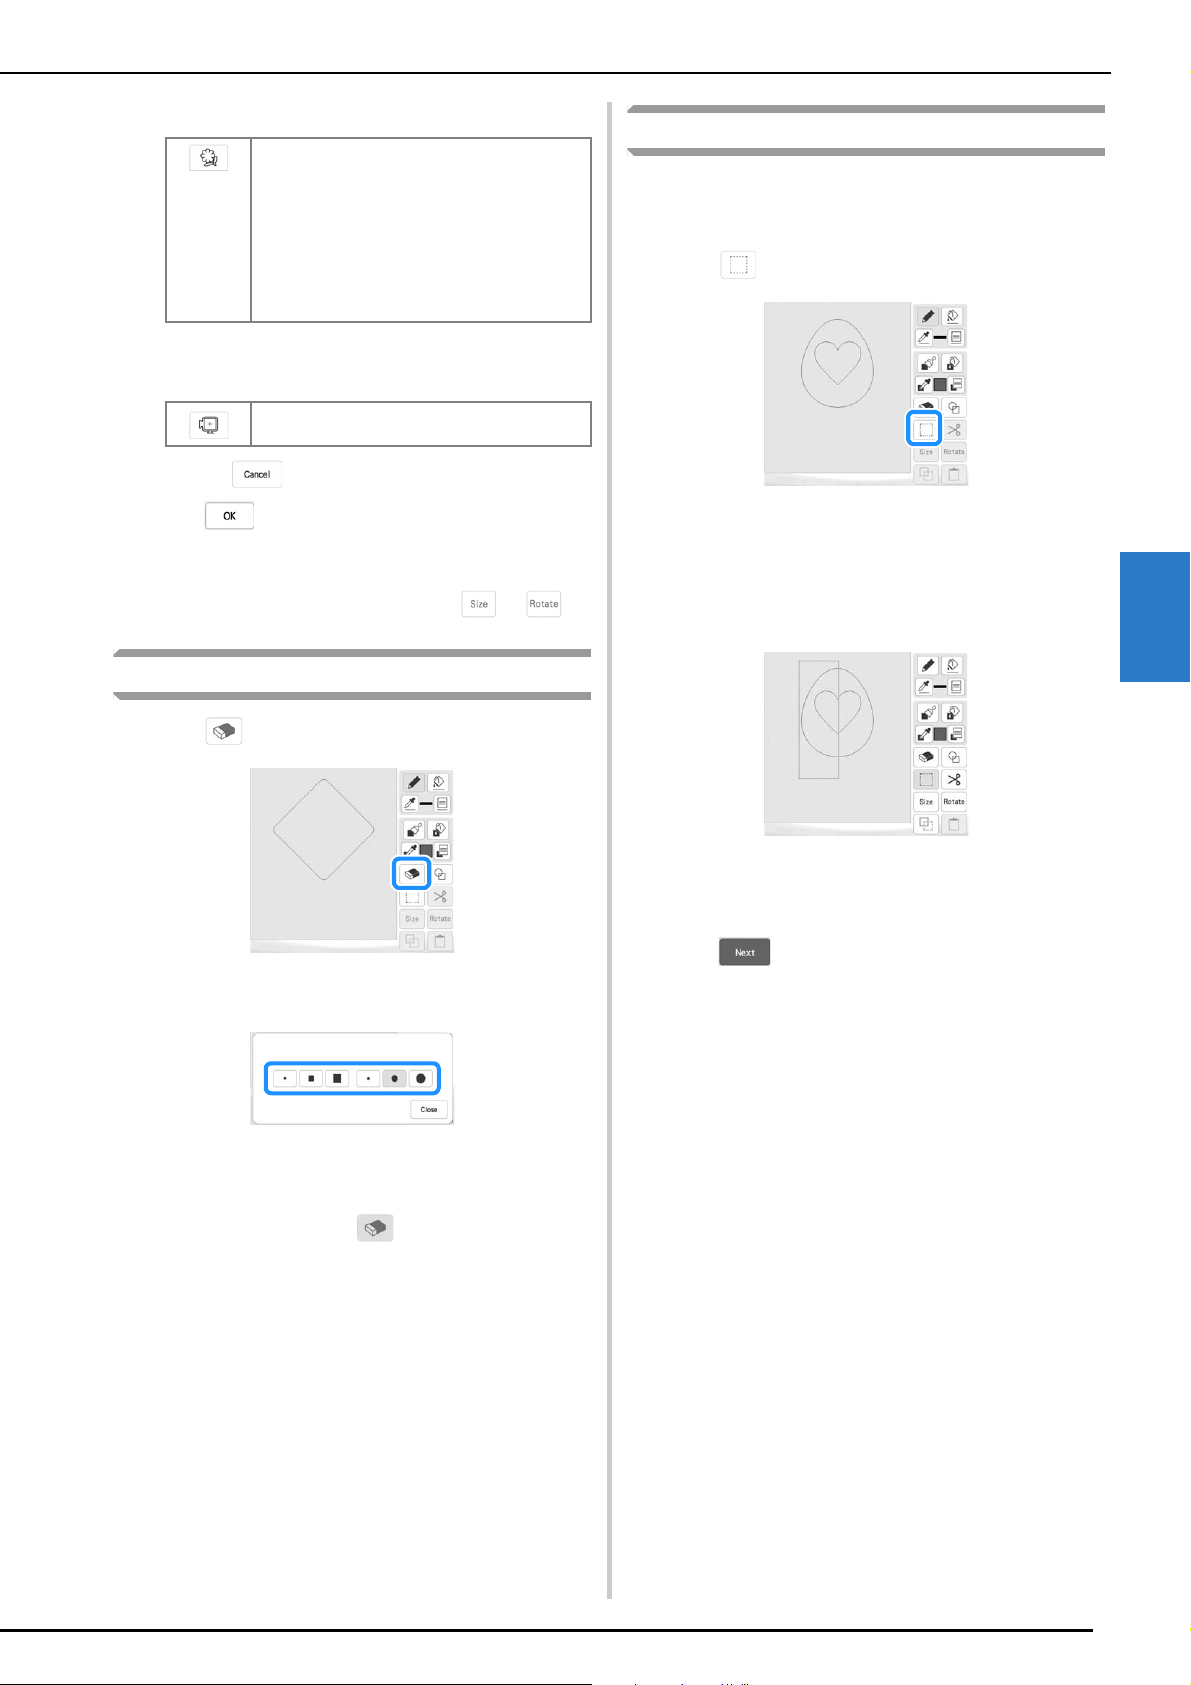
Using the Select Key
You can select the part of the design to move and/or
edit. Some keys are available only after you select the
part.
a
Press .
b
Select the area you want to edit.
* To select an area you want to edit, hold the touch
pen (stylus) at a point on the screen and drag the
touch pen (stylus) to create the red box around your
selected area to be edited.
c
Edit the design with available keys. (Refer to “Key
Functions” on page 87 for the details of each key
function.)
d
Press , and then specify the stitch setting.
Embroidery pattern outlines can be registered
as stamp shapes. When registering stamp
shapes, select from the last six embroidery
patterns used. If more than six shapes are
registered, the oldest one is automatically
erased. For details on registering a stamp
shape, refer to “Decorative Stitching around a
Pattern in Embroidery (a Quilting Function)” on
page 101.
Select an embroidering area in order to
arrange the pattern to fit an embroidery frame.
Loading ...
Loading ...
Loading ...