Loading ...
Loading ...
Loading ...
EMBROIDERING A PATTERN
63
Basic Embroidery
2
the underside of the cover into the notches on the needle
plate as shown below.
To remove the embroidery needle plate cover, place your
fingernail in the groove and lift the plate out.
Embroidering Patterns
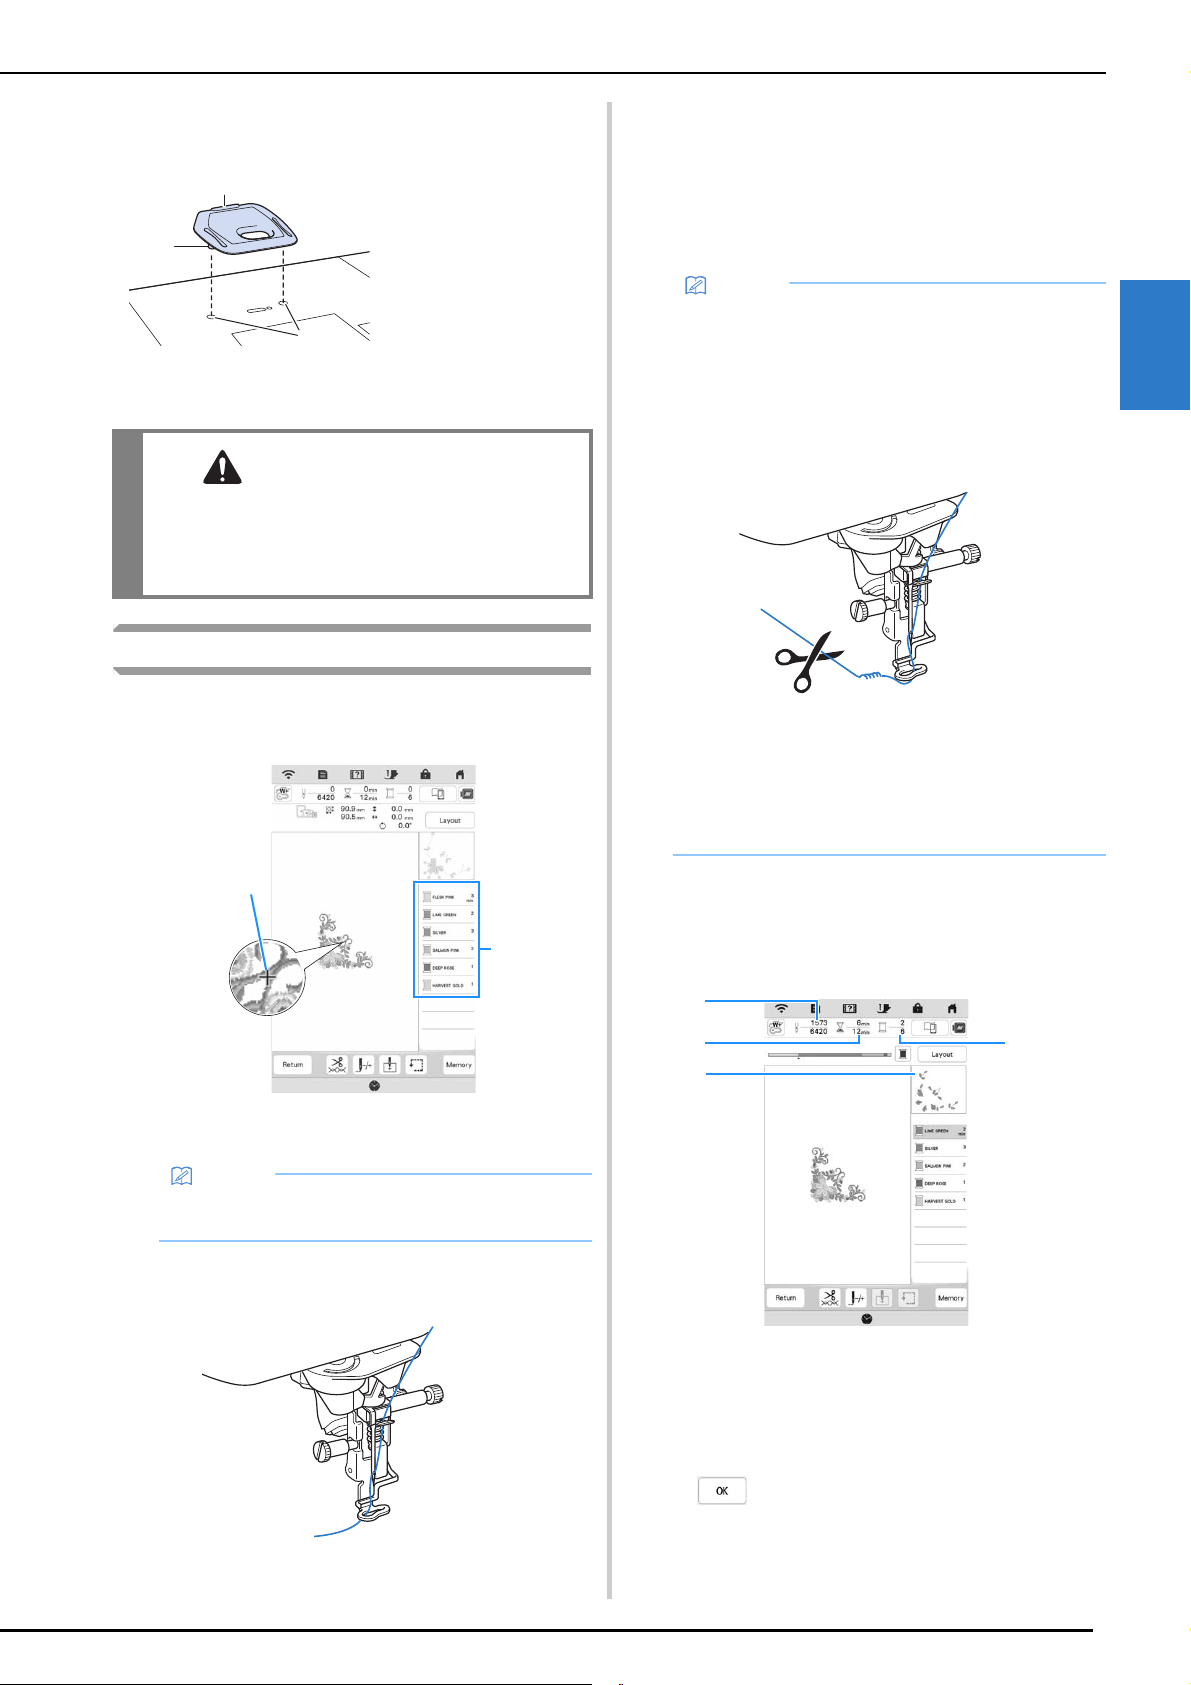
a
Prepare embroidery threads of the colors shown on the
screen.
1 Embroidery color order
2 Cursor
b
Using the automatic needle threader, thread the
machine for the first color. (page 28)
c
Lower the presser foot, then press the “Start/Stop”
button to start embroidering.
When the first color is completely embroidered, the
machine will automatically trim the threads and stop.
The presser foot will then automatically be raised.
On the embroidery color order display, the next
color will move to the top.
d
Remove the upper thread for the first color from the
machine. Thread the machine with the next color.
e
Repeat the same steps for embroidering the remaining
colors.
1 Current stitch numbers/Total stitch numbers
2 Current time/Total time
3 Part of pattern to be embroidered next
4 Embroidered colors/Total colors
When the last color is embroidered, [Finished
embroidering] will appear on the display. Press
, and the display will return to the original
screen.
1 Groove
2 Projection
3 Notch
CAUTION
• Push the embroidery needle plate cover as far
as possible to attach it. If the embroidery
needle plate cover is not securely attached, it
may cause the needle to break.
Memo
• The [+] cursor moves over the pattern, showing
which part of the pattern is being embroidered.
a
b
c
2
1
Memo
• If you want to get more attractive finishes, try the
procedures below;
- After 5-6 stitches, press the “Start/Stop” button
again to stop the machine.
- Trim the excess thread at the beginning of the
pattern. If the excess thread tail is under the
embroidery foot, raise the embroidery foot, then
trim the excess thread.
• If there is thread left over from the beginning of
embroidering, it may be embroidered over as you
continue embroidering the pattern, making it very
difficult to deal with the thread after the pattern is
finished. Trim the threads at the beginning of each
thread change.
3
4
2
1
Loading ...
Loading ...
Loading ...