Loading ...
Loading ...
Loading ...
CARE AND MAINTENANCE
107
Appendix
5
* Make sure that the indicated points are aligned
before installing the bobbin case.
i
Insert the tabs on the needle plate cover into the
needle plate, and then slide the cover back on.
j
Reattach the bobbin cover.
Cleaning the Cutter in the Bobbin Case Area
The cutter below the needle plate should be cleaned. If
dust or lint accumulate on the cutter, it will be difficult
to cut the thread when (Thread cutter button) is
pressed or the automatic thread cutting function is used.
Clean the cutter when the thread is not easily cut.
a
Follow steps a through e in “Cleaning the Race” to
remove the needle plate cover.
b
Use the screwdriver included with the machine to
unscrew and remove the needle plate.
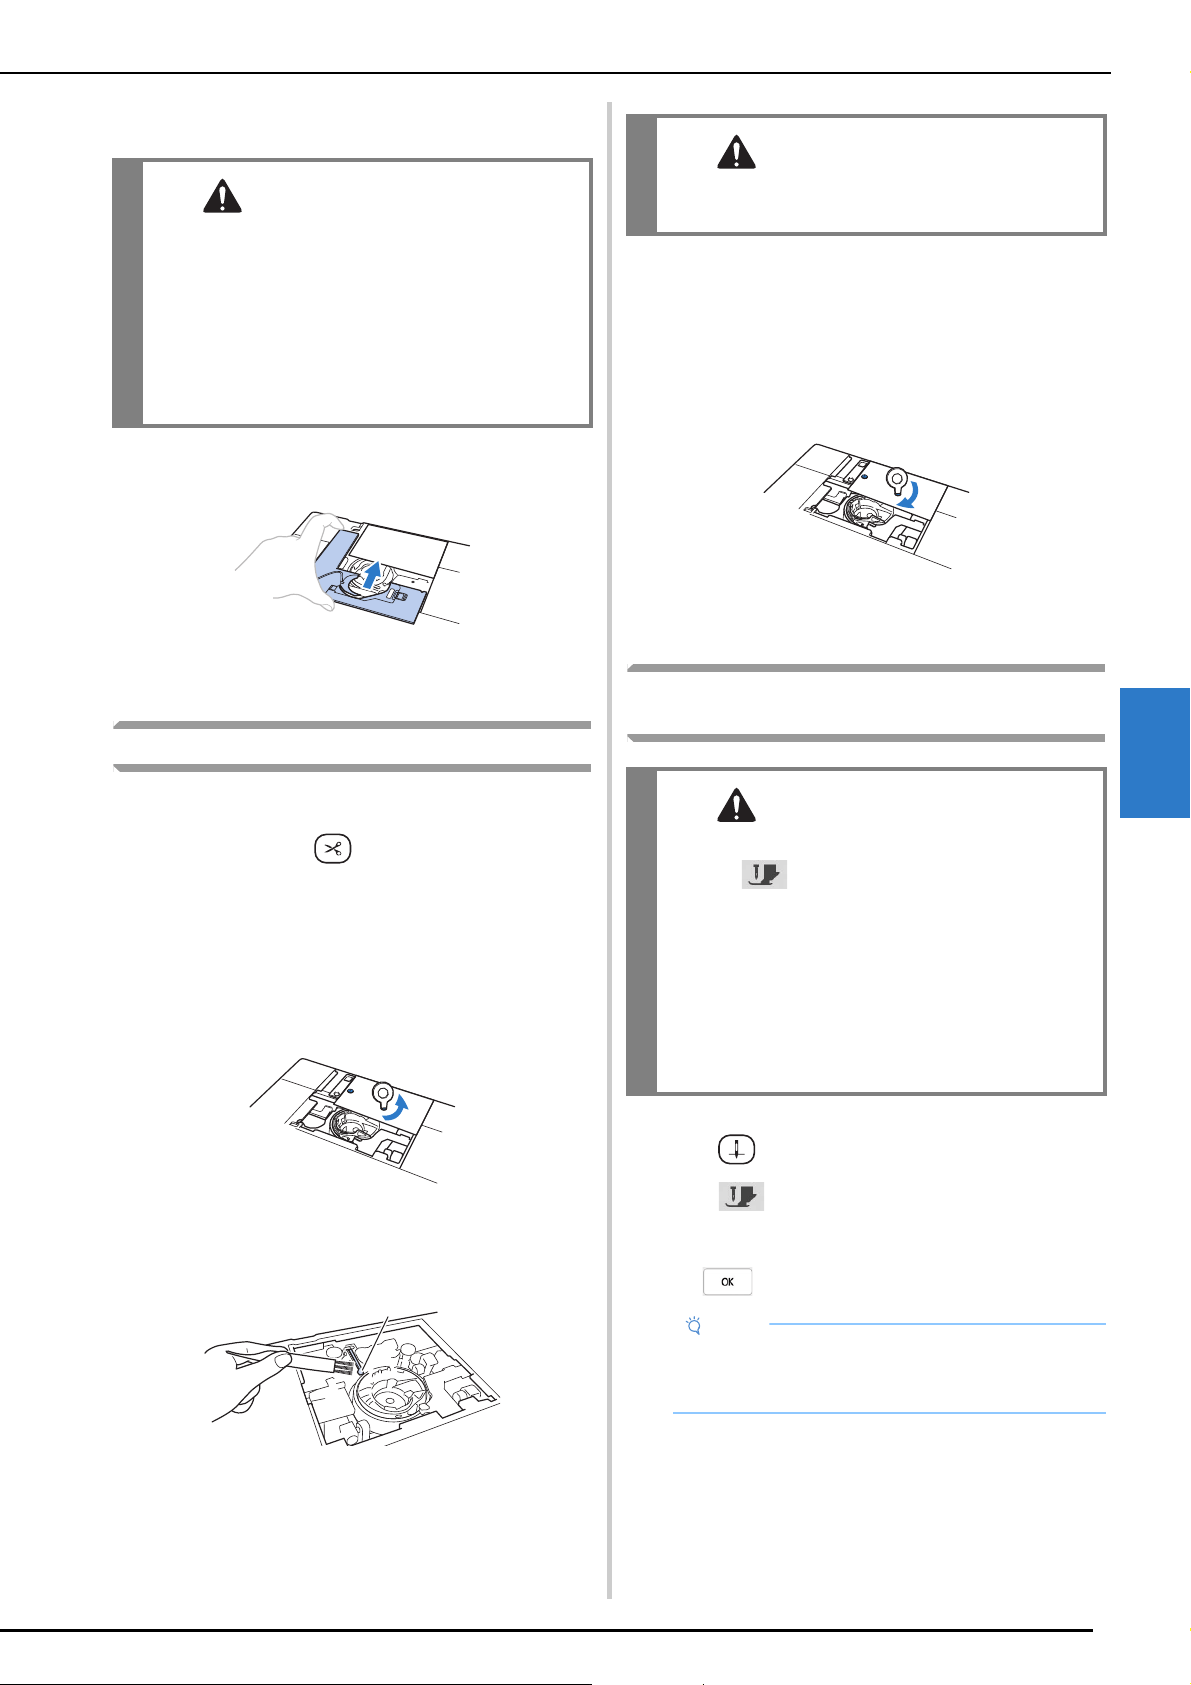
c
Use the cleaning brush or a vacuum cleaner to remove
any lint and dust from the cutter in the bobbin case
area.
1 Cutter
d
Align the two screw holes in the needle plate with the
two holes at the needle plate mounting base, and then
fit the needle plate onto the machine.
e
Lightly finger-tighten the screw on the right side of the
needle plate. Then, use the screwdriver included to
firmly tighten the screw on the left side. Finally, firmly
tighten the screw on the right side.
f
Replace the bobbin case and the needle plate cover
following steps
h through j in “Cleaning the Race”.
Changing Embroidery Foot “W+” with LED
Pointer
a
Press (Needle position button) to raise the needle.
b
Press to lock all keys and buttons.
* If the message [OK to automatically lower the
presser foot?] appears on the LCD screen, press
to continue.
CAUTION
• Never use a bobbin case that is scratched,
otherwise the upper thread may become
tangled, the needle may break or machine
performance may suffer. For a new bobbin
case, contact your nearest Brother authorized
service center.
• Be sure that the bobbin case is correctly
installed, otherwise the needle may break.
a
CAUTION
• Do not touch the cutter, otherwise injuries
may result.
CAUTION
• When attaching an embroidery foot, always
press on the screen. You may
accidentally press the “Start/Stop” button and
possibly cause injury.
• Be sure to use embroidery foot “W+” with LED
pointer when doing embroidery. Using
another embroidery foot may cause the needle
to strike the embroidery foot, causing the
needle to bend or break and possibly cause
injury.
Note
• Before replacing the needle, cover the hole in the
needle plate with fabric or paper to prevent the
needle from falling into the machine.
Loading ...
Loading ...
Loading ...