Loading ...
Loading ...
Loading ...
VARIOUS EMBROIDERING FUNCTIONS
71
Advanced Embroidery
3
a
Select the pattern, and edit it if necessary.
b
Press to display the settings screen.
c
Use and to specify the distance from the
pattern to the appliqué outline.
d
Press .
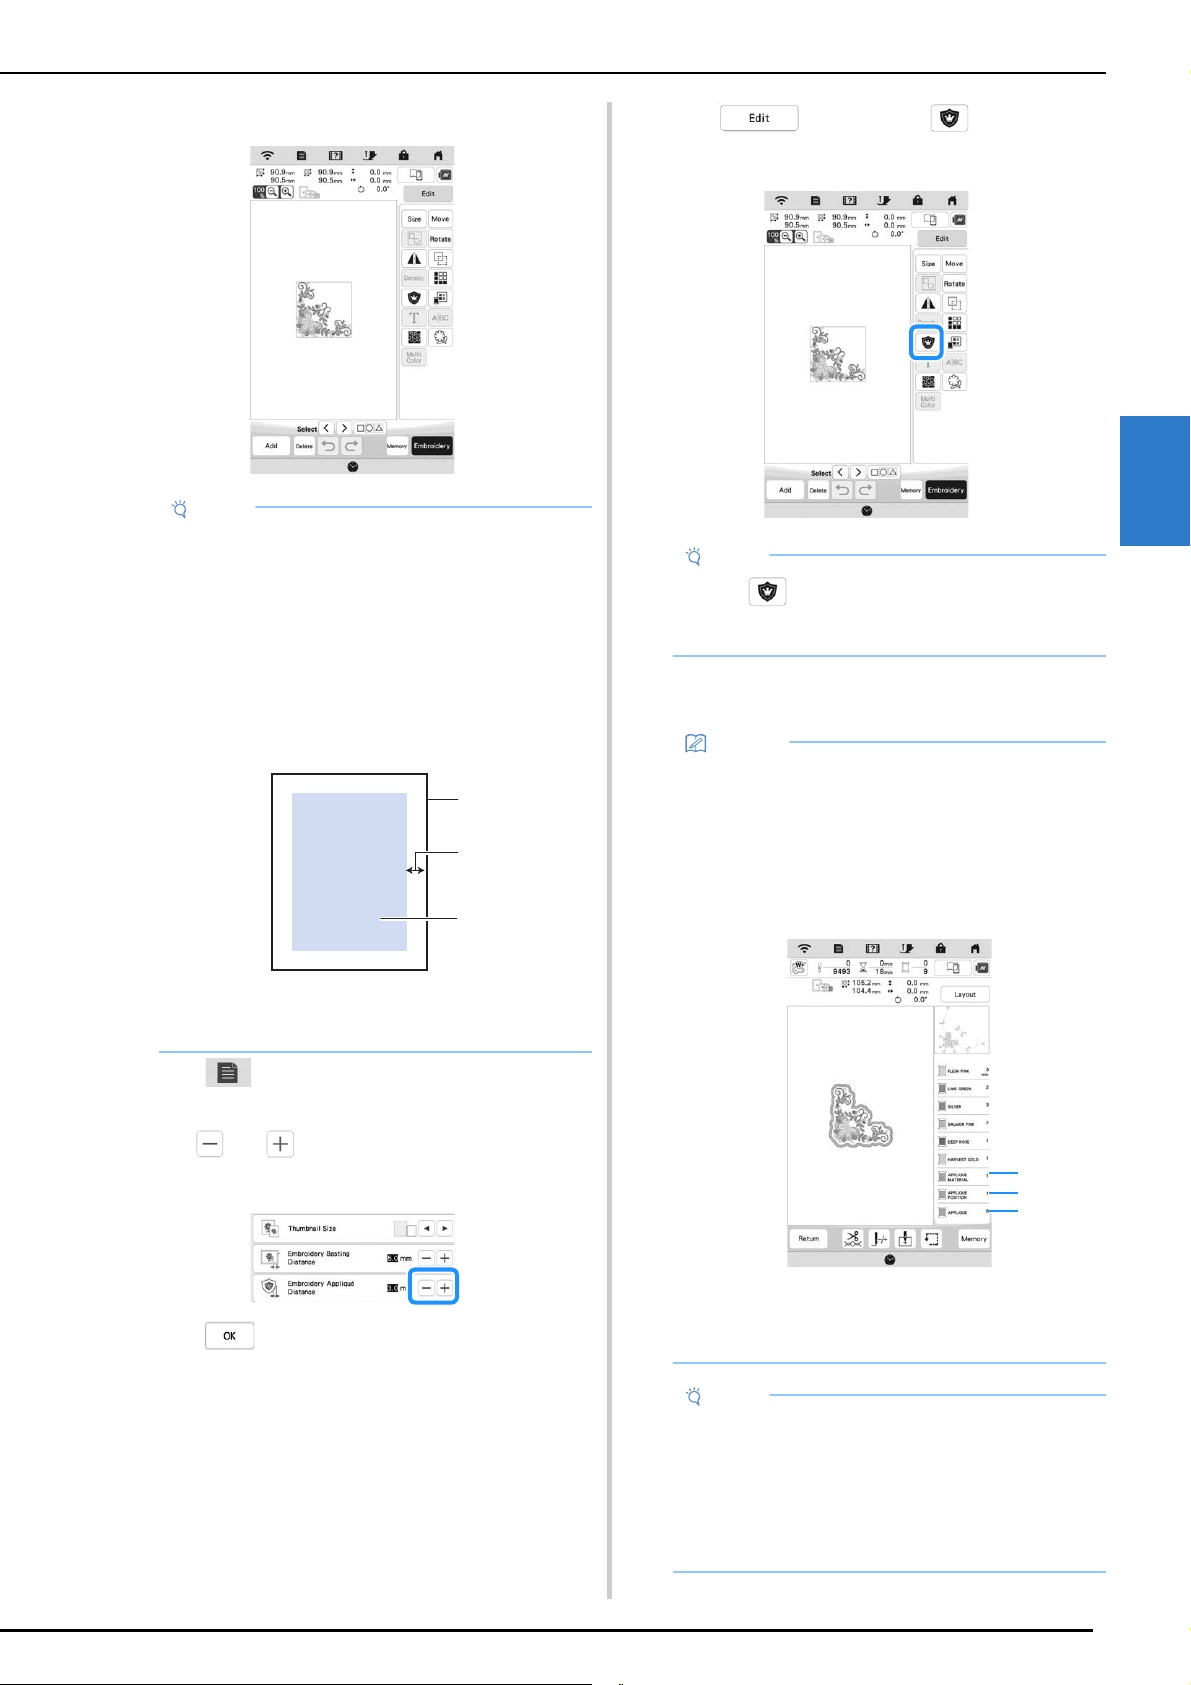
e
Press and then, press to position the
satin stitching around design.
The steps for creating the appliqué piece are added
to the embroidering order.
Note
• Finish combining and editing the pattern before
selecting the appliqué setting. If the pattern is
edited after selecting the appliqué setting, the
appliqué stitching and pattern may become
misaligned.
• Since an outline is added, the pattern for an
appliqué piece (when the appliqué setting is
selected) will be larger than the original pattern.
First, adjust the size and position of the pattern as
shown below.
1 Embroidering area
2 About 1cm (1/2 inch)
3 Pattern size
a
b
c
Note
• When is pressed, the pattern is moved to the
center. After selecting the appliqué setting, move
the pattern to the desired position.
Memo
• The appliqué setting is applied only to the selected
pattern. To select multiple patterns, refer to
“Selecting Multiple Patterns at the Same Time” on
page 41.
• Three steps are added to the embroidering order:
appliqué cutting line, position of pattern placement
on the stabilizer material, and appliqué stitching.
1 Cutting line for appliqué
2 Position of pattern placement on stabilizer
material
3 Appliqué stitching
Note
• An appliqué piece cannot be created if the pattern
is too large or too complicated or a combined
pattern is separated. Even if the selected pattern
fits within the embroidering area, the entire
appliqué pattern may exceed the embroidering
area when the outline is added. If an error message
appears, select a different pattern or edit it.
1
2
3
Loading ...
Loading ...
Loading ...