Loading ...
Loading ...
Loading ...
The lid is then pressed onto the body and the outer circumfer-
ence and face of the lid, together with the outer circumference
of the body, are turned all at one time. This insures accurate
matching of the two pieces.
After the work is complete, the tight fit of the lid can be
relieved by sanding the lip of the body.
Li,
Backing Block
Face Plat__
Figure 69
SEGMENTED TURNINGS
Segmented bowls and boxes are exceptionally attractive - and
this method of preparing wood stock is more economical than
the use of a large piece of stock. For some types of work, seg-
menting is the only practical method because a block (if obtain-
able) would be so large that it would be very likely to warp.
• The bowl illustrated in Figure 70 requires 12 segment pieces
for the sides. Bowls can also be worked with 6 or 8 pieces.
• To make the 12-piece bowl, a board about 1/8x 3 x 30" is
cut into pieces about 21/2,, long, the saw blade being tilted
15 ° and the board being turned alternately face up and
face down to make the successive cuts.
• These 12 pieces are glued together and clamped by wrap-
ping the assembly with wire (or equivalent).
• When dry, the rim thus formed is glued to a temporary cir-
cular backing which is mounted on a large faceplate.
Figure 70
• A 3/4"deep recess of the largest possible diameter is
turned in the open end of the rim.
• The rim is removed from the lathe and stock for the bottom
is mounted in its place on a second faceplate. This is
turned to size - and a rim about 1/8"deep is turned to
exactly fit the recess prepared in the rim.
• The rim is then fitted over the bottom and glued, making a
drum shape with a faceplate at each end.
• This drum is cut completely in two at a point about 8/4"
above the bottom - completing the cut with a hand saw.
• Both parts of the cut surface are faced off square and
smooth - then reglued together, breaking the joints exactly
half and half. The cutting and reglueing process is repeat-
ed with a section about 11/4"wide.
• After this, the temporary backing block is cut off, leaving
the bowl as shown in the final illustration. From this point
on, the work is simply a matter of turning down the bowl to
any desired shape.
Figure 71
TURNING PLASTICS
TYPES OF PLASTICS
There are two general groups of plastics. The first includes all
phenol plastics molded under heat and pressure. Bakelite and
Formica are examples. In the second are all catalyst setting
plastics of various bases sold under such trade names as
Lucite, Catalin, Cast Bakelite, Marblette, Tenite and Trafford.
Those in the second group are most generally used for craft-
work. They are easy to turn, being a little harder than wood,
but much softer than any of the soft metals.
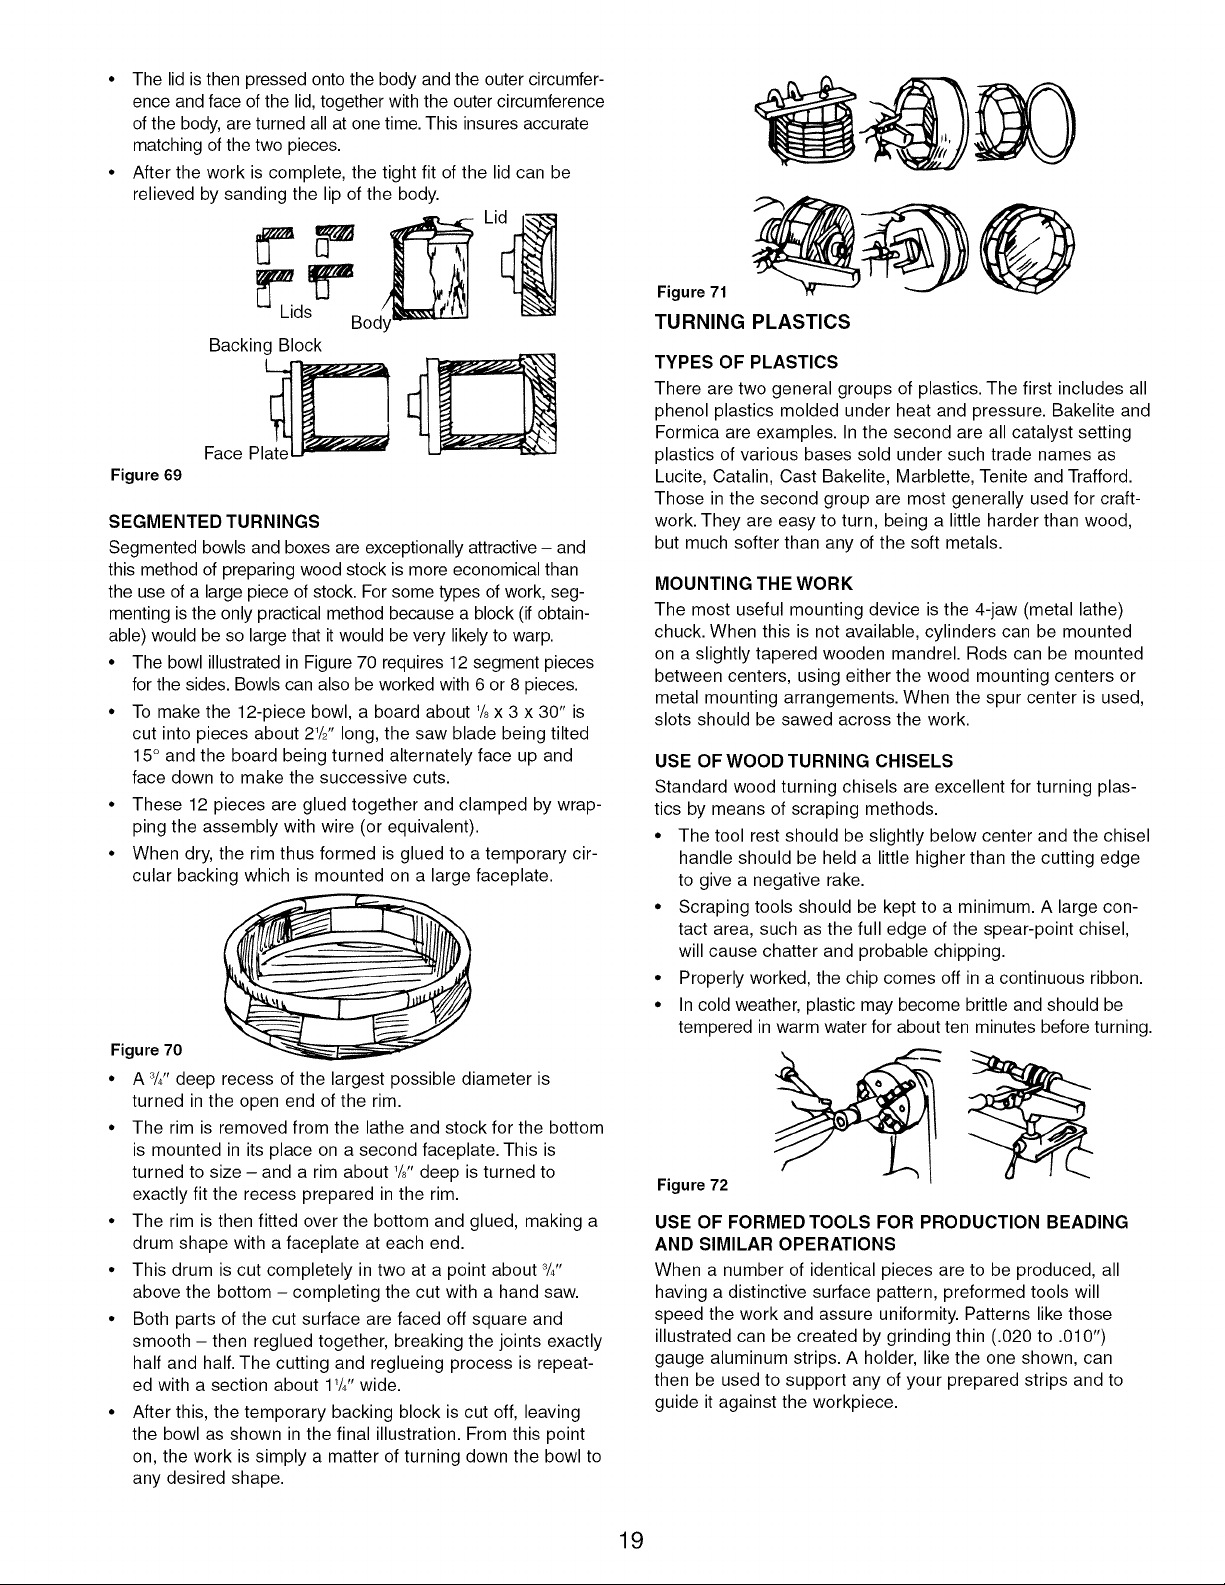
MOUNTING THE WORK
The most useful mounting device is the 4-jaw (metal lathe)
chuck. When this is not available, cylinders can be mounted
on a slightly tapered wooden mandrel. Rods can be mounted
between centers, using either the wood mounting centers or
metal mounting arrangements. When the spur center is used,
slots should be sawed across the work.
USE OF WOOD TURNING CHISELS
Standard wood turning chisels are excellent for turning plas-
tics by means of scraping methods.
• The tool rest should be slightly below center and the chisel
handle should be held a little higher than the cutting edge
to give a negative rake.
• Scraping tools should be kept to a minimum. A large con-
tact area, such as the full edge of the spear-point chisel,
will cause chatter and probable chipping.
• Properly worked, the chip comes off in a continuous ribbon.
• In cold weather, plastic may become brittle and should be
tempered in warm water for about ten minutes before turning.
Figure 72
USE OF FORMED TOOLS FOR PRODUCTION BEADING
AND SIMILAR OPERATIONS
When a number of identical pieces are to be produced, all
having a distinctive surface pattern, preformed tools will
speed the work and assure uniformity. Patterns like those
illustrated can be created by grinding thin (.020 to .010")
gauge aluminum strips. A holder, like the one shown, can
then be used to support any of your prepared strips and to
guide it against the workpiece.
19
Loading ...
Loading ...
Loading ...