Loading ...
Loading ...
Loading ...
3
Shooting
76
You can measure the white balance at a selected location.
1 Select o1 to o3 in Step
2 of “Setting the White
Balance” (p.74).
When the image for measuring is
displayed, proceed to Step 3.
2 Under the light you wish to measure the white
balance of, select a white area as the subject,
and set the main switch to U.
The captured image is displayed.
3 Press O.
The measuring area selection screen appears.
4 Use ABCD to specify the
measuring area.
5 Press E.
The white balance setting screen reappears.
The message [Data process failed.] appears when
measuring is unsuccessful. Press E to remeasure the
white balance.
t Memo
• You can copy the white balance settings of a captured image
and save them as o1 to o3 in [Save as Manual WB] of the
C7 menu.
You can specify the white balance with the color temperature.
1 Select p1 to p3 in Step 2 of “Setting the White
Balance” (p.74).
2 Press G.
3 Adjust the color
temperature.
Set the color temperature value
within the range from 2,500 to
10,000 K (Kelvin).
Available operations
4 Press E.
The white balance setting screen reappears.
t Memo
• Set [Color Temperature Steps] to [Mired] in the E6 menu to
set the color temperature in mired units. The color
temperature can be changed in 20 mired units with Q, and
100 mired units with R. However, figures are converted to
and displayed in Kelvin.
Adjusting the White Balance Manually
Manual White Balance
Manual White Balance
OK
OK
Cancel
Cancel
White Balance
White Balance
Cancel
Cancel
Manual White Balance
Manual White Balance
OK
OK
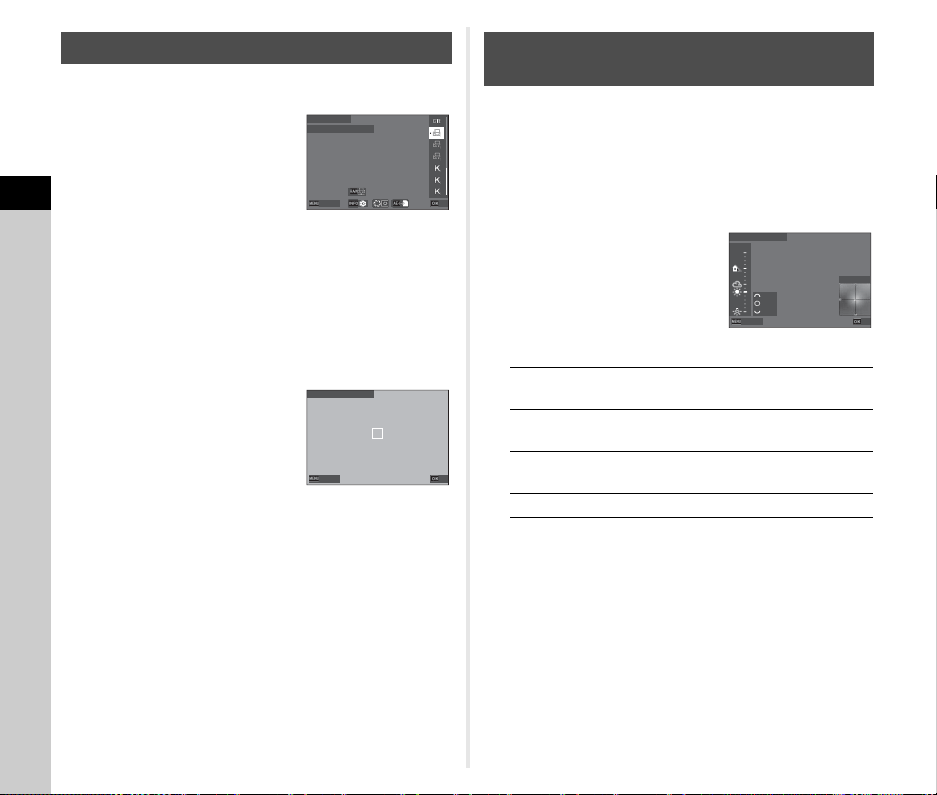
Adjusting the White Balance with Color
Temperature
Q
Changes the color temperature in
increments of 10 K.
V
Changes the color temperature in
increments of 100 K.
R
Changes the color temperature in
increments of 500 K.
ABCD Fine-tunes the color temperature.
0:0
0:0
10000K
10000K
500K
500K
100K
100K
10K
10K
Color Temperature
Color Temperature
Cancel
Cancel
OK
OK
Loading ...
Loading ...
Loading ...