Loading ...
Loading ...
Loading ...
104
3. Choose your desired file format from the File Format drop down list box.
(Default is JPEG, other choice includes TIFF, MTIFF, PDF, MPDF, GIF, and
BMP.) The supported file formats vary depending on your scanner model.
4. Type your desired folder name and file name in the File Path box. (Default is
C:\Documents and Settings\User Name\My Documents\My Scan\Image.)
Note: If you do not wish to save the scanned image, deselect the Save
button since default is Save Enable. In this case, the thumbnail view will
be disabled. And therefore, after viewing all the scanned images, only
the last one will remain on the screen.
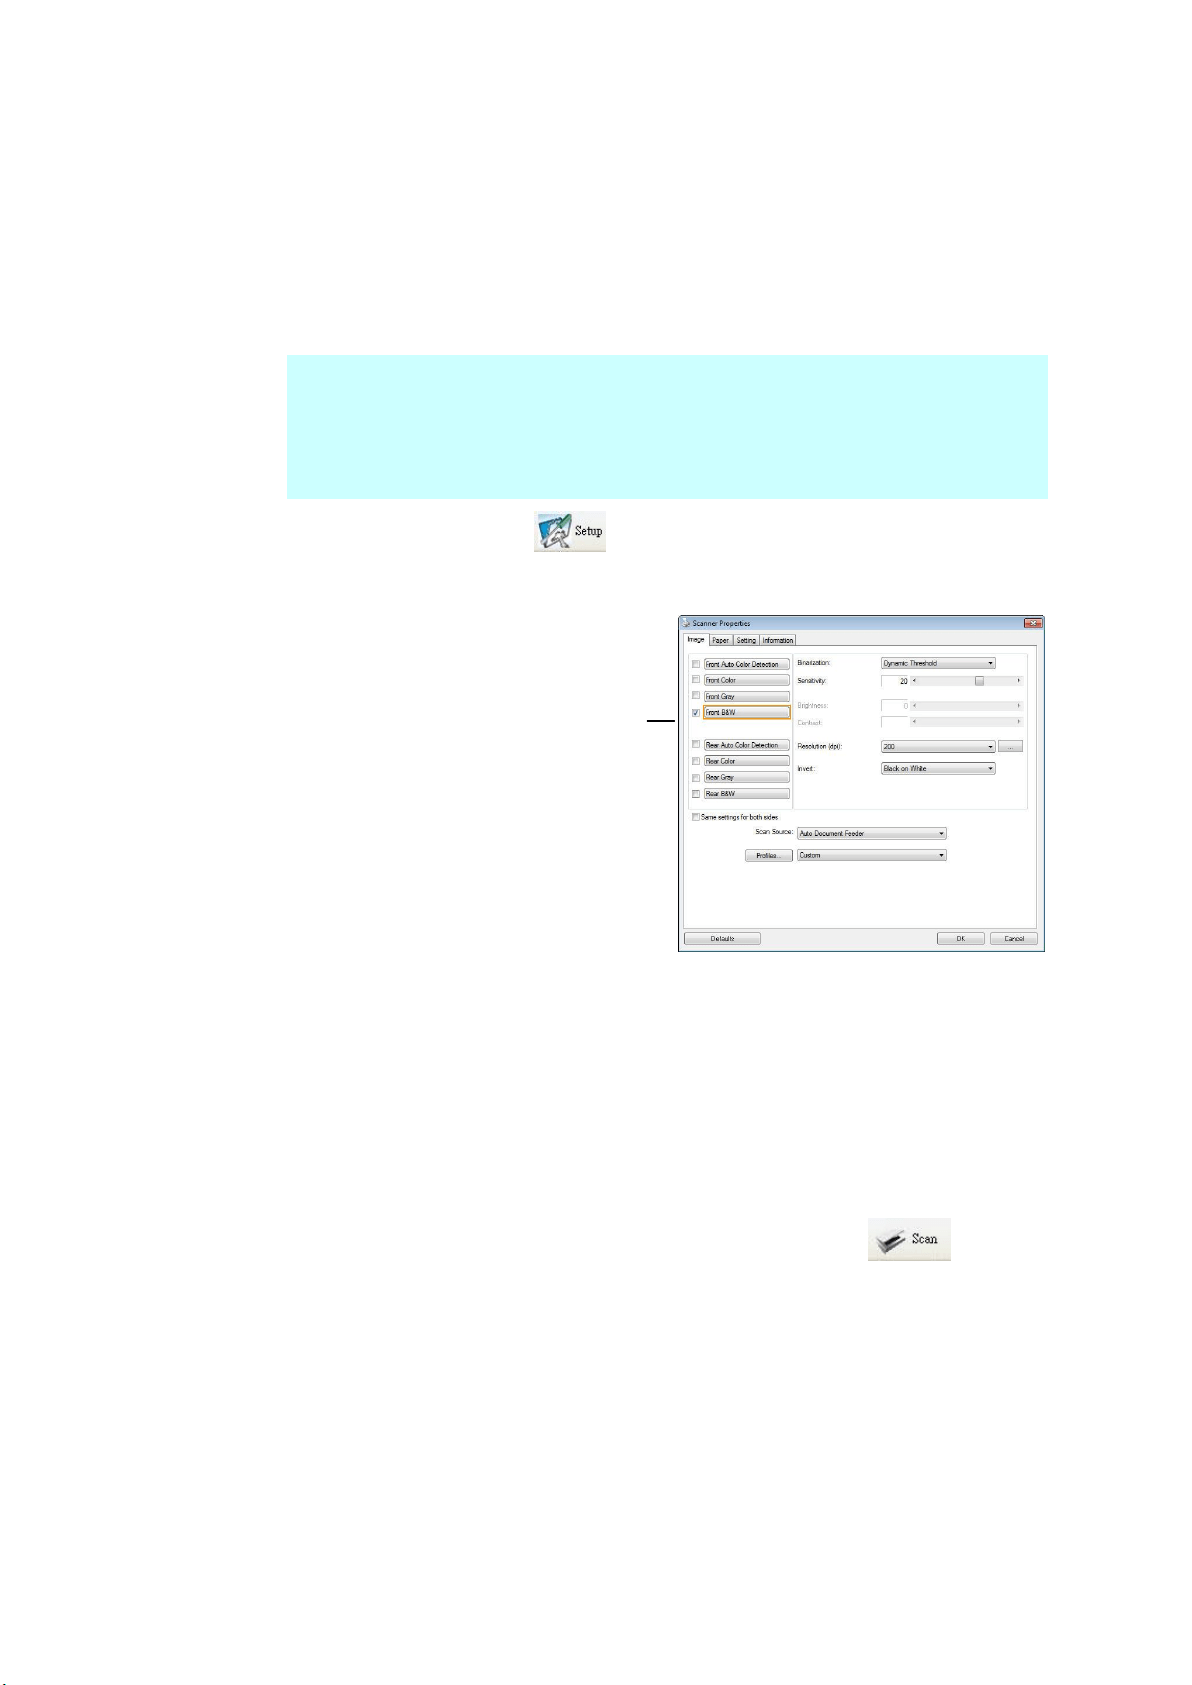
5. Click the Setup button ( ) or choose Setup from the File menu to
prompt the Scanner Properties dialog box.
6. From the Image Selection Box, choose your desired image type for your
scanned image. (Default is Front B&W) If you have a duplex scanner,
choose Front and Rear to scan both sides of your document.
7. Click OK to quit the Scanner Properties dialog box. (To learn more
details about the Scanner Properties dialog box, please see the
subsequent chapter, Using the Scanner Properties Dialog Box.)
8. Place your document face down on the document glass or face up in the
auto document feeder.
9. In the Scan Validation dialog box, click the Scan button (
) or
choose Scan from the File menu.
10. The document will be scanned and displayed in the Scan Validation screen.
After the scanned images have been displayed, your scanner installation
verification is completed.
Image
Selection
Box
Loading ...
Loading ...
Loading ...