Loading ...
Loading ...
Loading ...
107
ENTER AN ICON AND NAME
For [Icon] or [Name] on the entry screen, set an icon and name for the
setting you want to save in a QR code (see P.143).
The icon and name you set will be applied to Custom mode when the
settings are read from the QR code.
If the current shooting mode is a custom mode, an icon for that mode is
entered by default. Otherwise, the current shooting mode is entered after
a hash (#) symbol.
If the current shooting mode is a custom mode, a name for that mode is
entered by default. If no name has been set or the current shooting mode
is PASM, "My Settings" appears.
SELECTING SETTINGS TO SAVE
For [Settings to Save] on the entry screen, select the settings you want to
save. Point the cursor at each of the settings and use the
buttons to
check (✔) or uncheck (✖).
Checked (✔) items are saved and unchecked (✖) items are not saved.
All blue tabs are checked (✔) by default.
Each time you press the MODE button, Check All Items changes to
Uncheck All Items or vice versa in the tab you are viewing.
The settings for both STILL and CINE modes are saved regardless of the
current switch position.
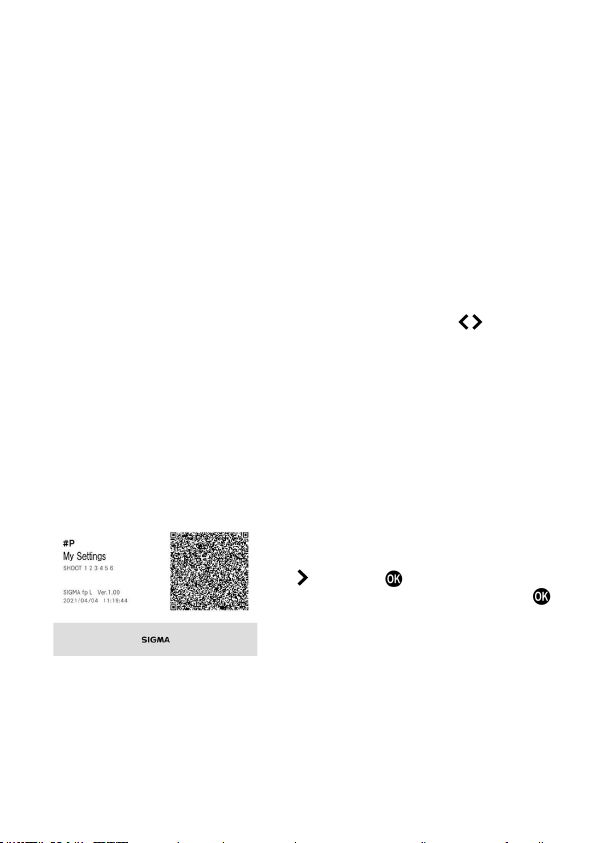
CREATING AND SAVING QR CODES
When you position the cursor at the top of
the [Save to QR Code] screen and press
the
button or button, the [Save QR
Code] screen is displayed. Press the
button to save the QR code image on a
memory medium.
The QR code image contains information such as the icon and name for
the recorded settings, tabs for the saved settings, camera model name,
firmware version used by the camera, and dates and times when the
settings are saved. Make use of it to identify what is recorded.
The
handling
of
file
names
and
playback
of
QR
code
images
is
the
same
as
for captured images in the screenshot feature. Refer to [SCREENSHOT
FEATURE] on page 157.
Loading ...
Loading ...
Loading ...