Loading ...
Loading ...
Loading ...
49-85246-1 25
Using the Probe and Proofing
Professional All-Gas Range
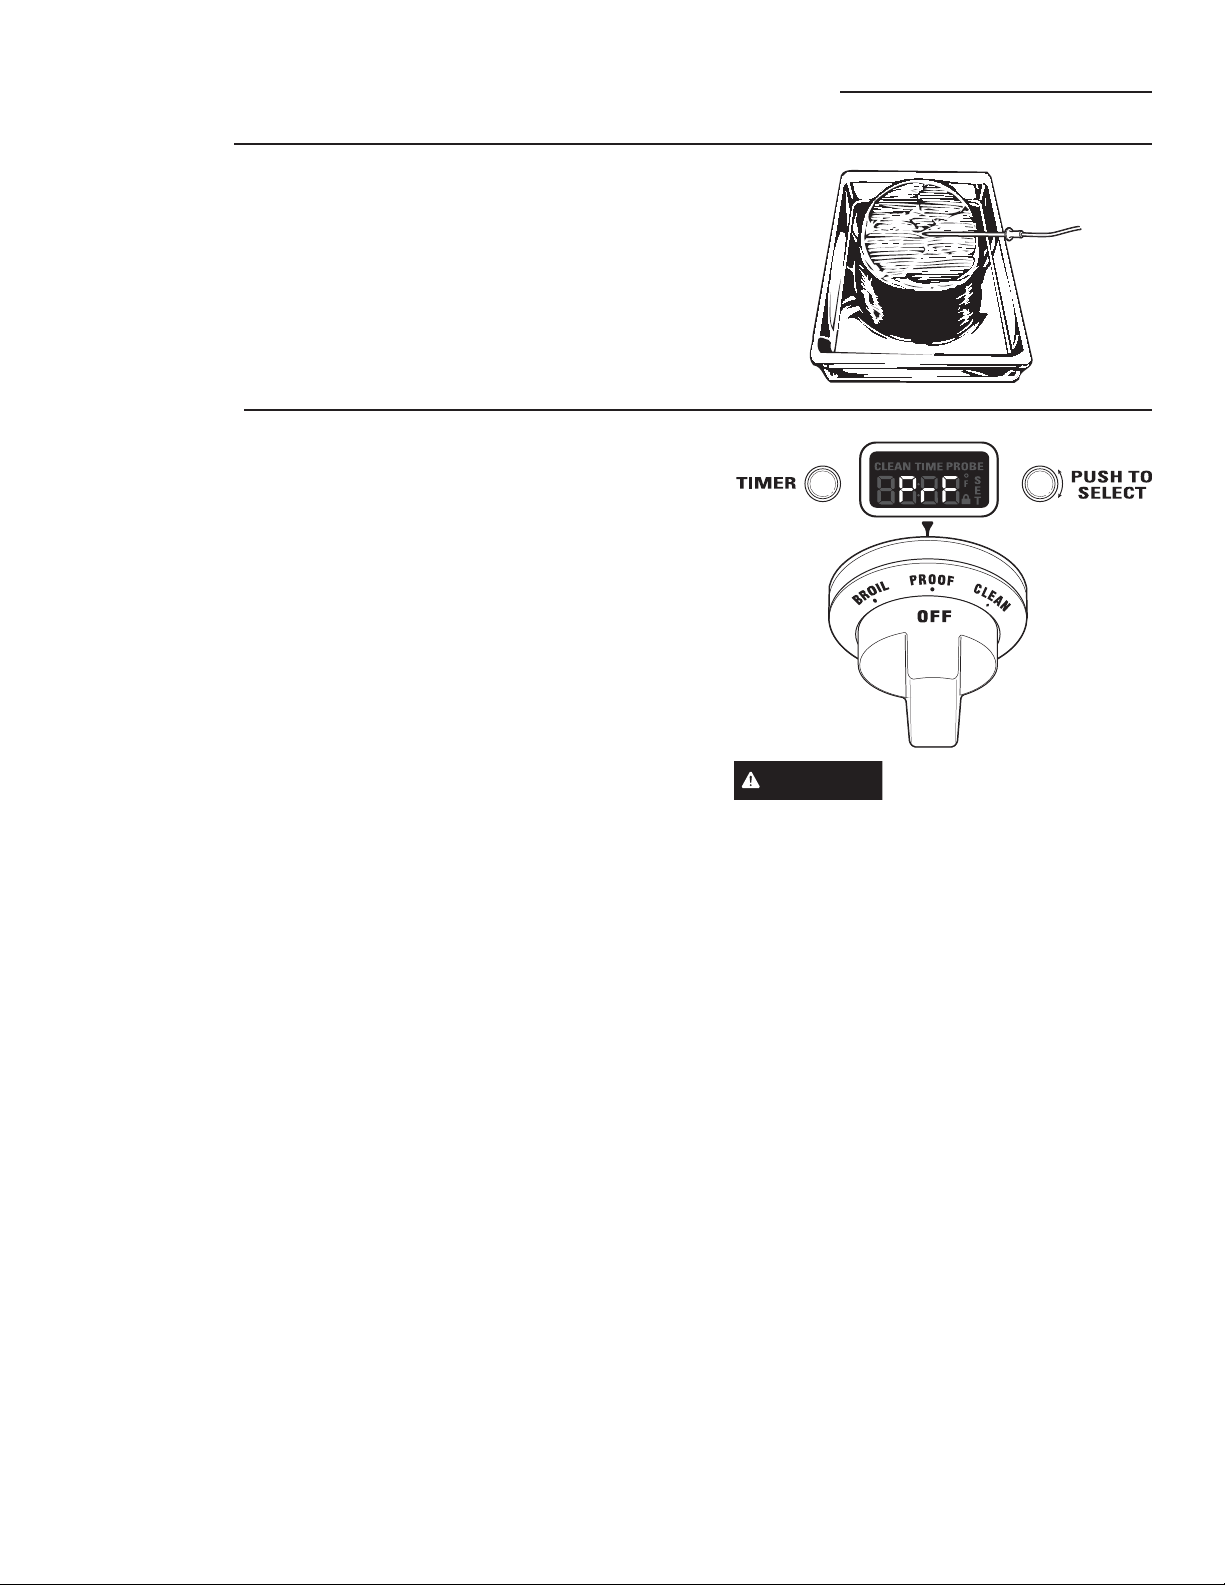
Ŷ Measure the distance to the center of a roast
by laying the temperature probe on top of
the meat. Use your thumb and forefinger to
mark where the edge of the meat will come
on the probe.
Ŷ Insert the probe up to the point marked with
your finger. The tip of the probe should be in
the center of the meat.
Proper
placement of
the probe
How to
set the oven
for proofing
The proofing feature maintains a warm
environment which is useful for rising yeast-
leavened dough.
1. Turn the Oven Mode Selector to PROOF.
The display will show “PrF”. PROOF mode
will not operate when oven is above 125°F.
The display will scroll “too hot”. Allow the
oven time to cool.
For best results, cover the dough with a cloth
or with greased plastic wrap.
Use rack position B or C in the large oven.
Use rack position B in the small oven.
The proofing feature automatically provides
the optimum temperature for the proofing
process; therefore the Temperature knob does
not affect the proof temperature.
The oven interior lights cycle on and off
as necessary to maintain optimum proof
temperature until the Oven Mode Selector has
been turned to OFF.
Ŷ To avoid lowering the oven temperature and
lengthening proofing time, do not open the
oven door unnecessarily.
Ŷ Check bread products early to avoid over-
proofing.
2. When proofing is finished, turn the Oven
Mode Selector to OFF.
CAUTION
Do not use the proofing
mode for warming food or keeping food hot.
The proofing oven temperature is not hot
enough to hold foods at safe temperatures.
Loading ...
Loading ...
Loading ...