Loading ...
Loading ...
Loading ...
25
3
Sorting
Images
1
2
4
5
Introduction/
Contents
Downloading
Images
Viewing
Images
Printing
Images
Editing
Images
6
Processing
Large Numbers
of RAW Images
7
Remote
Shooting
9
HDR PQ
Mode
8
Playing Back
Movies and Saving
Still Photos
10
Specifying
Preferences
1
Select [Display settings for preview properties] from the
[Properties to display] pulldown menu.
2
Specify display items with the [Add >>] button and [<< Remove]
button. Items that can be selected appear in the list box at left,
and actually displayed items appear in the list box at right. You
can also change the display order with the [Move Up] button and
[Move Down] button.
After specifying settings, click the [OK] button.
With the [Preview properties font] option, you can specify the font
used for information displayed in the preview window.
3
Select an image and click the [ ] button.
The image and properties selected in step 2 are displayed in the
screen.
If the recipe contents of an image being edited are displayed in
before/after comparison (two-screen display/split-image display),
edited items are displayed in red.
All the property items may not be displayed depending on the
combination of window, preview window, or the size of thumbnails.
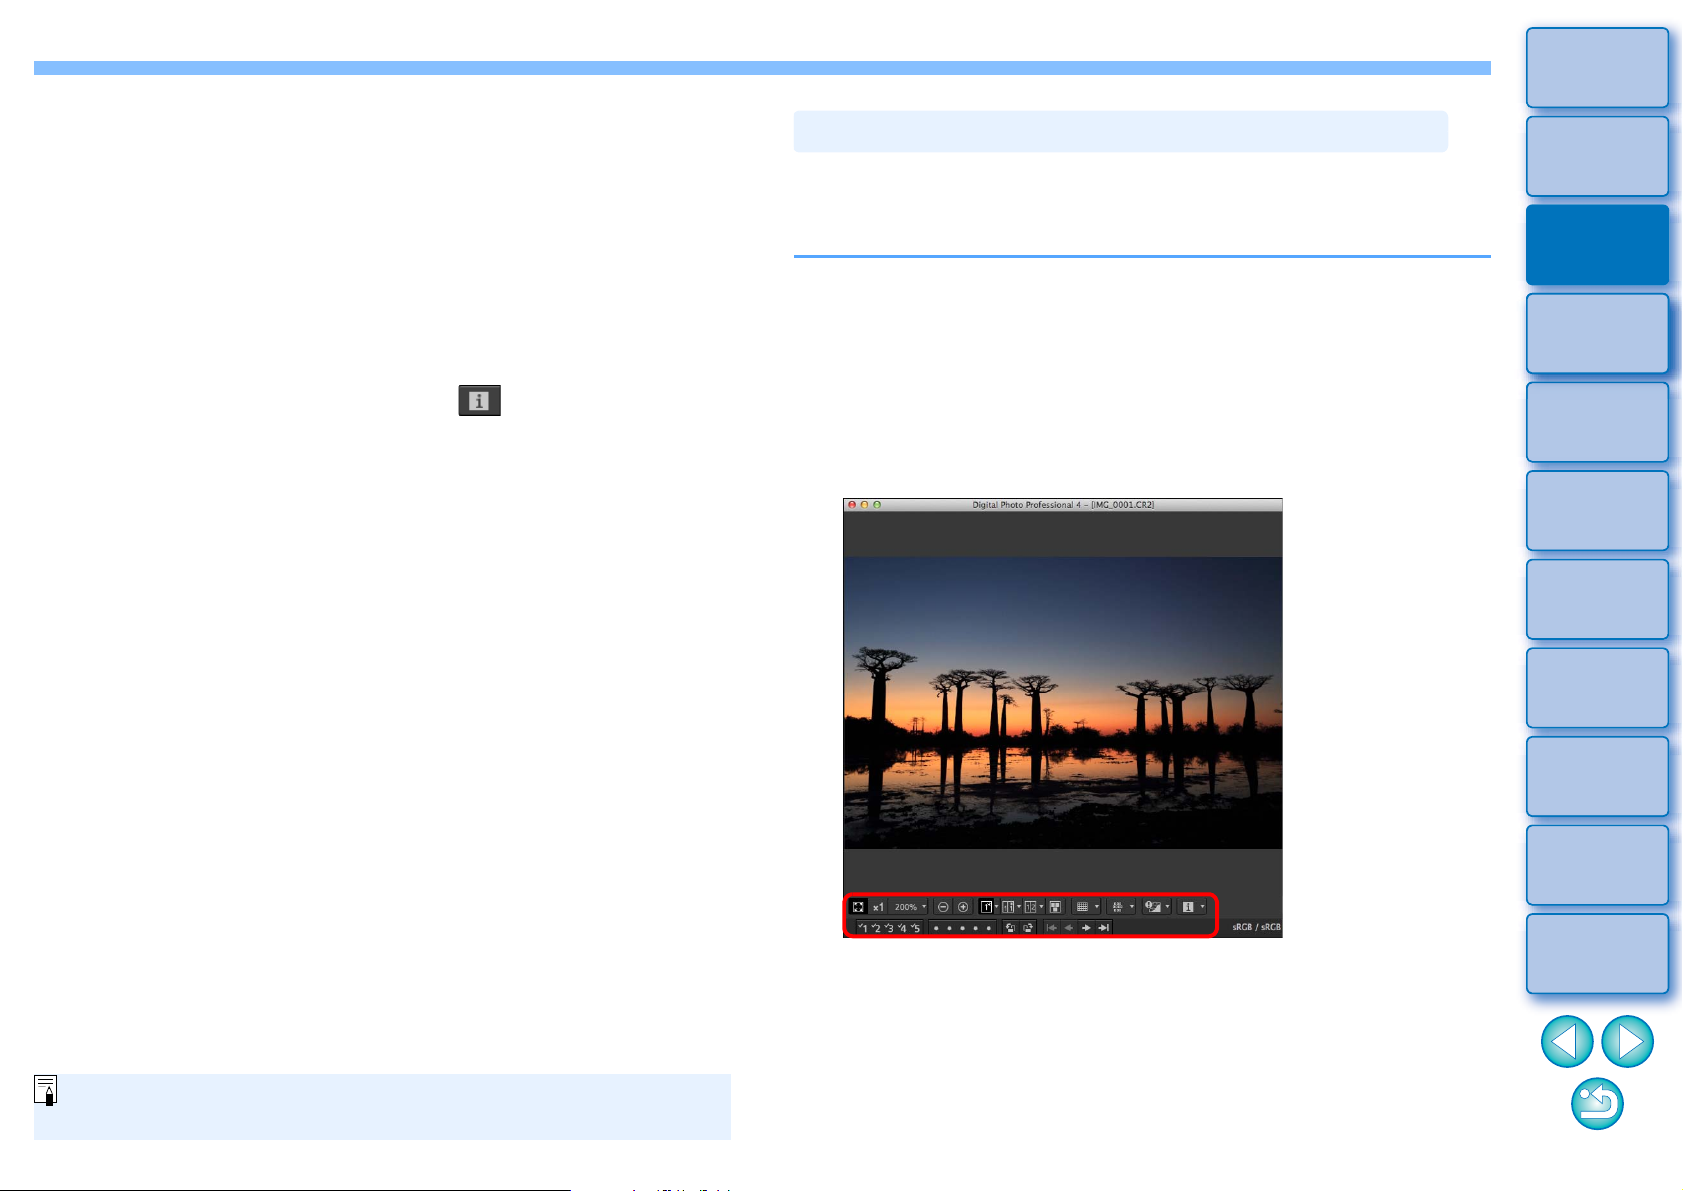
The preview window shows the coordinates of the mouse cursor and the
work color space. By switching to multi-function preview, you can also
check image details in the same way as the main window (multi-layout).
1
Select the [Tools] menu [Preview screen display
settings], and then [Multi-function preview] from the
dialog that appears.
2
Open the preview window
(p.18)
.
A multi-function preview with various functions at the bottom of
the screen is displayed.
For how to use the displayed functions, see “Viewing an Image in
the Main Window (Thumbnail Layout)” (p.13) and “Checking an
Image Using the Preview Control Panel” (p.21 to p.25).
Checking an Image in Multi-Function Preview
Loading ...
Loading ...
Loading ...