Loading ...
Loading ...
Loading ...
107
3
Sorting
Images
1
2
4
5
Introduction/
Contents
Downloading
Images
Viewing
Images
Printing
Images
Editing
Images
6
Processing
Large Numbers
of RAW Images
7
Remote
Shooting
9
HDR PQ
Mode
8
Playing Back
Movies and Saving
Still Photos
10
Specifying
Preferences
Creating HDR (High Dynamic Range) Images
You can create images with a wide dynamic range where clipping in
highlights and shadows has been reduced, and images that appear like
paintings. This is suited for scenes such as still-lifes and landscapes.
This function is most effective when using three images with different
exposures for the same scene (negative exposure, standard exposure,
positive exposure) to create an HDR image. However, you can also
create an HDR image from two images, or even only one.
Since an HDR image is saved as a separate image, the original images
remain as they are.
* HDR stands for High Dynamic Range.
This function can be used with all image types (p.4) supported by
DPP.
Image information is not appended to an HDR image.
1
Select an image in the main window.
2
Select the [Tools] menu [Start HDR tool].
The [Select Images] window appears.
You can also display the [Select Images] window from the edit
window and edit image window.
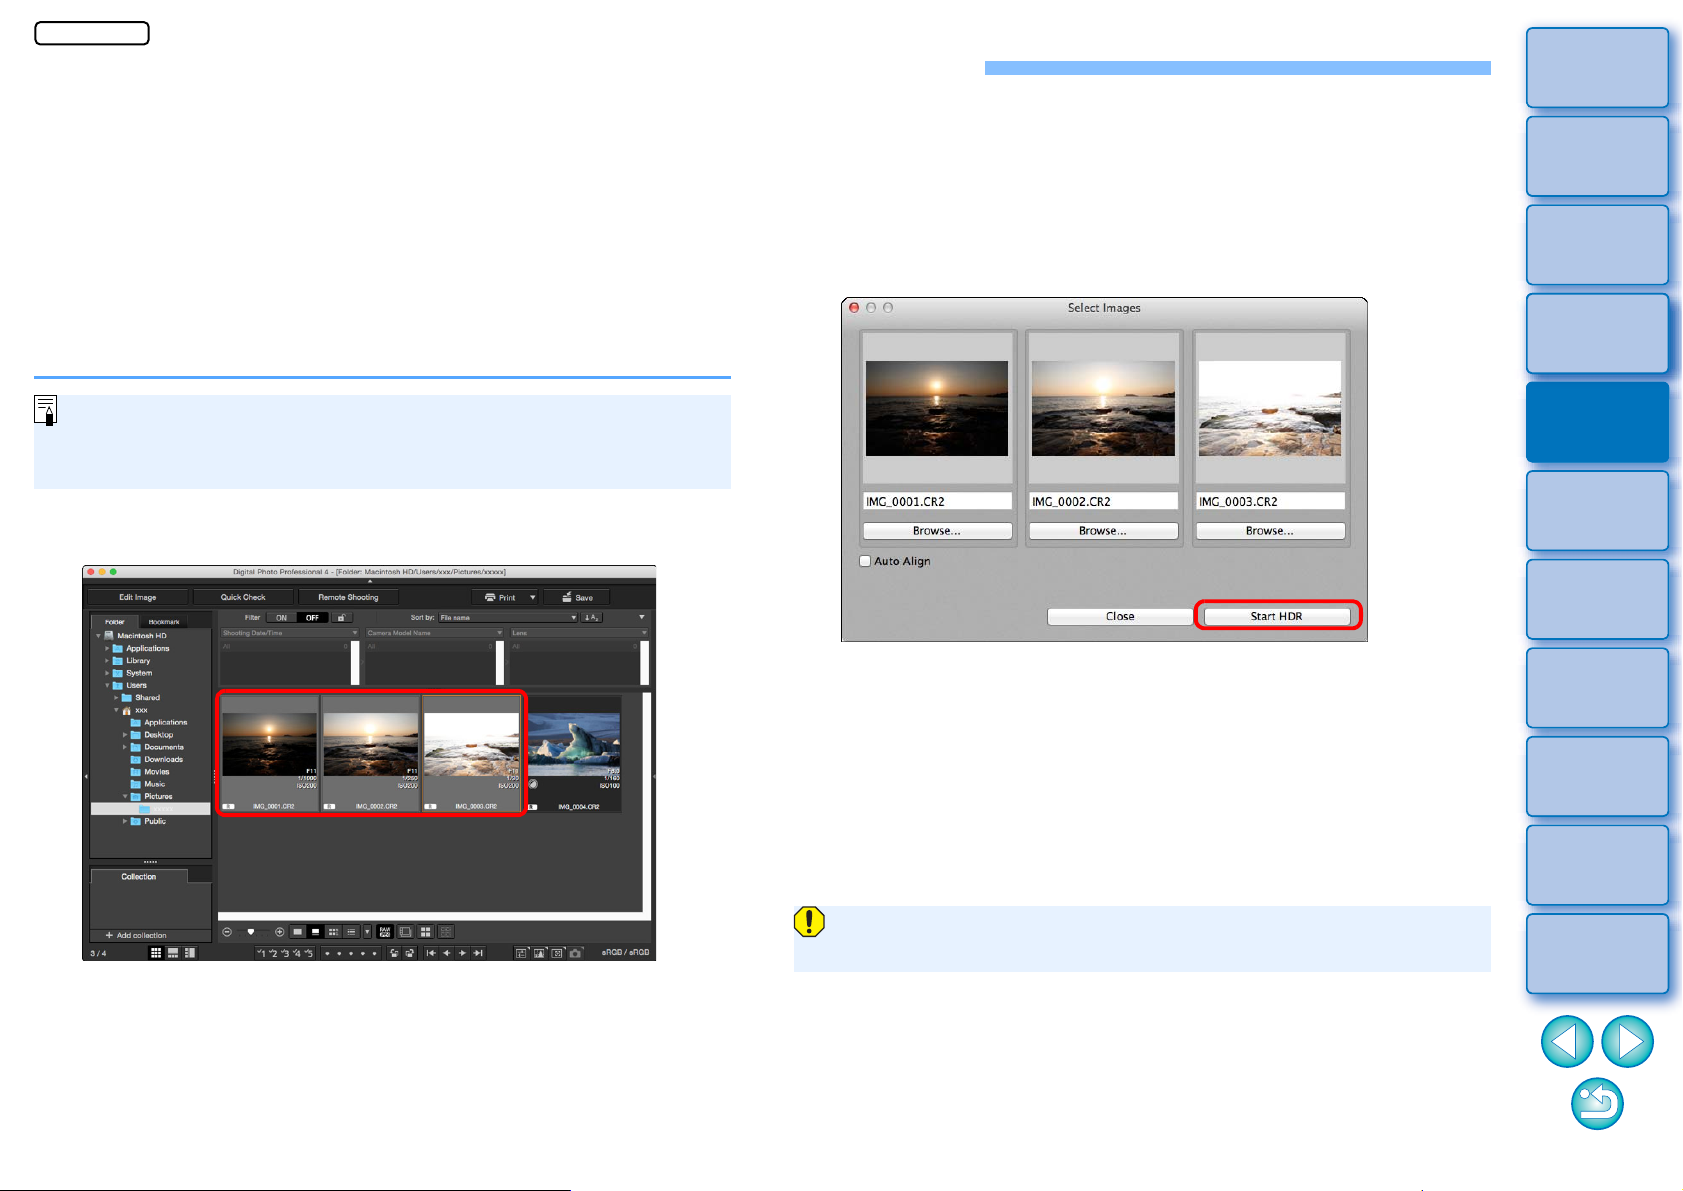
3
Specify the required settings, then click the [Start
HDR] button.
To change the selected image or add another image, click the
[Browse] button, and in the [Open] dialog box that appears,
select the image file and click the [Open] button.
If you select two images of the same size, you can checkmark
the [Auto Align] checkbox for auto image alignment. However,
auto image alignment may not work properly with repetitive
patterns (lattice, stripes, etc.) or flat, single-tone images.
By clicking the [Start HDR] button, the [Adjust Image] window
appears.
After using auto image alignment, the periphery of the images is
partially deleted.
JPEG/TIFF
Loading ...
Loading ...
Loading ...