Loading ...
Loading ...
Loading ...
Section 9: Changing Your Settings
75
● Learn from Twitter: Allows you to sign into your existing Twitter account and add used text to your personal
dictionary.
● Learn from Messages: Allows your device to learn your messaging style by using your Messaging
information.
● Learn from Contacts: Updates predictive style by learning your Contacts style.
● Clear server data: Allows you to delete your anonymous data stored on the personalization server.
● Clear personal data: Removes all personalized data entered by the user.
● Privacy Policy: Displays onscreen privacy information.
4. Press Back to return to the previous screen.
Configure Google Voice Typing
1. From the Settings screen, tap Language and input.
– or –
From a screen where you can enter text, in a single motion, touch and drag the Status bar down to the
bottom of the screen, then select Choose input method > Set up input methods.
2. Tap Settings (adjacent to the Google voice typing field).
3. Select a language by tapping Choose input languages area.
4. Remove the check mark from the Automatic field. This allows you to select additional languages.
5. Select the desired language.
6. Activate Block offensive words to block recognition of known offensive words or language. (A blue check
mark indicates the feature is active).
7. Tap Offline speech recognition to enable speech recognition via locally stored files so that even if you are
not connected to a network you can still use the service.
Configuring Voice Input Recognition
This feature allows the device to correctly recognize verbal input.
1. From the Settings screen, tap Language and input > Voice search to configure the following:
● Language: Choose a language for your voice input.
● “OK Google” hotword detection: Activate the ability of your device to launch voice searching once it hears
“OK Google”.
● Speech output: Sets whether you will use speech output always or only when using hands-free.
● Block offensive words: Enable or disable blocking of recognized offensive words from the results of your
voice-input Google searches.
● Offline speech recognition: Enables voice input while offline.
● Bluetooth headset: Records audio through a connected Bluetooth headset.
2. Press Back to return to the previous screen.
Configuring Text-to-speech
This feature allows the device to provide a verbal readout of on-screen data such as messages and incoming
caller information. This action is called TTS (Text To Speech).
1. From the Settings screen, tap Language and input > Text-to-speech options.
2. Select a current Preferred TTS engine from the list of available options. Select Samsung text-to-speech
engine or Google text-to-speech engine. The default is Samsung text-to-speech engine.
3. Tap Settings next to the preferred TTS engine configure the following settings:
● Language: Set the language for spoken text.
● Settings for Google text-to-speech engine: View Open Source Licenses.
● Settings for Samsung text-to-speech engine: Configure the General settings for the Samsung TTS.
● Install voice data: Install voice data for speech synthesis.
4. Configure the General options to alter the settings associated with this feature:
● Speech rate: Adjusts the rate at which onscreen text is spoken by the device.
● Listen to an example: Plays a short example of what the text-to-speech feature sounds like on your device
when activated.
● Default language status: Displays the status of the currently selected language.
Configuring the Mouse-TrackPad
This feature allows you to configure the pointer speed for a connected mouse or trackpad.
1. From the Settings screen, tap Language and input > Pointer speed.
2. Adjust the slider and tap OK.
Date and Time
This menu allows you to change the current time and date displayed.
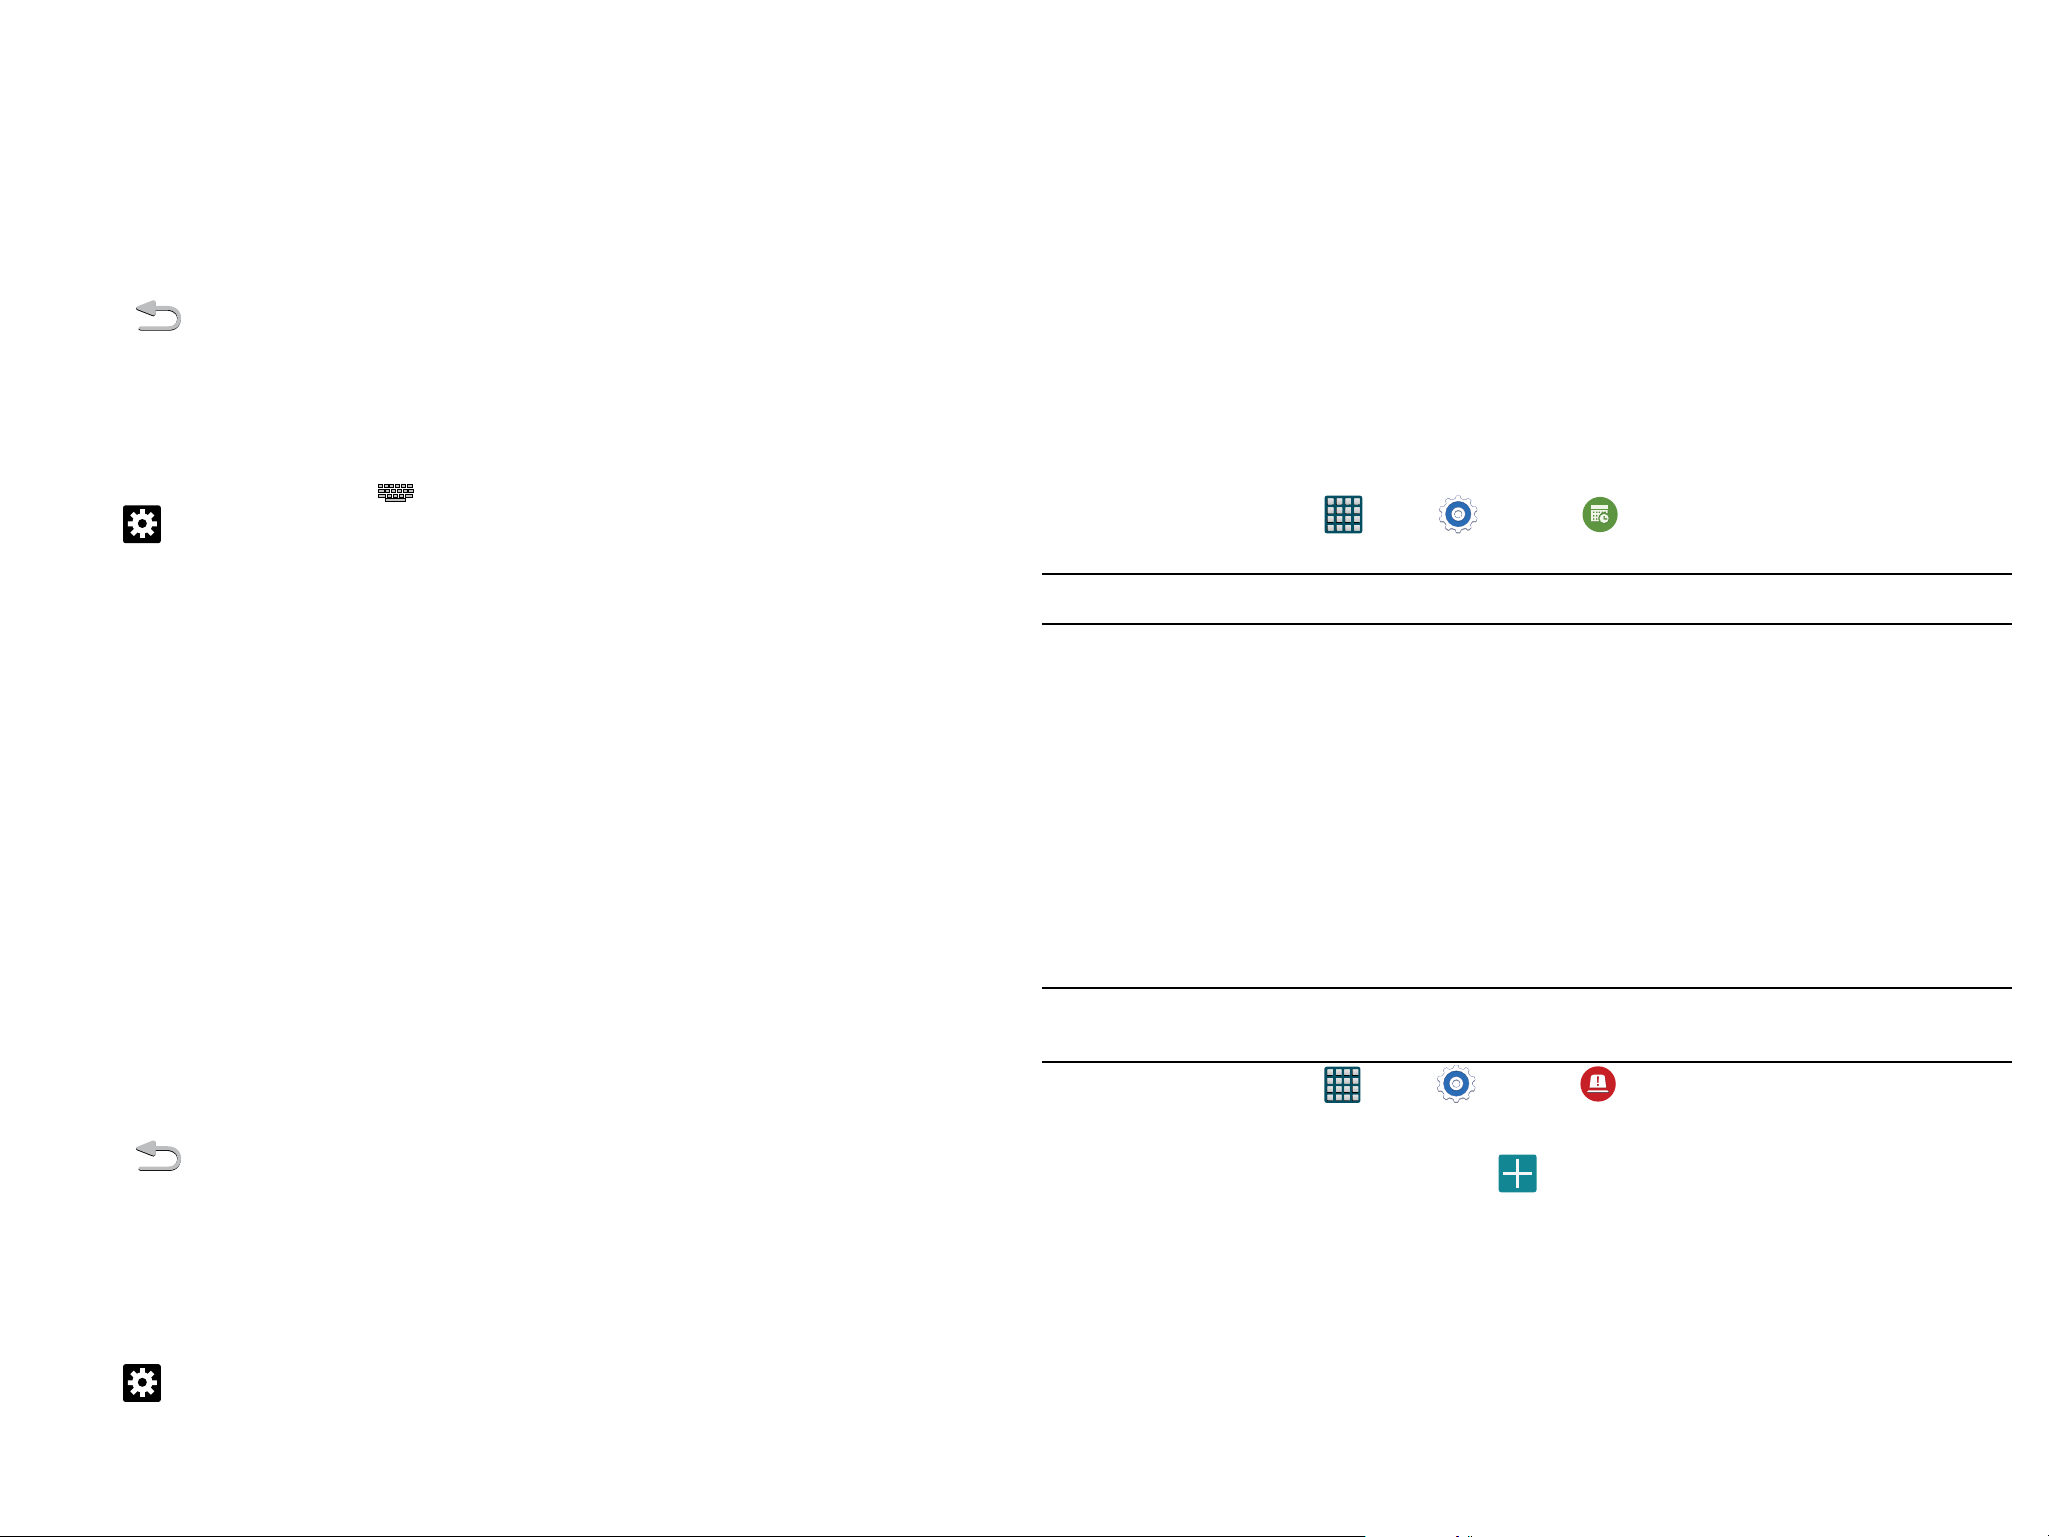
1. From the Home screen, tap Apps > Settings > Date and time.
2. Tap Automatic date and time to allow the network set the date and time.
Important! Deactivate Automatic date and time to manually set the rest of the options.
3. Tap Set date and use the arrows to set the Month, Day, and Year then tap Set.
4. Tap Set time and use the arrows, set Hour, and Minute. Tap PM or AM, then tap Set.
5. Tap Automatic time zone to allow the network set the time zone information automatically.
6. Tap Select time zone, then tap a time zone.
7. Tap Use 24-hour format. If this is not selected the device automatically uses a 12-hour format.
8. Tap Select date format and select the date format type.
Safety Assistance
Safety assistance is intended to help users send a quick notice of their approximate location and visual
surroundings to predefined mobile devices of an emergency contact.
During an emergency, all of your predefined ICE (In Case of Emergency) contacts are notified with a message
containing your emergency information.
Important! This feature is only for your convenience and is not intended as, or should it be treated as, a
substitute for emergency calls to the authorities.
1. From the Home screen, tap Apps > Settings > Safety assistance.
2. Tap OK to enable the Safety assistance feature.
3. When prompted, you must first set up emergency contacts. If you have not already done so, tap OK.
4. From the Manage primary contacts screen tap Create primary contact > Create new contact or
Select from contacts.
5. Enter your emergency contact information and tap Save.
6. From the main Safety assistance screen, the following options are available:
● Emergency mode: Allows you to save power during an emergency by using a minimal home screen layout
and limiting the number of usable apps. Touch and move the slider to the right to turn it on.
Loading ...
Loading ...
Loading ...