Loading ...
Loading ...
Loading ...
21
A
A
l
l
i
i
g
g
n
n
i
i
n
n
g
g
t
t
h
h
e
e
S
S
e
e
t
t
t
t
i
i
n
n
g
g
C
C
i
i
r
r
c
c
l
l
e
e
s
s
Before you can use the setting circles to find objects in the sky you
need to align the R.A. setting circle which is incremented in minutes.
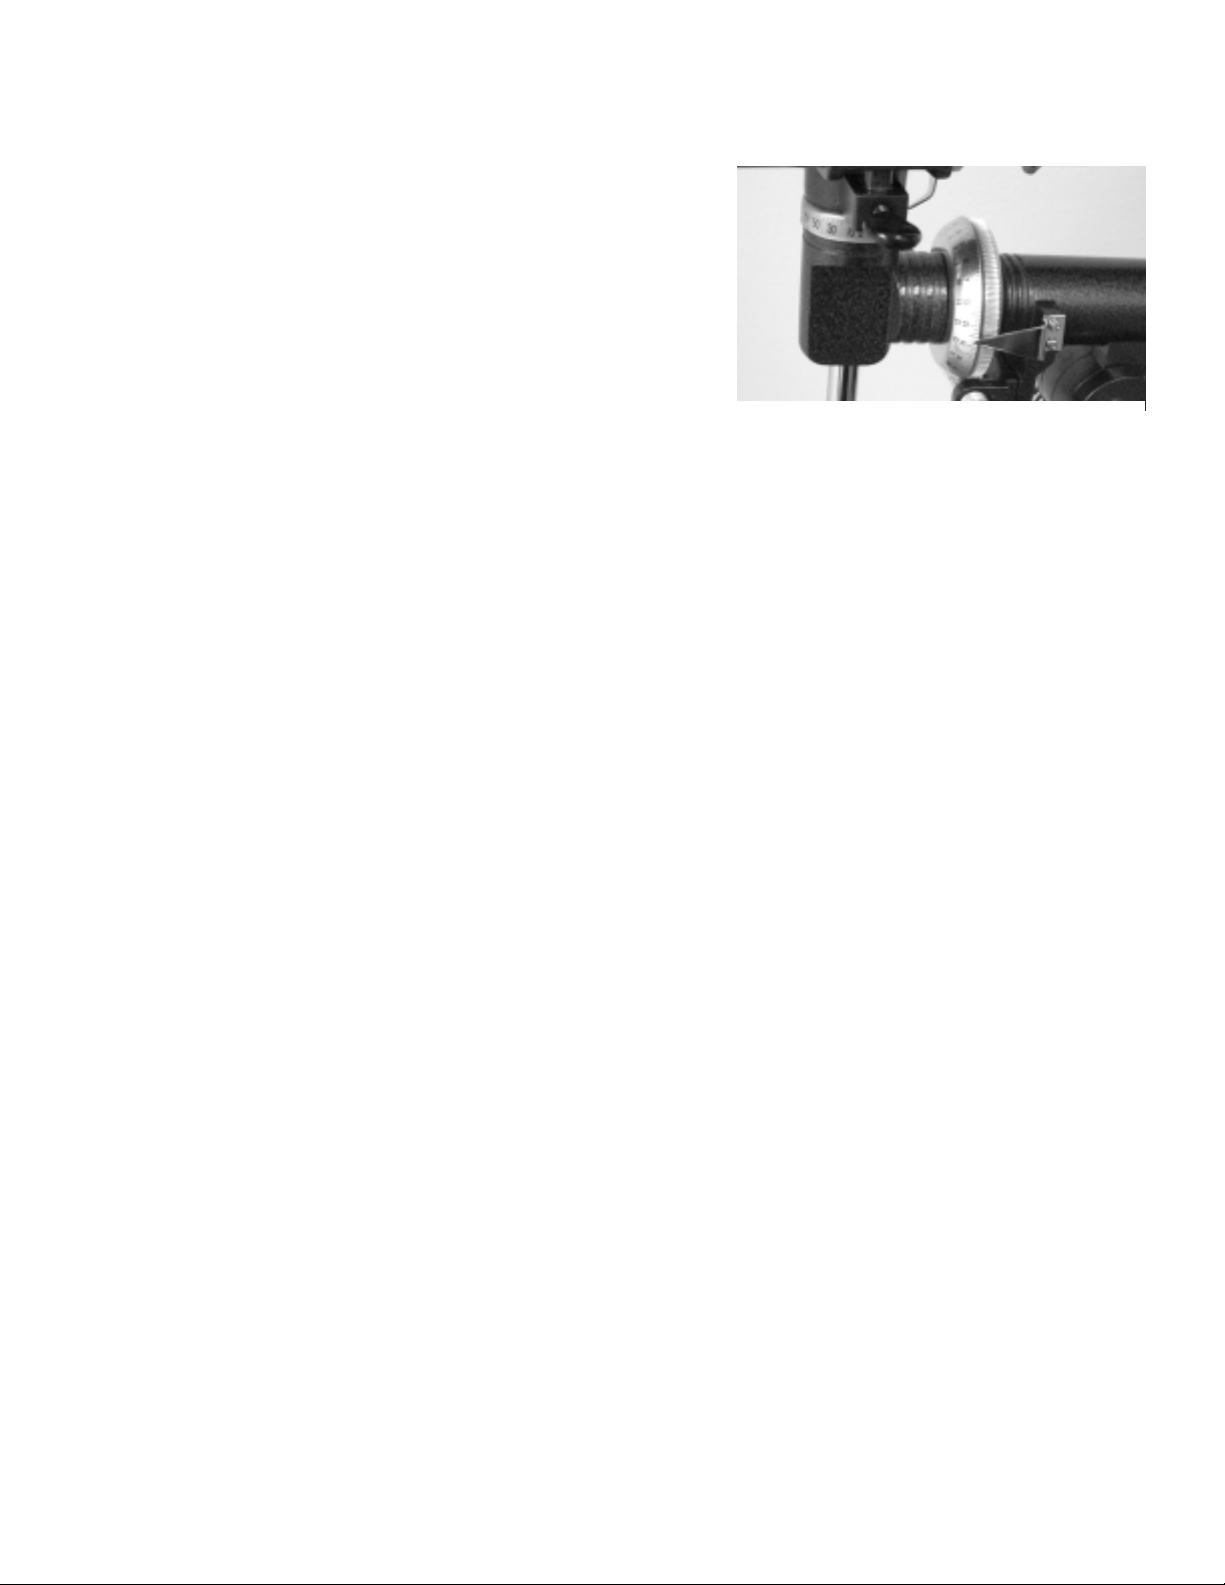
The declination setting circle is scaled in degrees and it is factory set
and should not need any adjustments. On the R.A. setting circle there
are two sets of numbers on the dial – one for the northern hemisphere
(top) and one for the southern hemisphere (bottom).
In order to align the R.A. setting circle, you will need to know the
names of a few of the brightest stars in the sky. If you don’t, they can
be learned by using the Celestron Sky Maps (#93722) or consulting a
current astronomy magazine.
To align the R.A. setting circle:
1. Locate a bright star near the celestial equator. The farther you are from the celestial pole the better your reading
on the R.A. setting circle will be. The star you choose to align the setting circle with should be a bright one
whose coordinates are known and easy to look up.
2. Center the star in the finderscope.
3. Look through the main telescope and see if the star is in the field. If not, find it and center it.
4. Look up the coordinates of the star.
5. Rotate the circle until the proper coordinate lines up with the R.A. indicator. The R.A. setting circle should
rotate freely.
NOTE: Because the R.A. setting circle does NOT move as the telescope moves in R.A., the setting circle must
be aligned each time you want to use it to find an object. However, you do not need to use a star each
time. Instead, you can use the coordinates of the object you are currently observing.
Once the circles are aligned you can use them to find any objects with known coordinates. The accuracy of your
setting circles is directly related to the accuracy of your polar alignment.
1. Select an object to observe. Use a seasonal star chart to make sure the object you chose is above the horizon.
As you become more familiar with the night sky, this will no longer be necessary.
2. Look up the coordinates in a star atlas or reference book.
3. Hold the telescope and release the Dec. lock knob.
4. Move the telescope in declination until the indicator is pointing at the correct declination coordinate.
5. Lock the Dec. lock knob to prevent the telescope from moving.
6. Hold the telescope and release the R.A. lock knob.
7. Move the telescope in R.A. until the indicator points to the correct coordinate.
8. Lock the R.A. lock knob to prevent the telescope from slipping in R.A.
9. Look through the finderscope to see if you have located the object and center the object in the finderscope.
10. Look in the main optics and the object should be there. For some of the fainter objects, you may not be able to
see them in the finderscope. When this happens, it is a good idea to have a star chart of the area so that you can
“star hop” through the field to your target.
11. This process can be repeated for each object throughout any given night.
Figure 4-10
Dec. Circle @ top and R.A. Circle @ bottom
Loading ...
Loading ...
Loading ...